Building a vSphere Home or Learning Lab – Part 1
In Part one of this exercise, I am going to show you how to get and install VMware® Workstation™ Pro, and then build your ESXi Hosts (servers) as Virtual Machines.
One of the questions asked most often by vSphere enthusiasts is: “what’s the best way to build a home vSphere lab?” Realistically, there are only two answers to this question:
- Get on EBAY and buy one or two generation old server hardware that’s still on the VMware HCL: http://www.vmware.com/go/hcl.
- Use VMware® Workstation™ Pro to build a virtual vSphere home lab.
Nothing replaces the overall experience of building vSphere on real, physical server hardware! There are just certain things you can’t do with virtual (nested) installations of ESXi like: RAID, IPMI and DPM. Using real server hardware, however, is just not practical for any number of reasons:
- Your wife will hate you.
- Your power bill will go up by hundreds of dollars per month (no kidding!)!
- Your cat will think you have installed an always-on vacuum cleaner.
- The minor ego-boost you get from showing-off “real servers” will be far outweighed by the looks of pity on the faces of most good-looking women, whose only thought will be: “what a dork”!
- As a minor offset to the disadvantages of running physical servers at home, is that you could (and I have) heat your house with them in the winter!
Virtual vSphere labs provide a great deal of flexibility and an awesome learning platform, without increasing your power-bill.
The Backstory
Many years ago, when ESX ran on top of RHEL, I created my own lab(s) on what amounted to junk. Because RHEL bootstrapped the hypervisor (vmkernel), and the Service Console was 32-bit, not only was ESX compatible with a wide variety of hardware and storage, but the resources actually required were tiny!
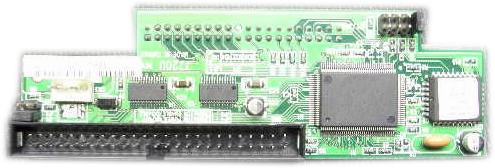
In the day, I used just about any POS personal computers available, converted the IDE storage to SCSI with nifty little gizmos that plugged into the back of the drive, and Voilà, I had created a viable ESX server from just about anything!
Things changed when VMware shifted from ESX to ESXi and the platform no longer ran on top of RHEL. First and foremost, ESXi was now exclusively 64-bit. You could no longer get away with 32-bit hardware by only building 32-bit Operating Systems; just to create a Whitebox ESXi server, you had to begin with a 64-bit capable system. Another challenge was storage and networking. Whereas ESX on RHEL had supported just about anything, ESXi had a finite list of supported adapters and would refuse to install if one of those was not present. Given the era ESXi became available, around 2008, 64-bit capable systems and supported adapters were still somewhat pricey and creating successful Whitebox labs became less viable.
Fortunately, along with ESXi came support for nested hypervisor installations. This had been previously possible, but only by going to great lengths and tricking the host hypervisor (usually VMware Workstation) and the guest hypervisor (ESX, at the time) into believing that they were physically hosted.
Somewhat concurrent with the initial release of ESXi, VMware added native support for nested hypervisor installations to VMware Workstation, and building a viable virtual vSphere home lab became a real and affordable possibility!
What sort of a system will I need?
In order to build a viable home vSphere lab on top of VMware® Workstation™ Pro, you are going to need a reasonably powerful PC. Don’t even mess around with vSphere unless you have at least 16 GB of RAM on a multi-core CPU capable of Virtualization.
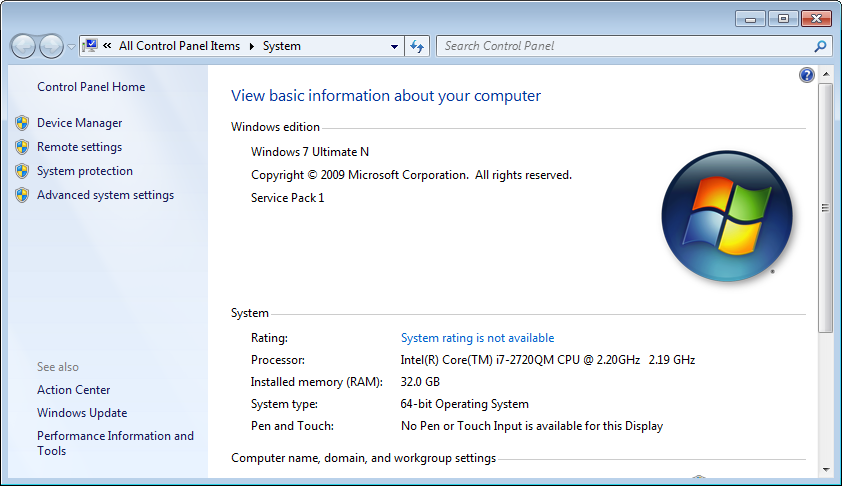
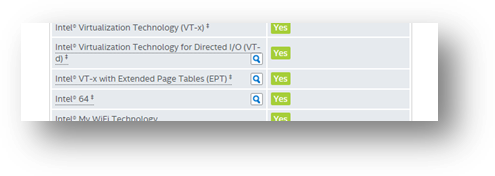
My own personal system is several years old, but more than up to the task, and a check of the Intel website confirms that my processor is capable of Virtualization.
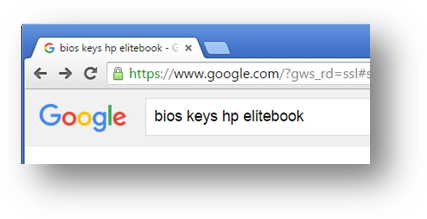
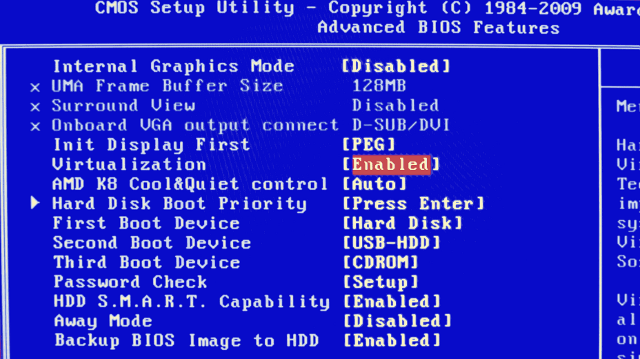
Before even beginning, you will want to reboot whatever workstation you will be using and make sure that Virtualization in enabled in the BIOS. If it is not, enable it now. Ask your best friend Google what keystroke or combination is required for your model PC or motherboard to access the BIOS boot menu.
Part 1 – Installing VMware Workstation Pro and VMware ESXi as a VM
If you would like to download a nice, clean PDF, click here: http://www.johnborhek.com/wp-content/uploads/2015/09/Building-a-vSphere-Home-or-Learning-Lab-Part-1.pdf
Getting and installing VMware Workstation Pro
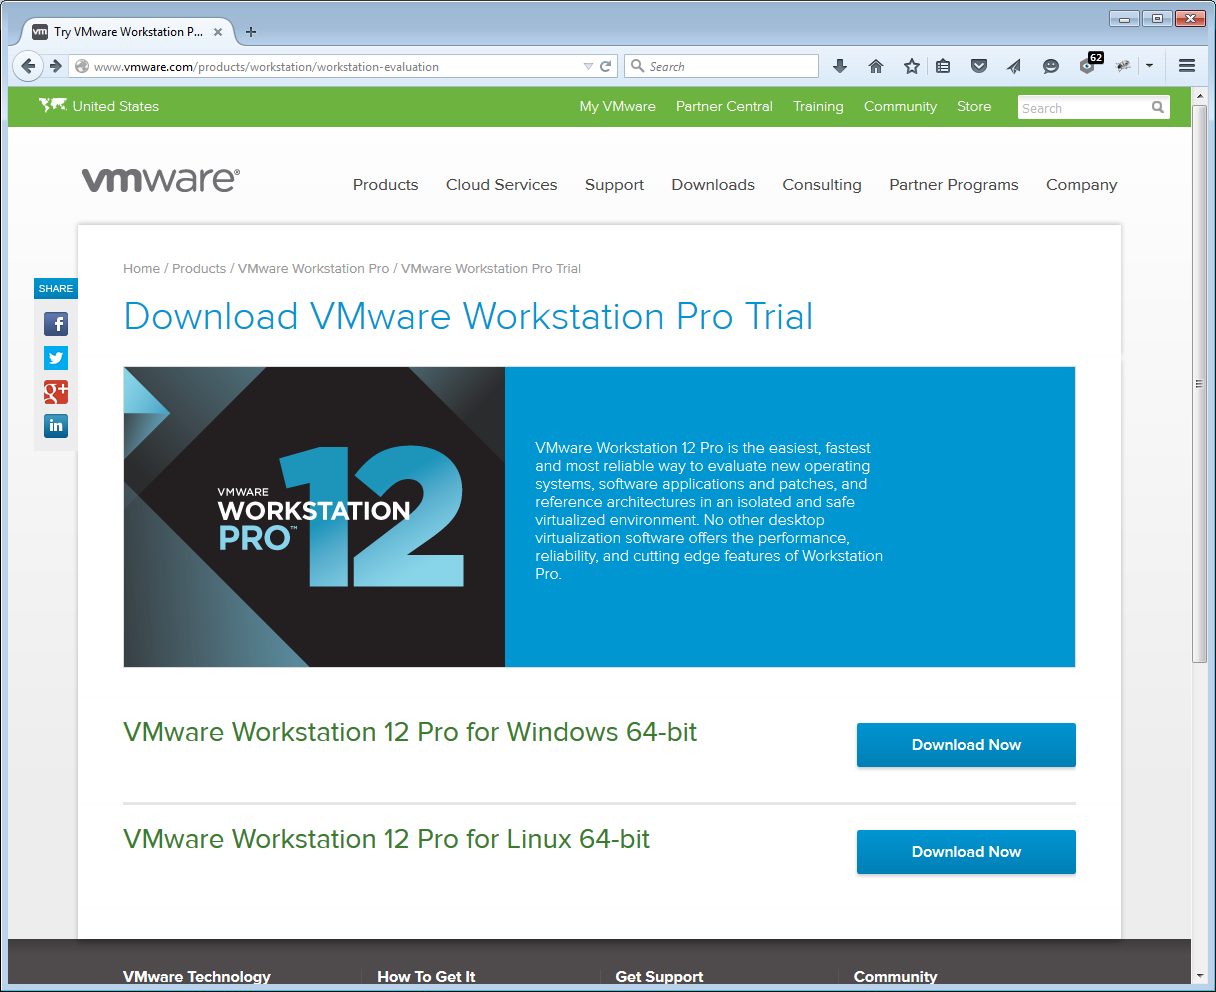
VMware® Workstation™ Pro (formerly just: VMware Workstation) is available for Windows and Linux in a fully licensed and trial version from VMware. You can contact VMsources or any other authorized vendor to purchase VMware Workstation Pro once your trial expires.
- Download Workstation
- Save to a default location
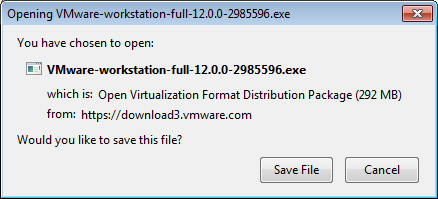
- Save to a default location
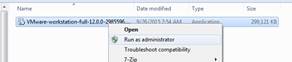
- Run as administrator (always!)
- Next
- Next
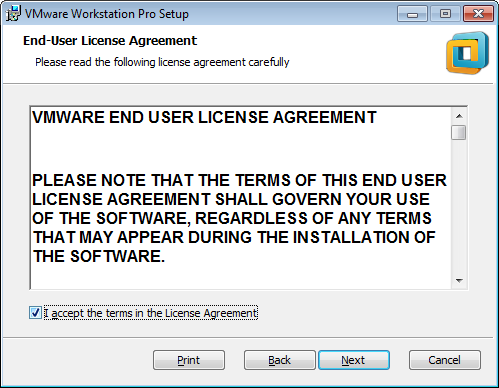
- Next
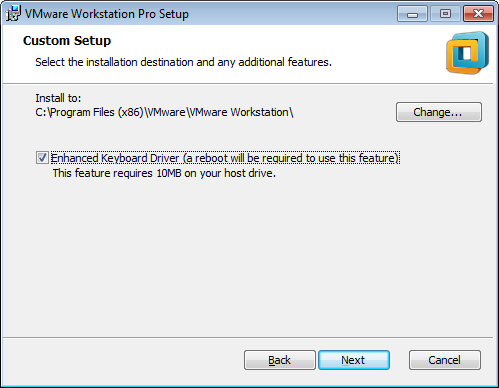
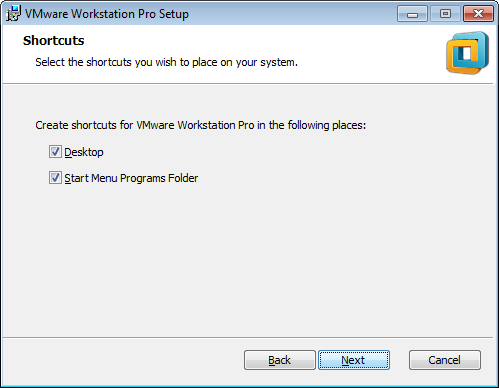
- Next

- Next
- Install

- Wait
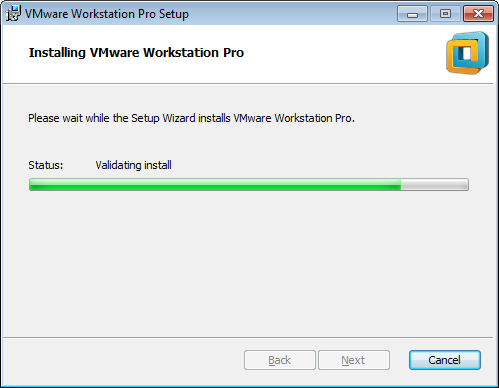
- Finish
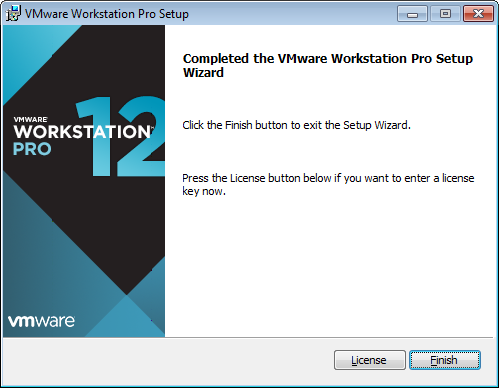
- Next
Configuring Workstation Pro
Before building your lab, I recommend configuring the networks you will be using as you install ESXi, vCenter and any other vSphere components you will be setting up. For a Best Practices compliant installation, you will need, at the minimum, the following networks:
- A Management Network. This will be used for the ESXi “Management Network” vmkernel, vCenter and any of the vSPhere API’s.
- The firewall for the Management Network will be among the most secure.
- A Server network. This is the network where Servers (VMs) like SQL, Exchange and Apache will reside. Even if you are only building vSphere, you should create this network so you know how to separate “Management” from other services.
- The firewall for the Server network, typically, denies all connections and has “pass” rules specific to each hosted server and its required application ports.
- A Storage network. This is the network for iSCSI storage. Even if you plan on using only local storage provided by Workstation Pro, you should create this network so you can practice and demonstrate Port Binding, Jumbo Frames, and Path Selection Policies.
- The Storage network is ideally isolated, with no routes. This is also known as “air-gap network.”
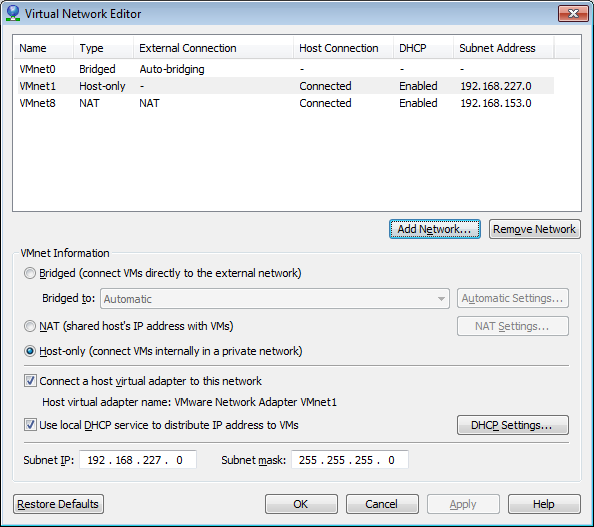
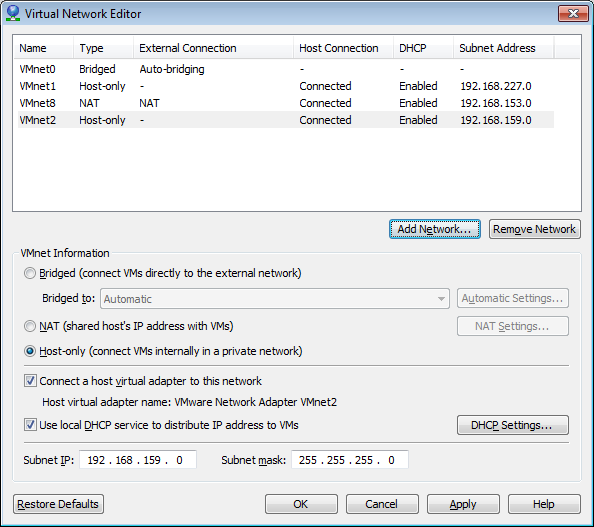
We’ll use the default NAT virtual network (in this example, VMnet8) as our vSphere Management Network. This network will essentially be behind the Windows Firewall and/or any other software firewall on your PC. Although this network is configurable, I recommend you leave it alone.
As a Class C network (CIDR: /24 –or- SNM: 255.255.255.0), it has more than enough host IP addresses to accommodate your needs.
Also, in my experience, if you change the gateway IP of this network after Workstation is installed, software firewalls may block traffic causing an apparent lack of connectivity. Even though I personally would never place a gateway on .2, that IP is as technically valid as any other and I am going to live with it.
We’ll use the default Host-only virtual network (in this example, VMnet1) as our Server network and we will create another Host-only network (in this example, VMnet2) as our Storage network. Later, in a different article, I will cover how to create a Virtual Router which can secure your Server network and any other networks you might choose to create.
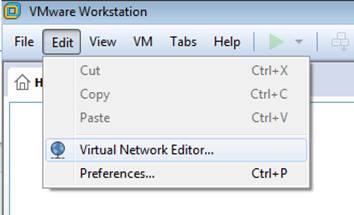
- Cclick on Edit and select the Virtual Network Editor
- Choose: Add Network
- Use the default or select a VMnet to use
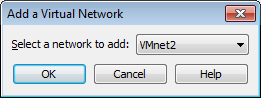
- Use the default or select a VMnet to use
- This is what the completed configuration should look like
- Choose: Add Network
Many administrators shy-away from 192.168.X.Y networks because they feel that these are somehow “armature grade” inferior networks. Truth is that you should pick a network that is large enough to accommodate your foreseeable needs, and no larger. Also, while Classless networks are valid, they should be used with reason. Classful networks are much more elegant.
Since neither vSphere Management nor Servers would require more than 254 Host IP’s, except in larger installations, the 192.168.X.Y/24 networks will work just fine.
Getting vSphere
You will want to acquire binaries from VMware:
- ESXi (the VMware version, not a vendor-customized ISO)
- The VMware vSphere Client (for Windows)
- The vCenter Server Appliance (Recommended by me) or vCenter installable for Windows
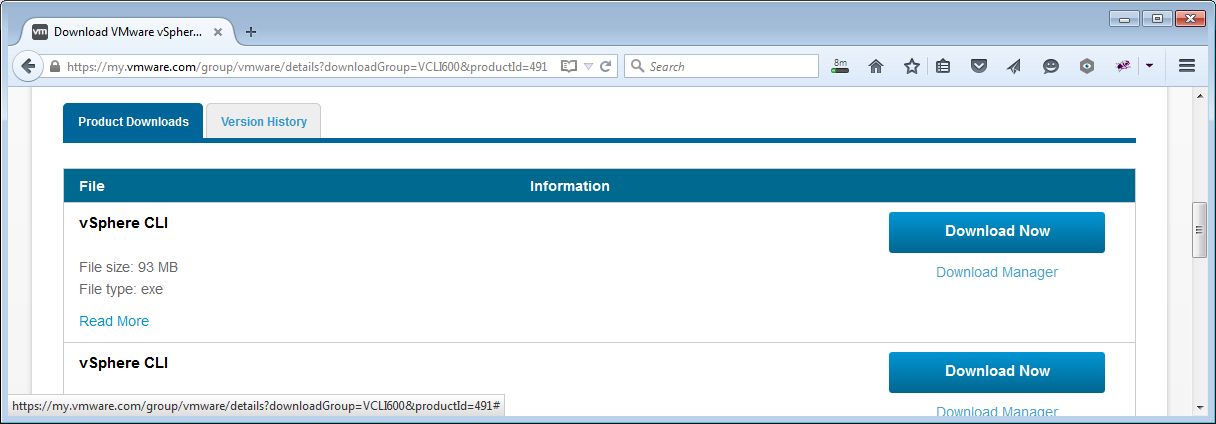
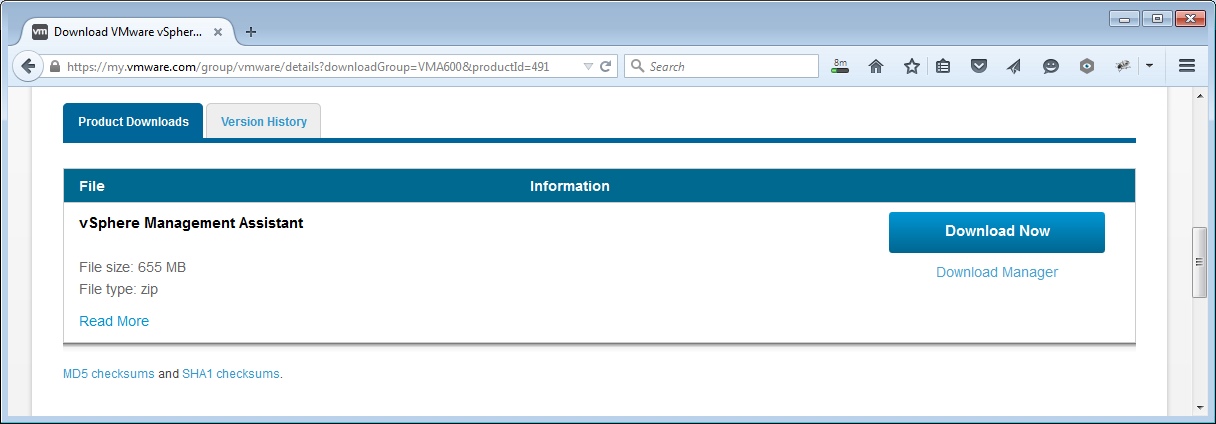
- The vCLI, the vMA and any other utilities and extensions
- vSphere Data Protection
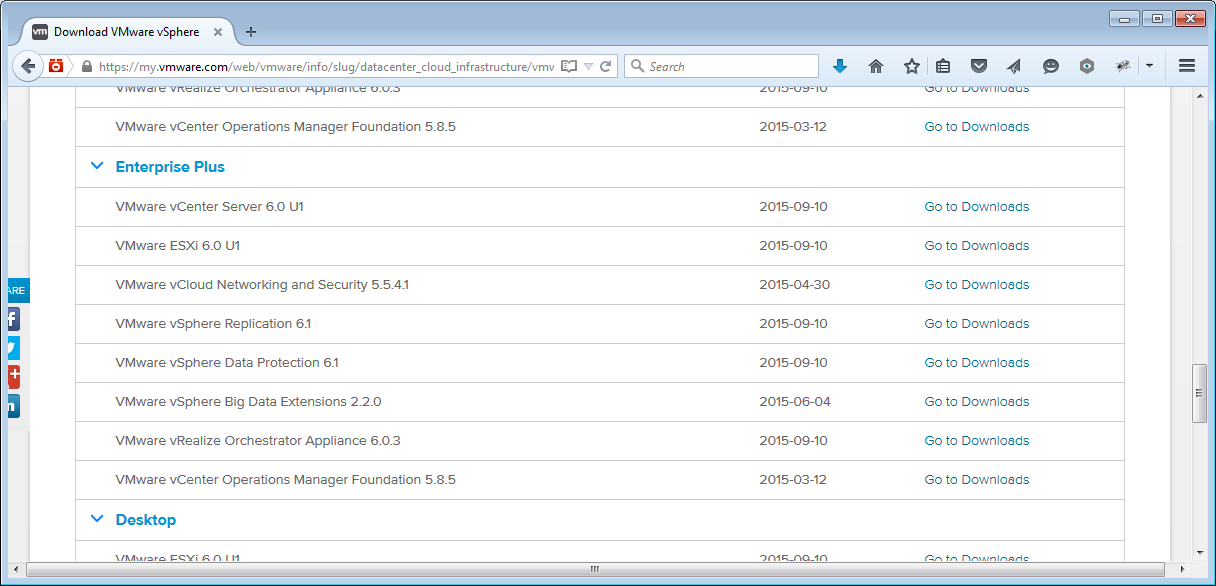
VMware will give you access to all of these under its trial program, all you need is a valid email address. . The trial version of vSphere is Enterprise Plus Edition, so download your binaries from that category (in truth, ESXi and vCenter are the same binaries for every Edition and Kit). You can contact VMsources or any other authorized vendor to purchase VMware vSphere once your trial expires.
- Go to Downloads
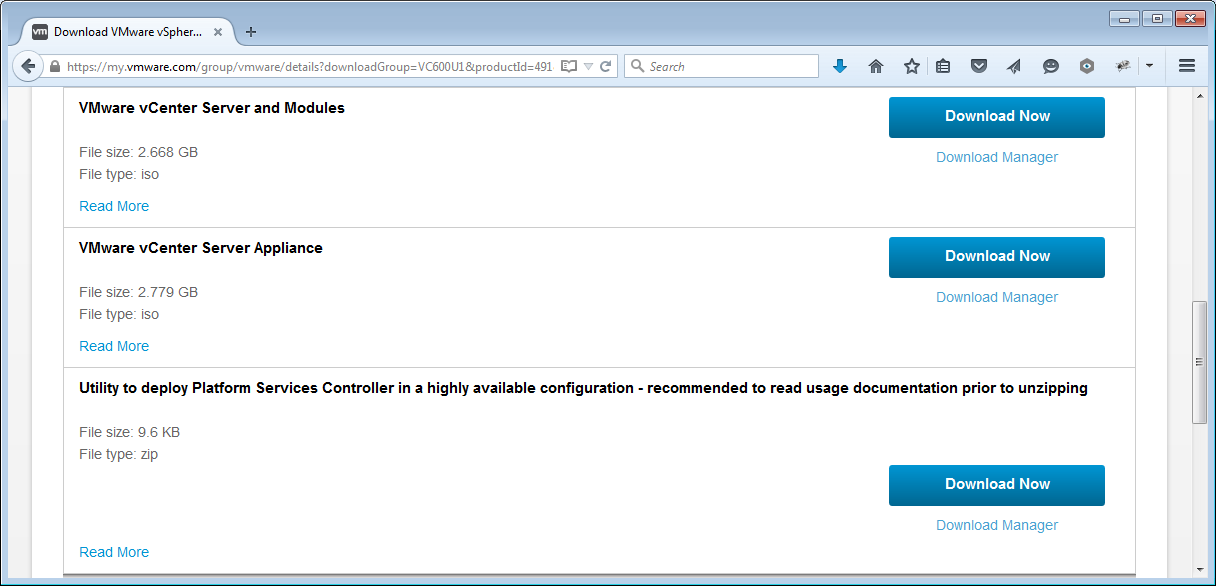
- Download the VMware® vCenter Server™ Appliance (or the Windows vCenter if you must)
- Read and accept the entire EULA!
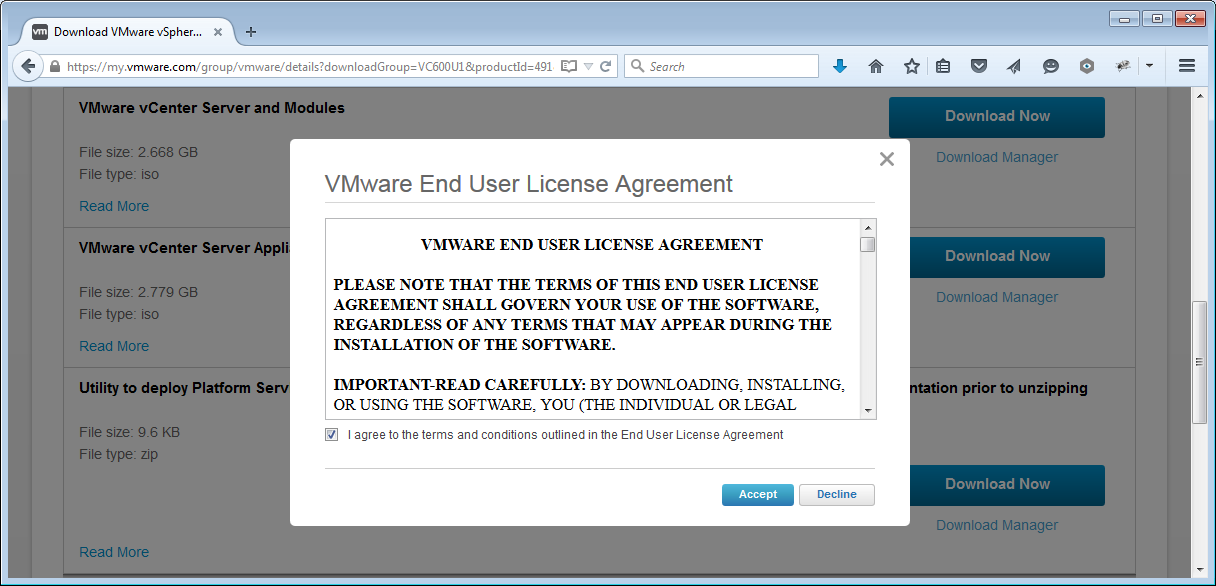
- Read and accept the entire EULA!
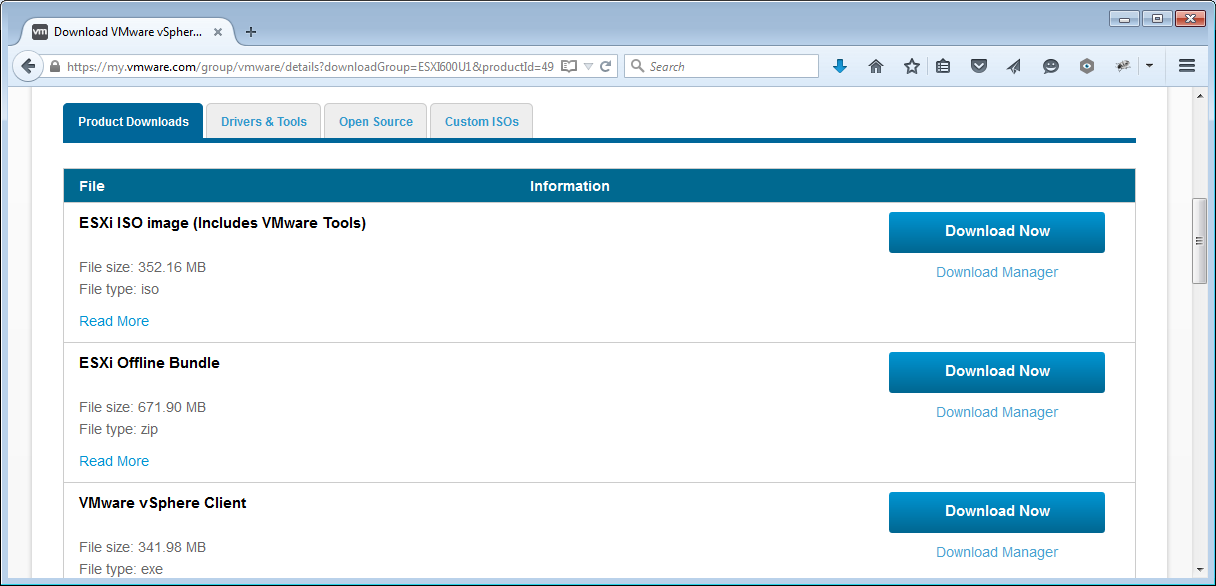
- Download the ESXi ISO Image (Includes VMware Tools)
- Read and accept the entire EULA!
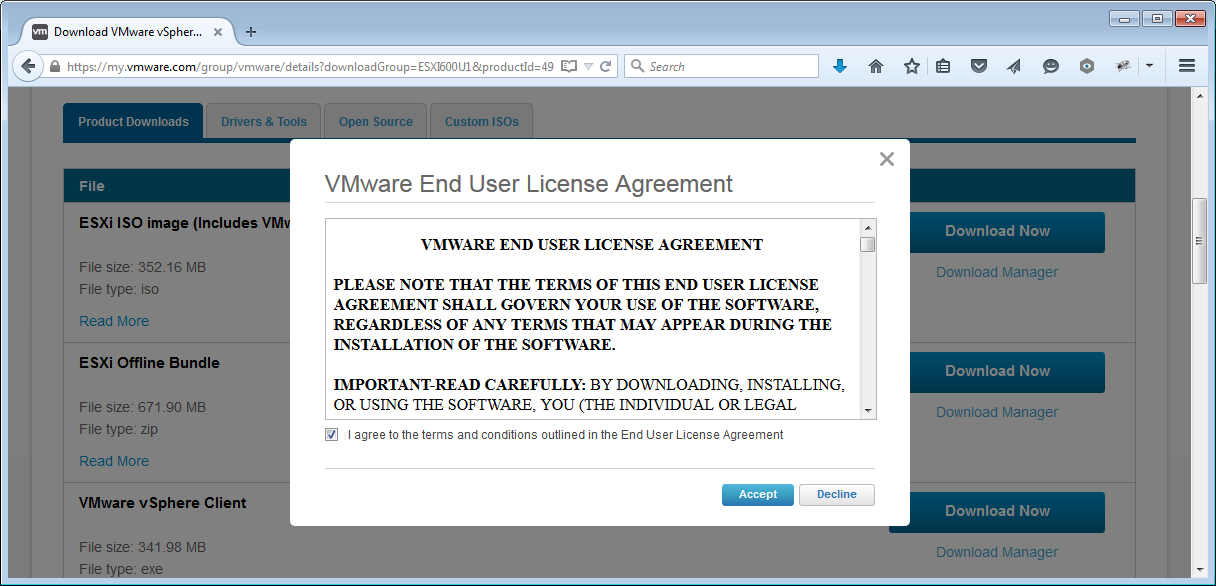
- Read and accept the entire EULA!
- Now go to Drivers and Tools

- Locate and download the binaries you want.
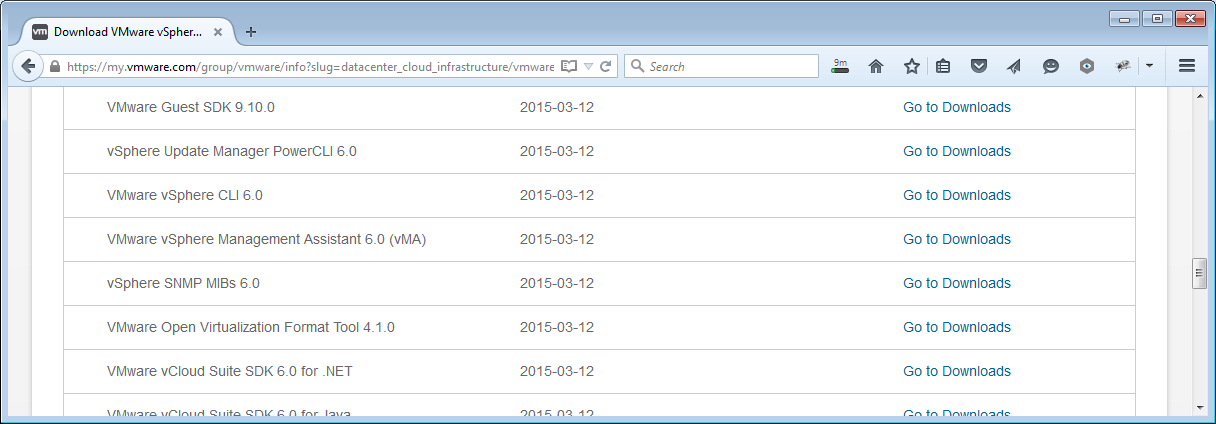
- I recommend the vCLI
- I recommend the vSphere Management Assistant
- Locate and download the binaries you want.
- Download the VMware® vCenter Server™ Appliance (or the Windows vCenter if you must)
Installing ESXi as a VM (Virtual Machine)
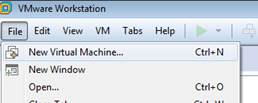
- In Workstation, go to File > New Virtual Machine
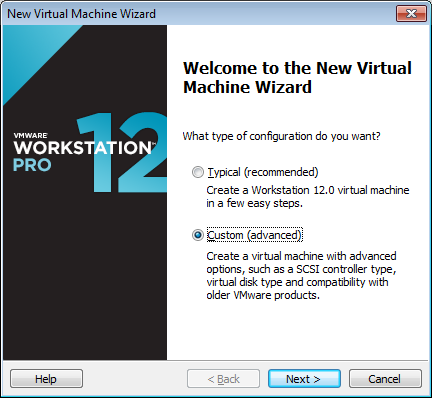
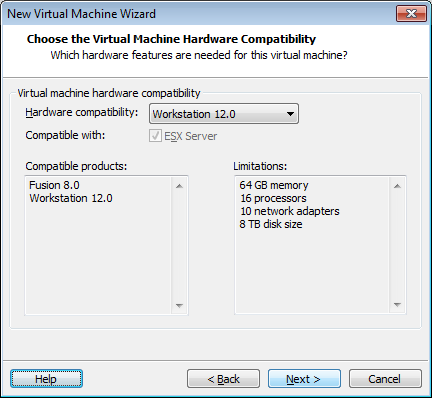
- Use a Custom install
- Accept defaults
- Browse
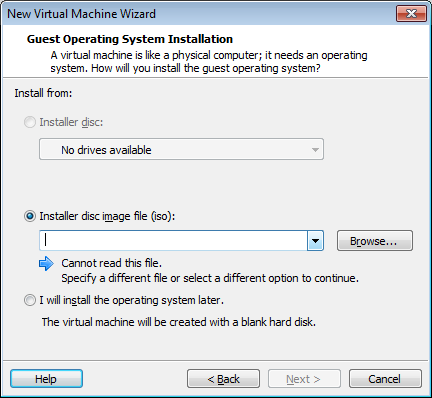
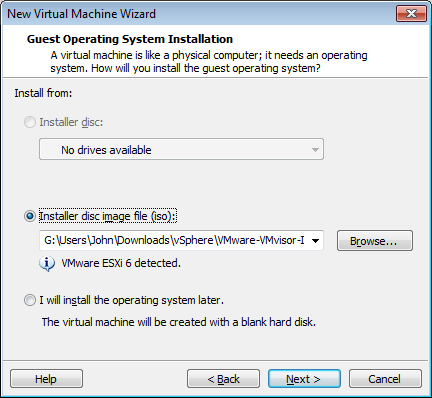
- Locate the ESXi ISO you downloaded earlier

- Locate the ESXi ISO you downloaded earlier
- Next
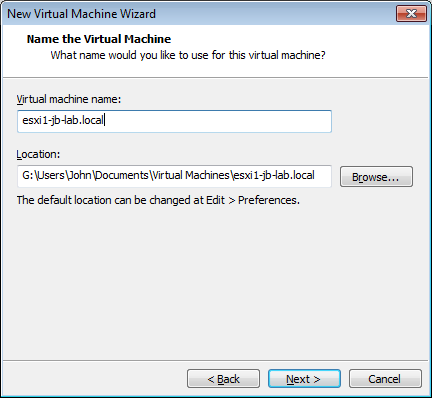
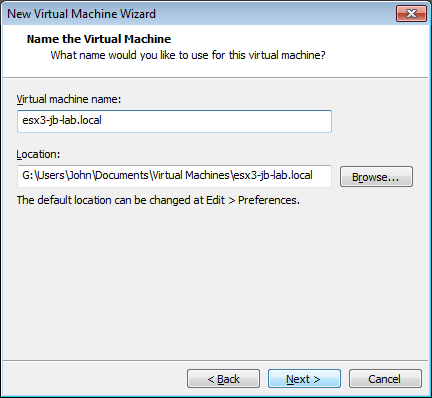
- Name the VM in an extensible format and place the Virtual Machine files in a suitable location on your computer. Remember these are the Local Disks, or DAS where your ESXi installation will be going. Although technically a viable VMFS Volume, this is not the storage location you will want to place your Virtual Machines if you want to configure vMotion and/or HA.
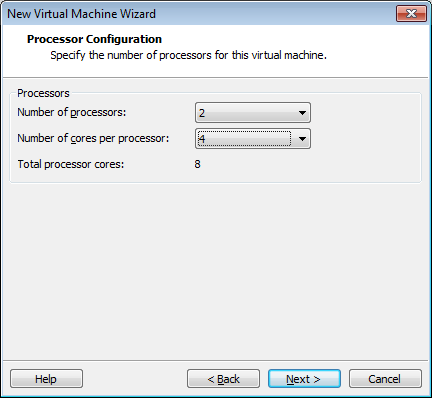
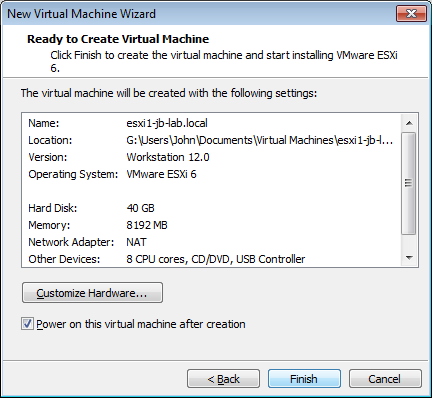
- Choose reasonable numbers here that your hardware supports.
- I am going to build a ‘typical’ cluster of 3 ESXi Hosts, so 8 GB is reasonable for a system with 32 GB RAM available.
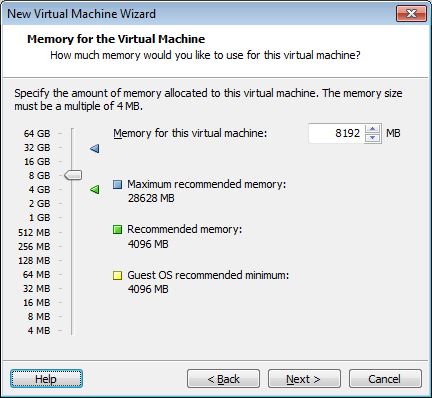
- Would I be better off with 2 ESXi Hosts that each had 16 GB RAM? Maybe, but I harp so often about 3 hosts being the minimum realistic Cluster size in production, and the basic unit for all vSphere Kits is also 3 Hosts, I couldn’t bring myself to build a 2-host cluster!
- Use NAT for the Management Network. One of the weaknesses of Workstation is not allowing the configuration of multiple network adapters at the time of virtual Machine creation.

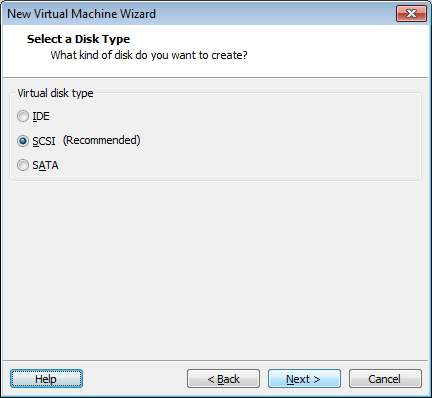
- Use Defaults
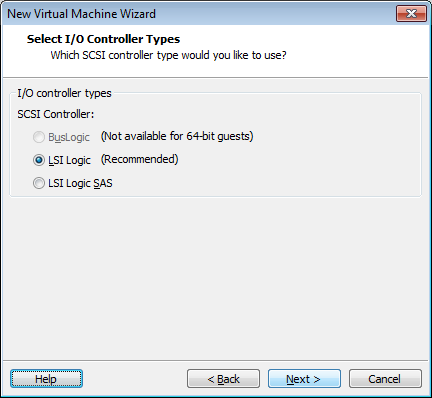
- Use Defaults
- 40 GB is really generous for an ESXi installation. When physically installed on a server, ESXi can go on flash media as small as 2 GB, but it is recommended to install on at least 16 GB flash media so blocks may be marked unusable as they wear out. In a Virtual install, either treat it as a flash-media installation and redirect the logs to a different location, or go with defaults.
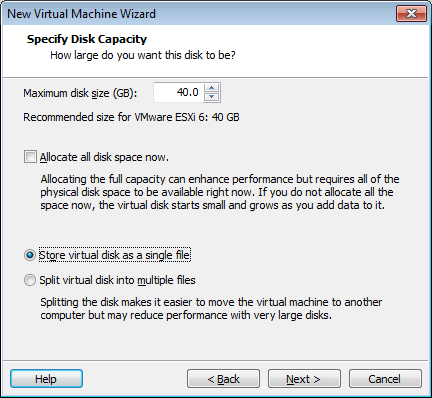
- Use Defaults
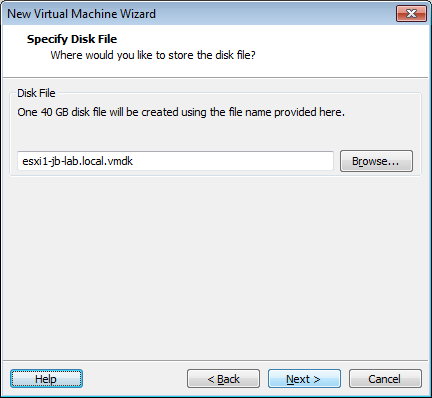
- Finish
- Use a Custom install
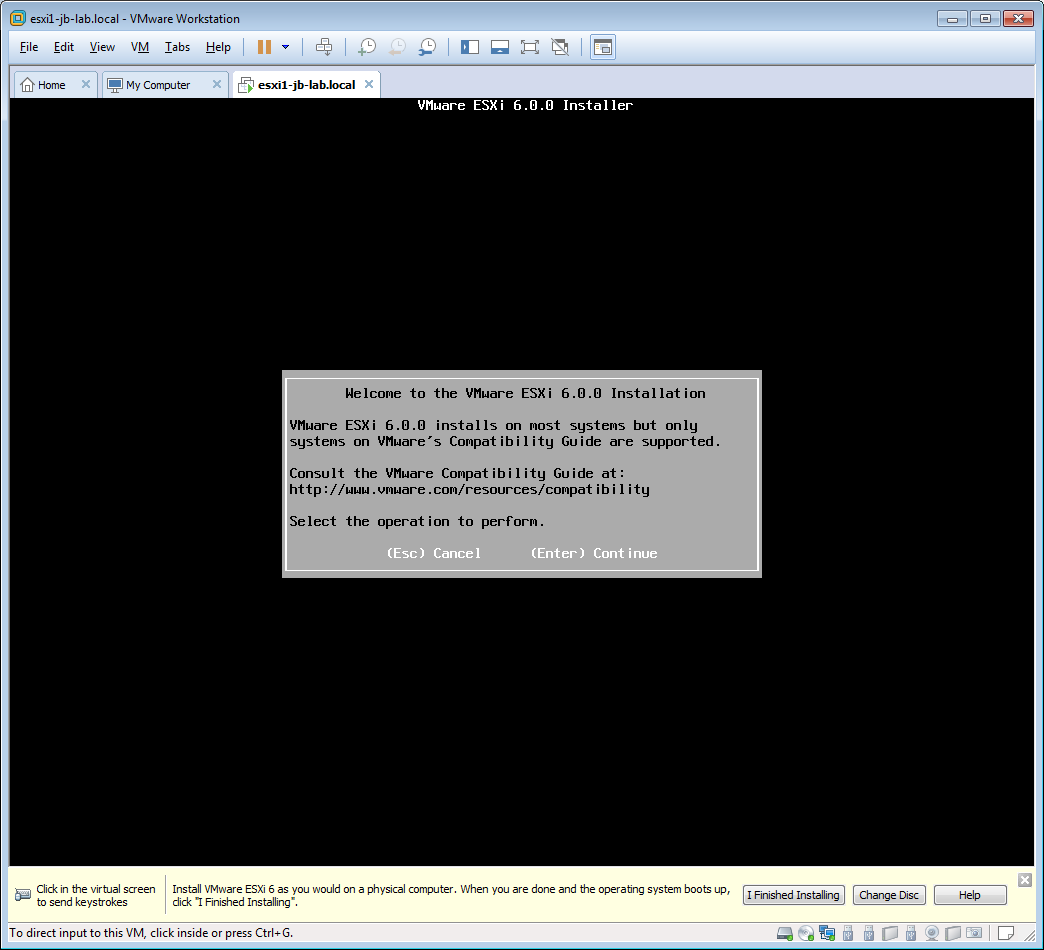
- This is the Standard Installer

- The files will load to RAM
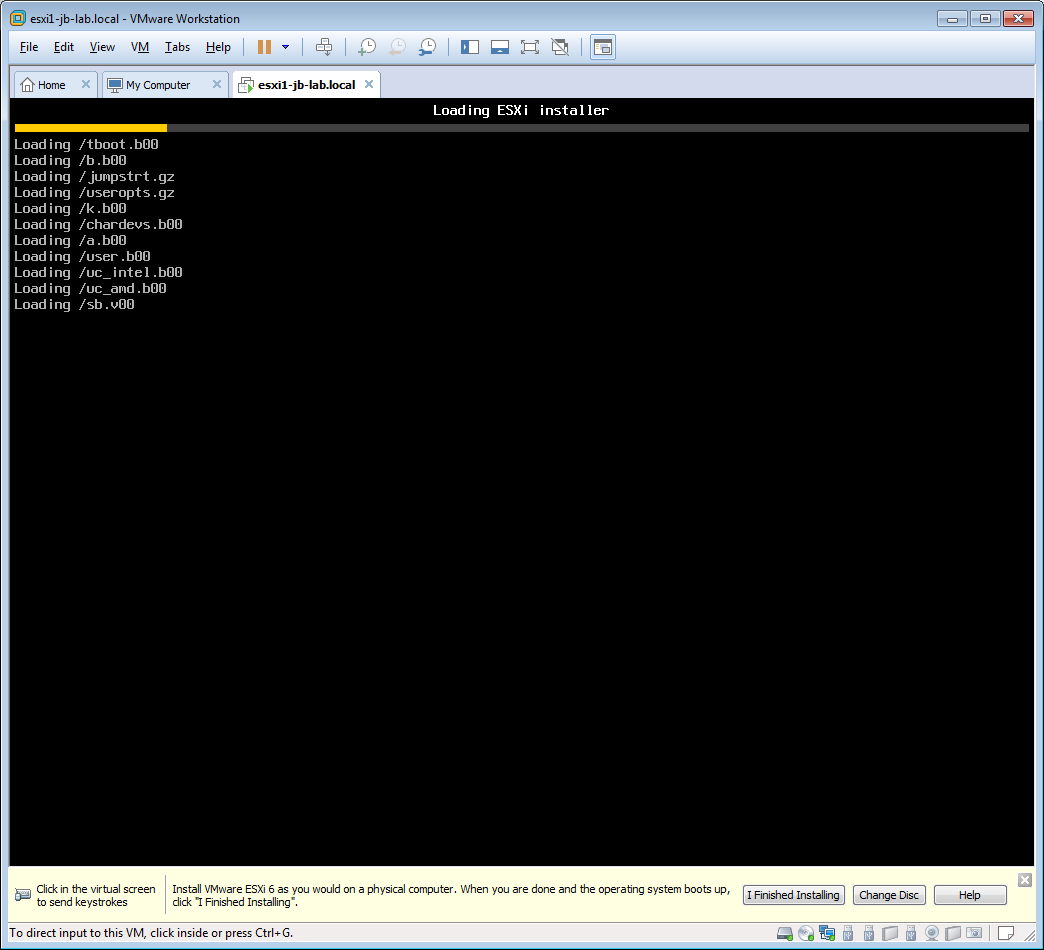
- Enter
- Use arrows to scroll
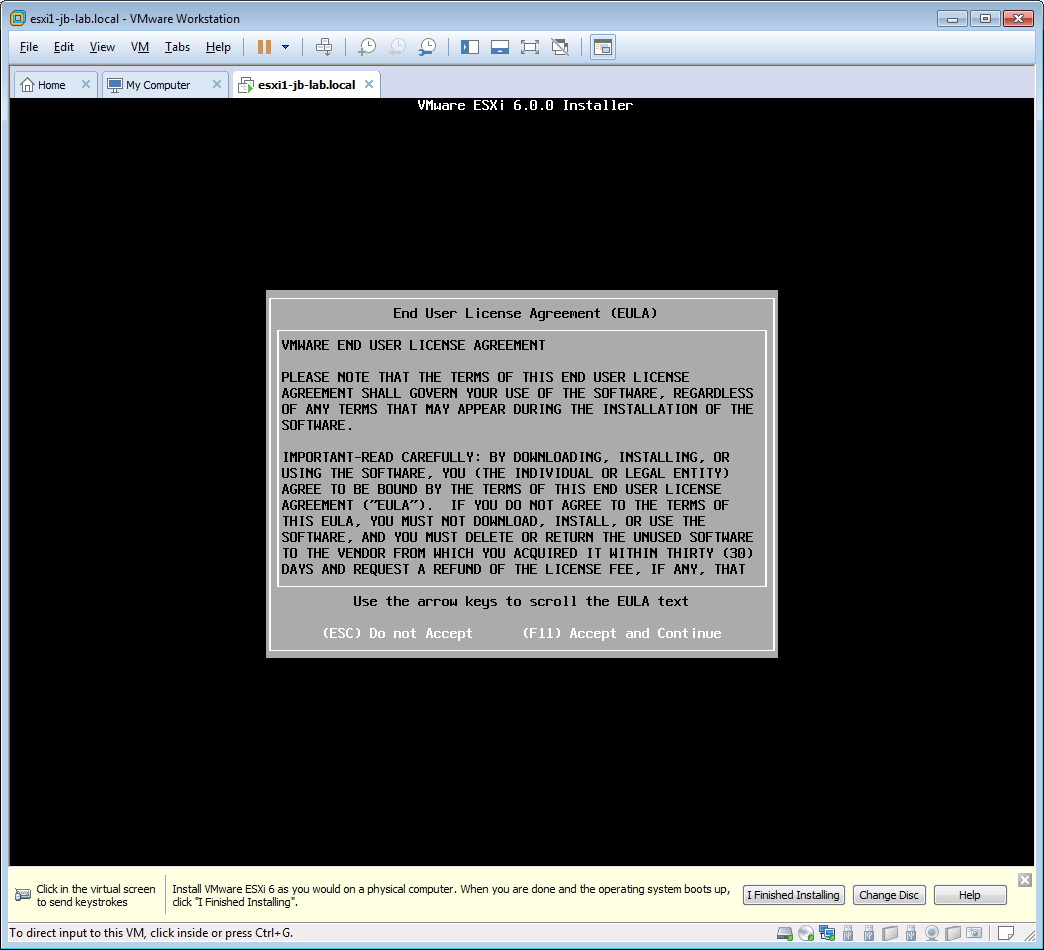
- Once you have read the entire EULA, press [F11]

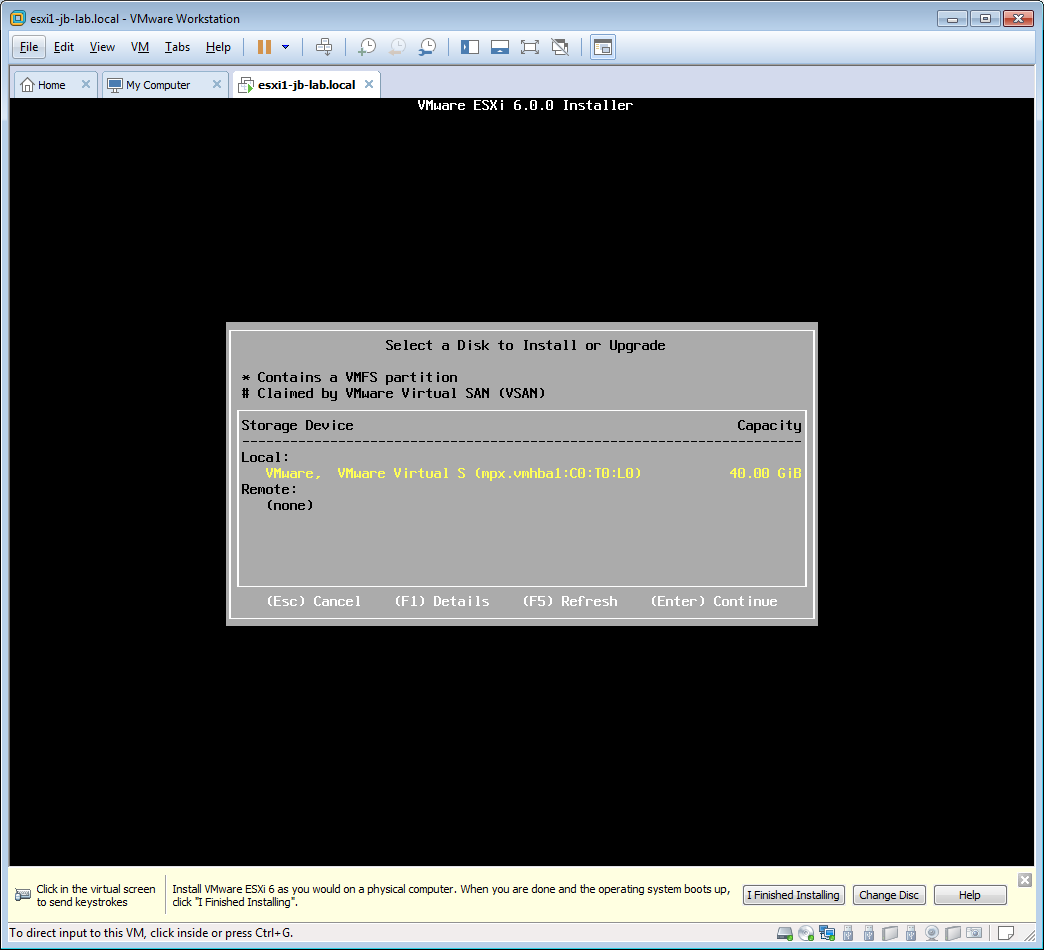
- Enter
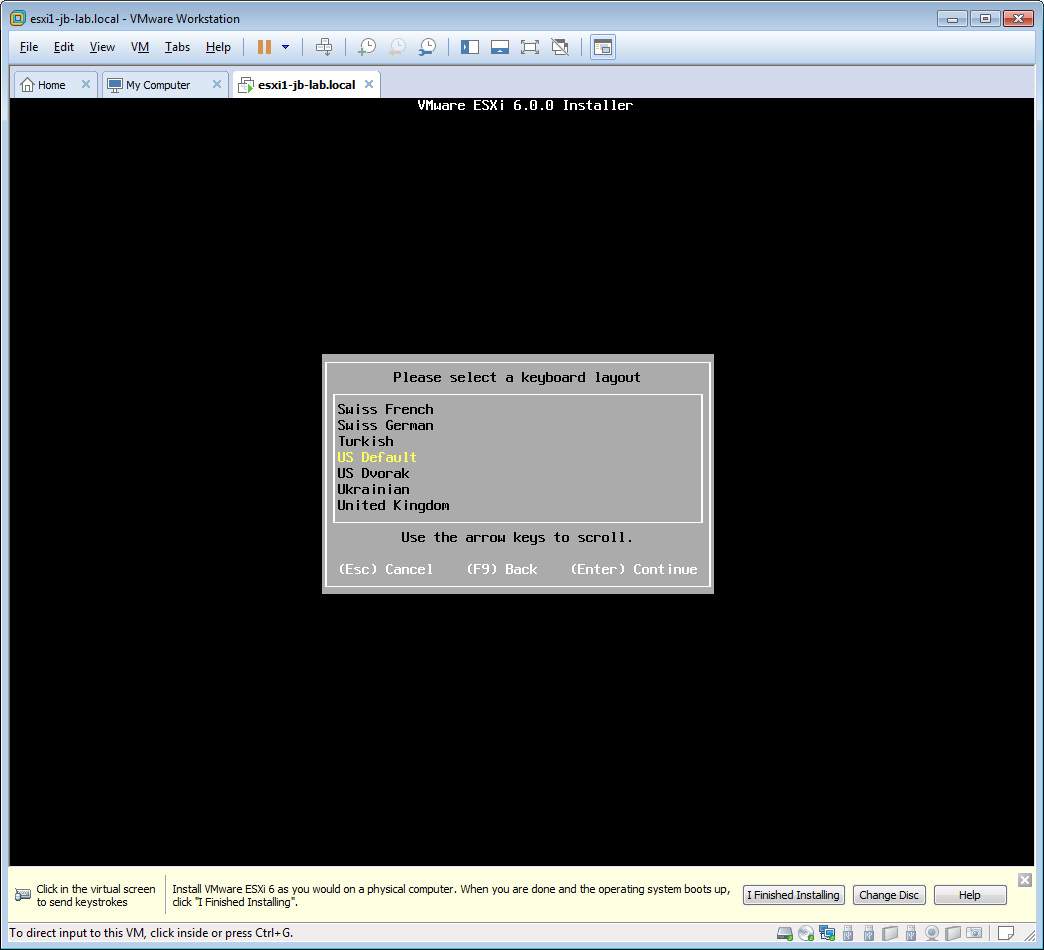
- US Default (or your choice)
- A suitable Password
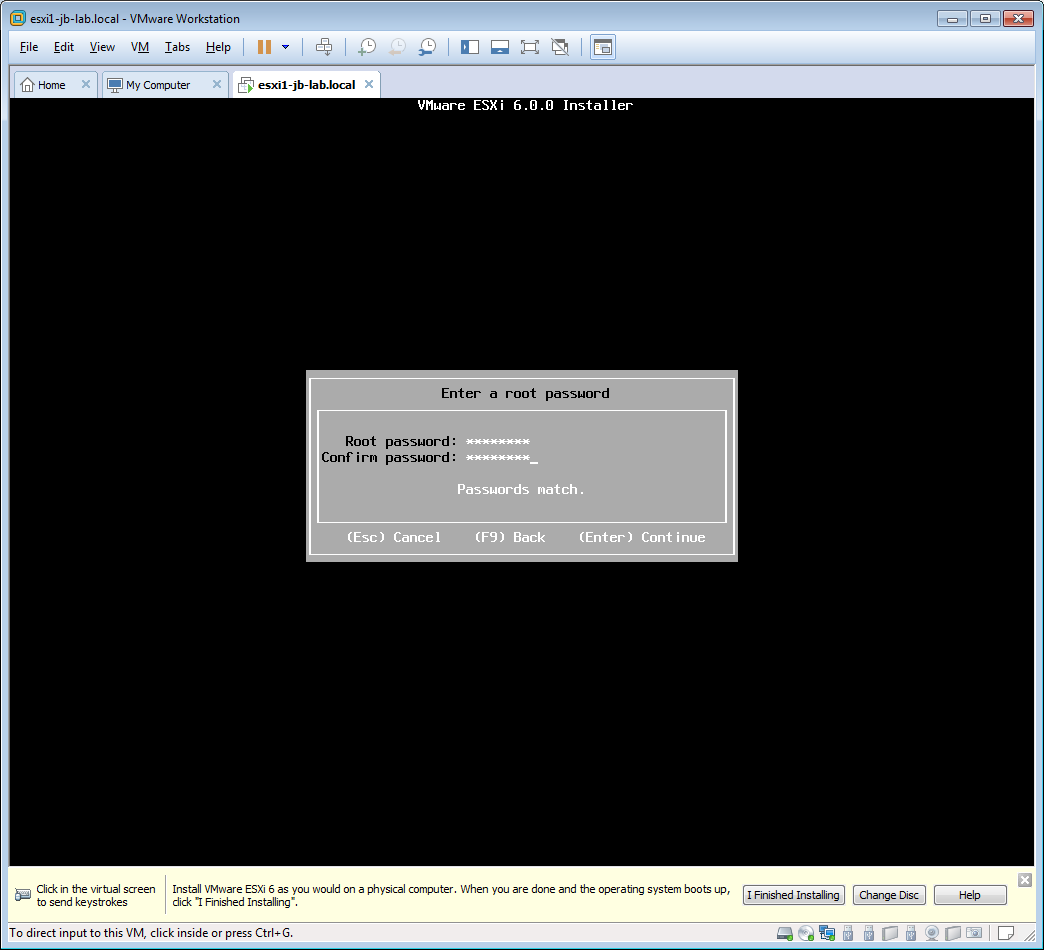
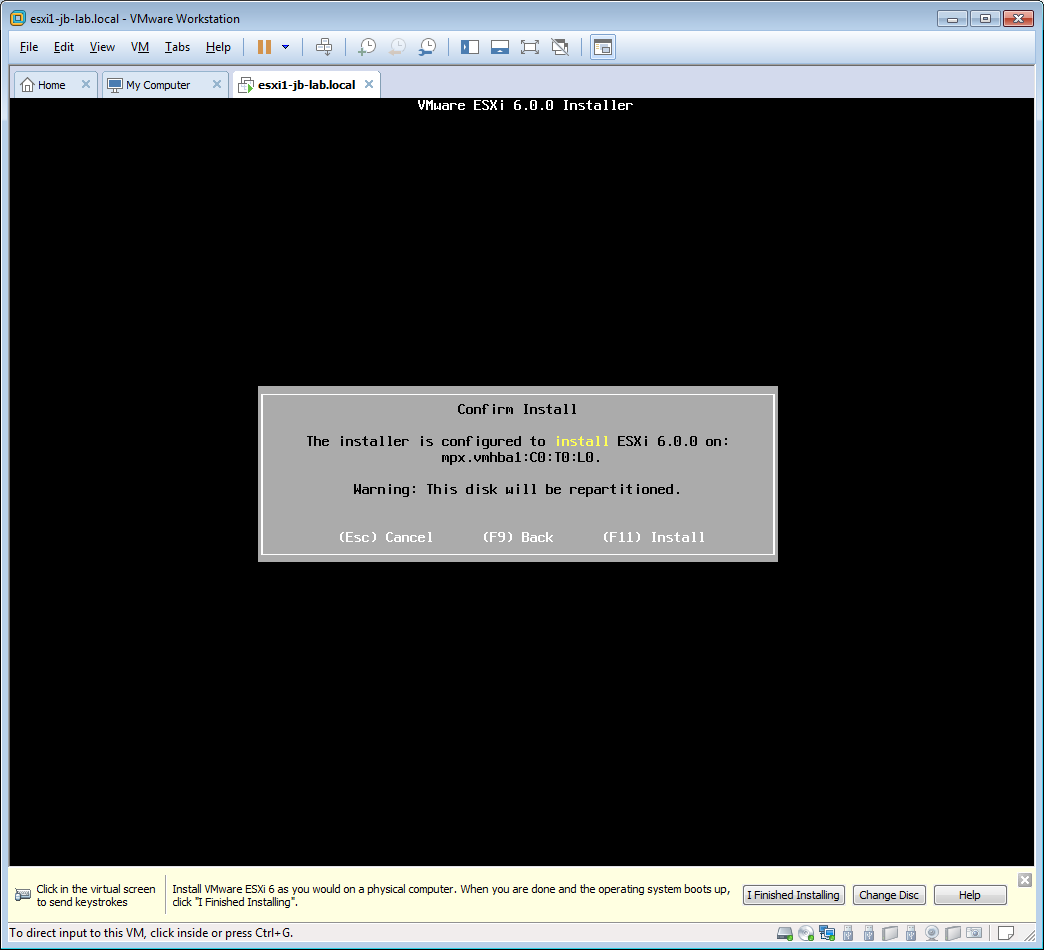
- [F11]
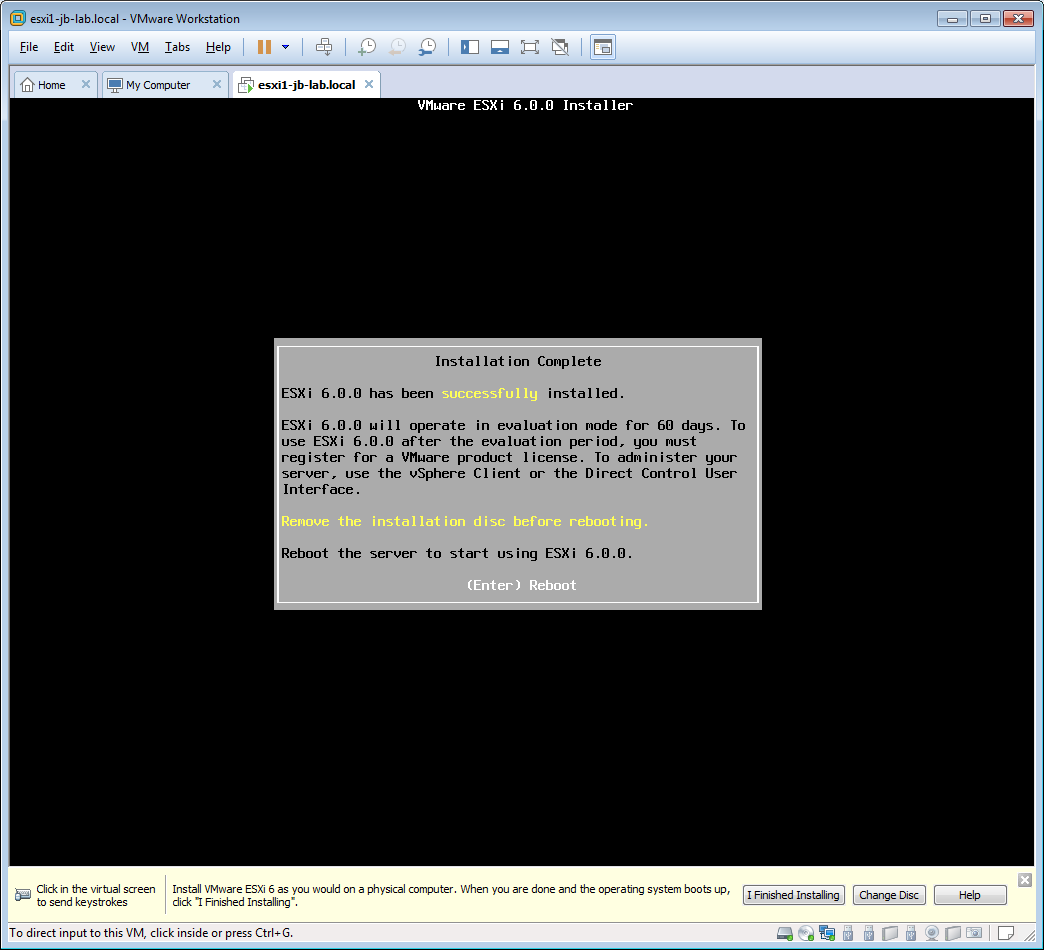
- Wait 5-10 Minutes and press [Enter]. You can also click “I finished Installing” at this point.
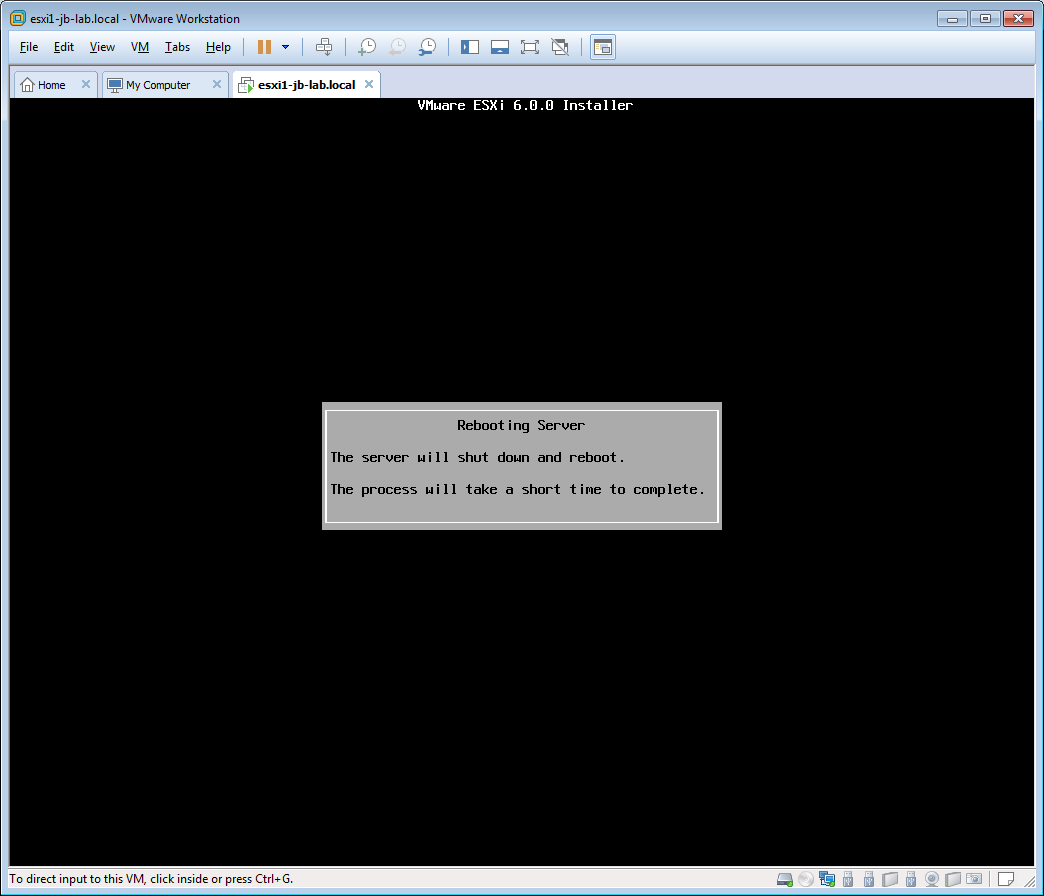
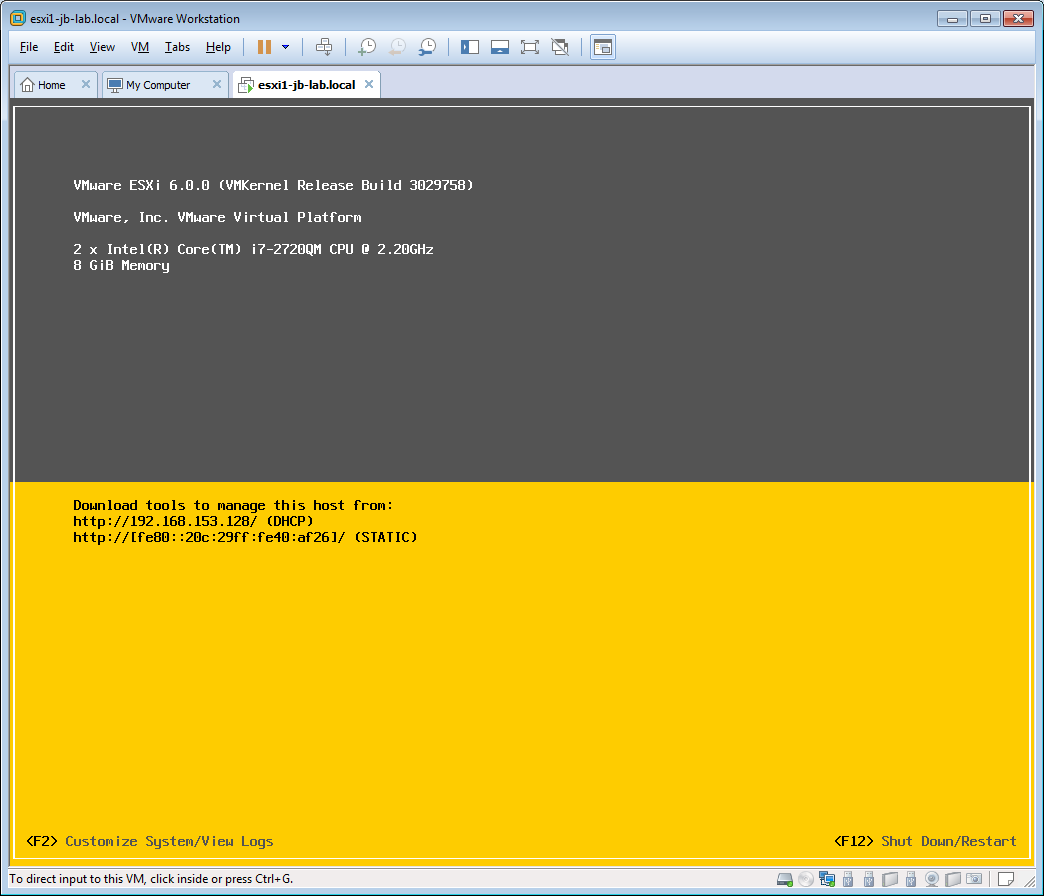
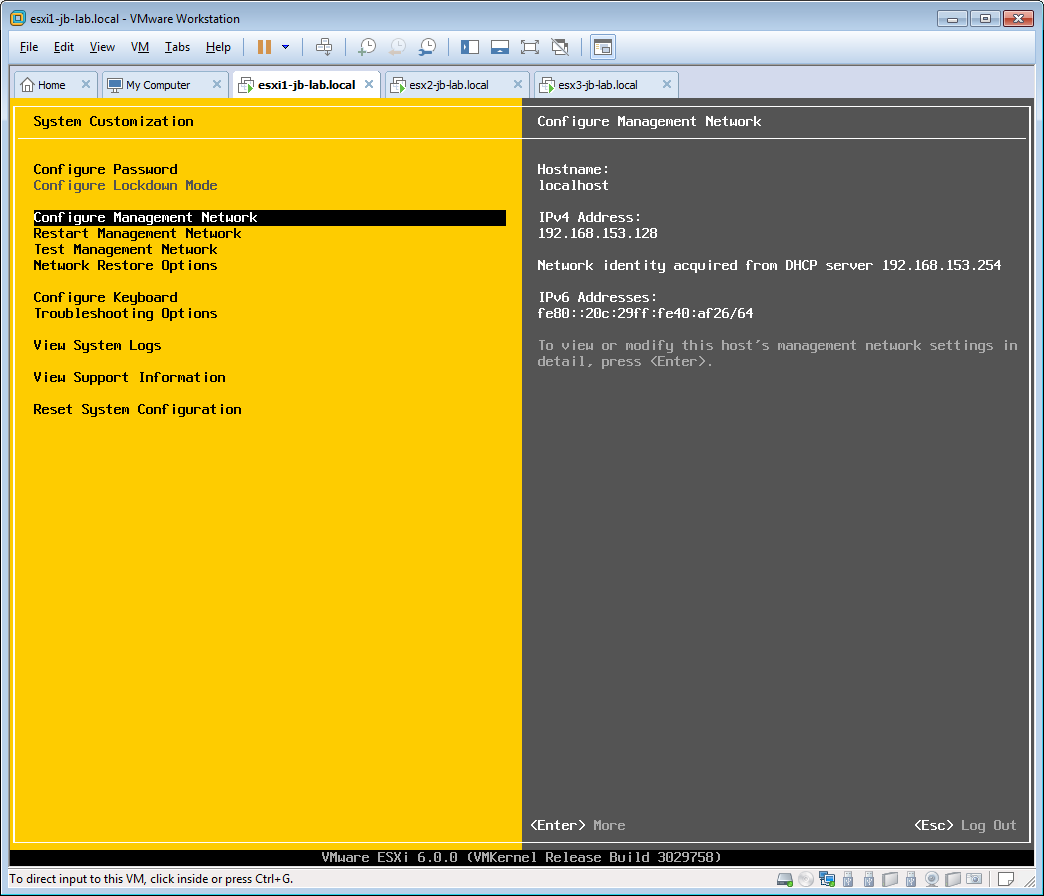
- This is what the ESXI Console should look like after reboot.
- The files will load to RAM
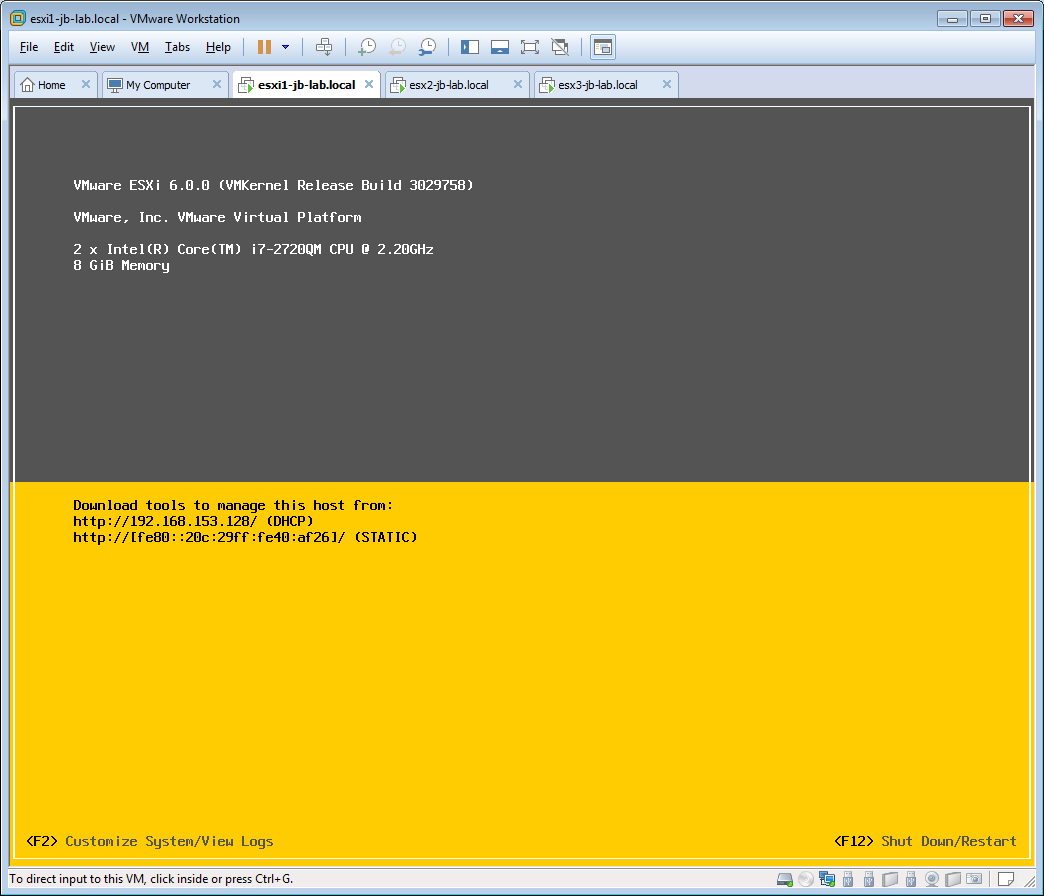
- Now I am going to install 2 more just like it, with all settings the same, except the Virtual Machine name
- This one will be: esxi2-jb-lab.local

- This one will be esxi3-jb.lab.local
- This one will be: esxi2-jb-lab.local
- Now we need to log-on to the DCUI of all 3 ESXi VMs and set the IP and hostname, among other settings.
- Press [F2]
- Enter your password

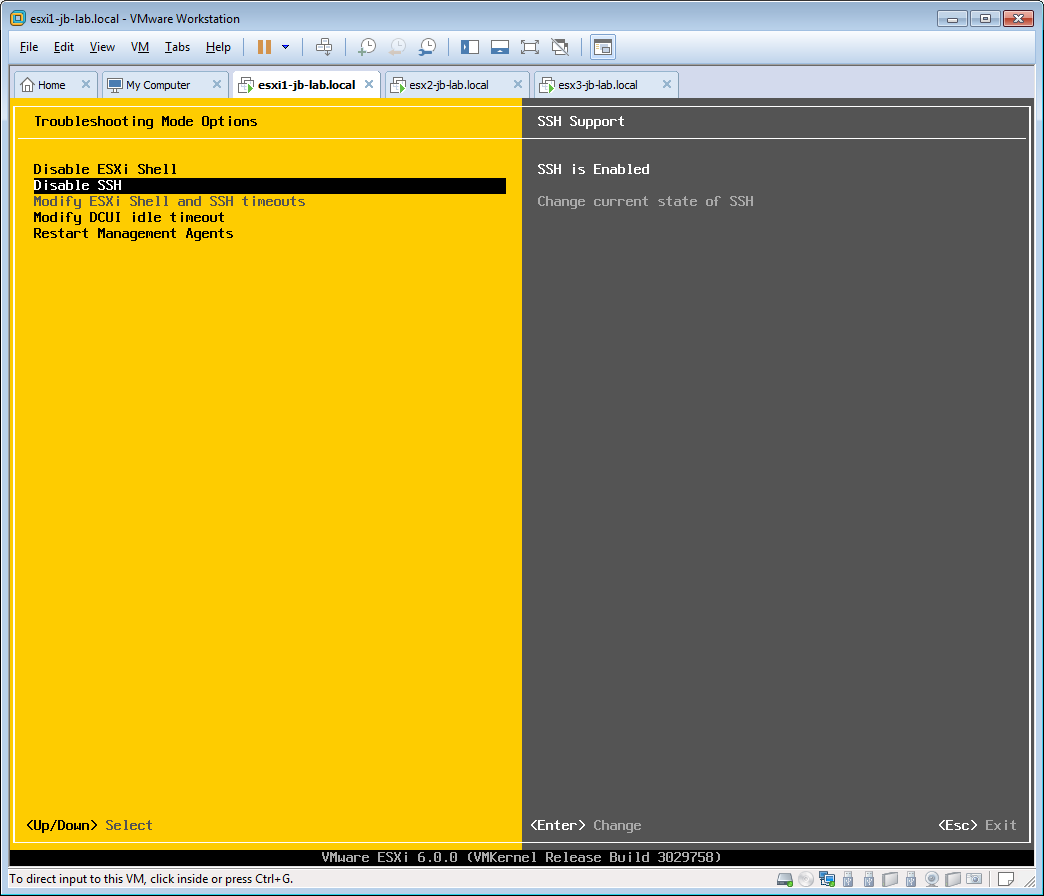
- First, select Troubleshooting options (this will save you an extra log-in after reboot!)
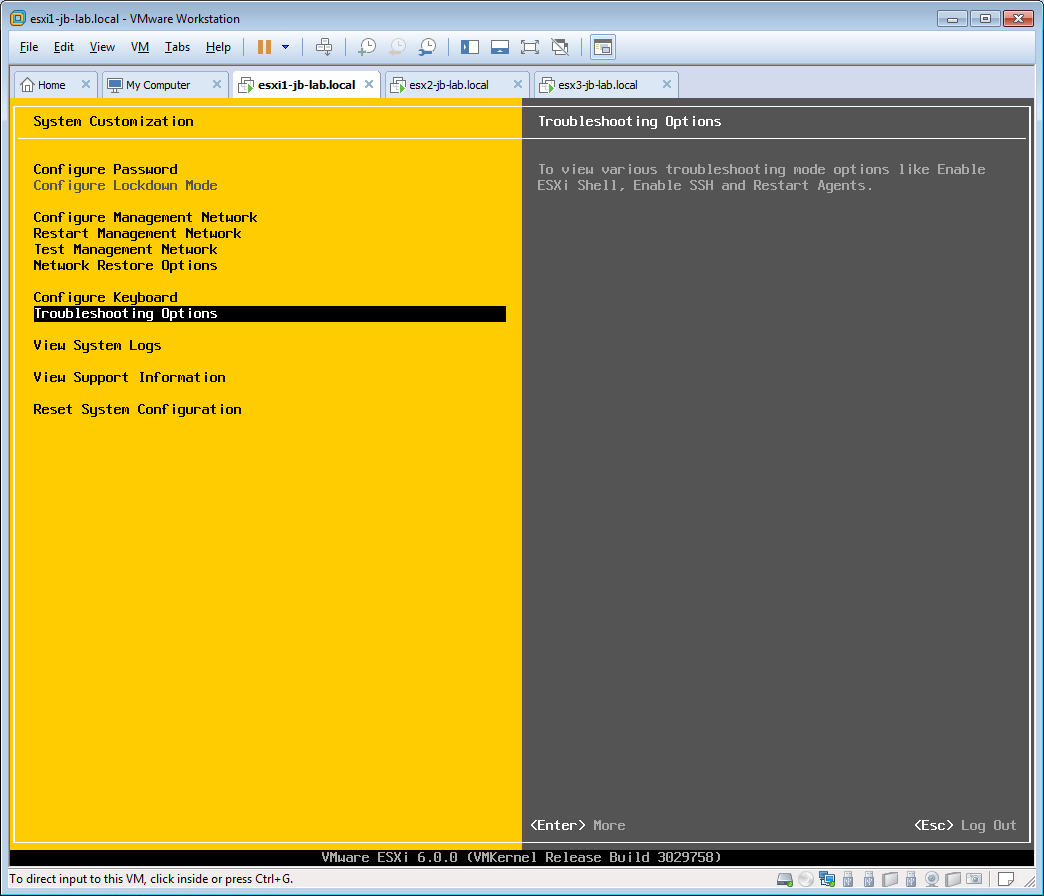
- Press [Enter] to enable both the ESXi Shell and SSH. You should know my feelings about SSH, and we are going to treat our Management Network as secure, so let’s do it!
- Now select the Management network and press [Enter]
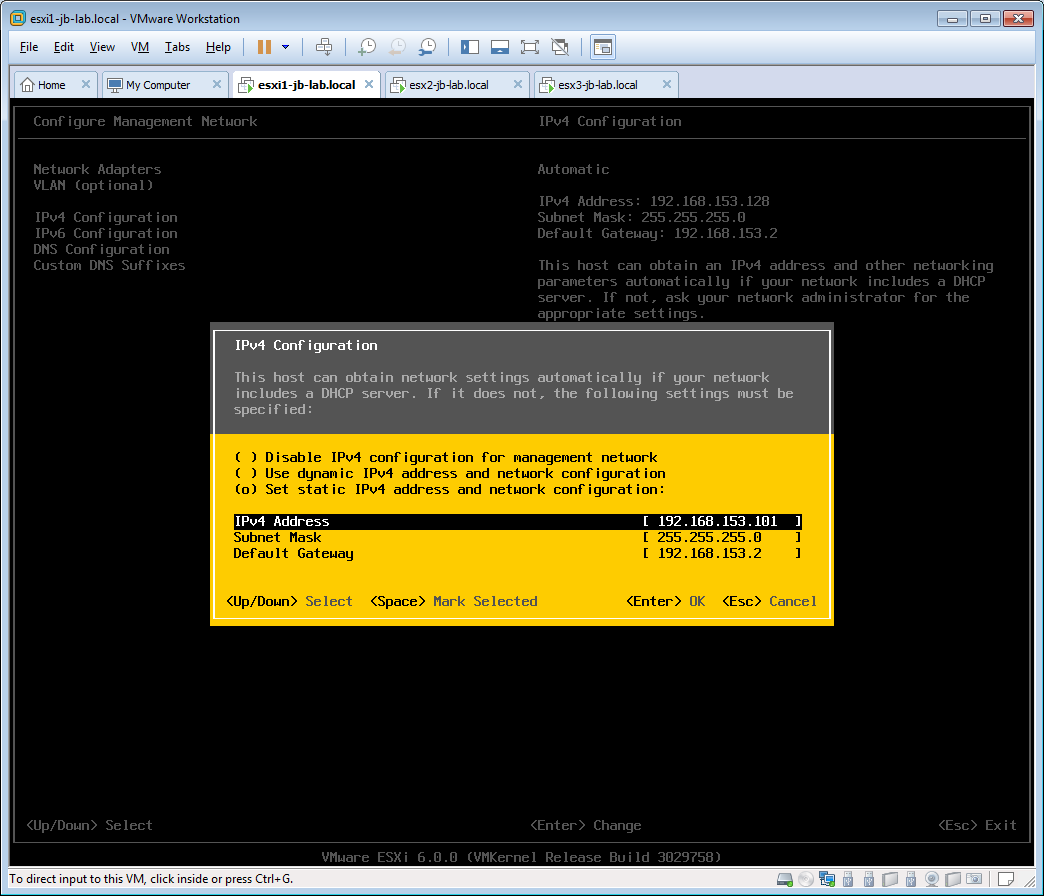
- Select the IPv4 Configuration and press [Enter]
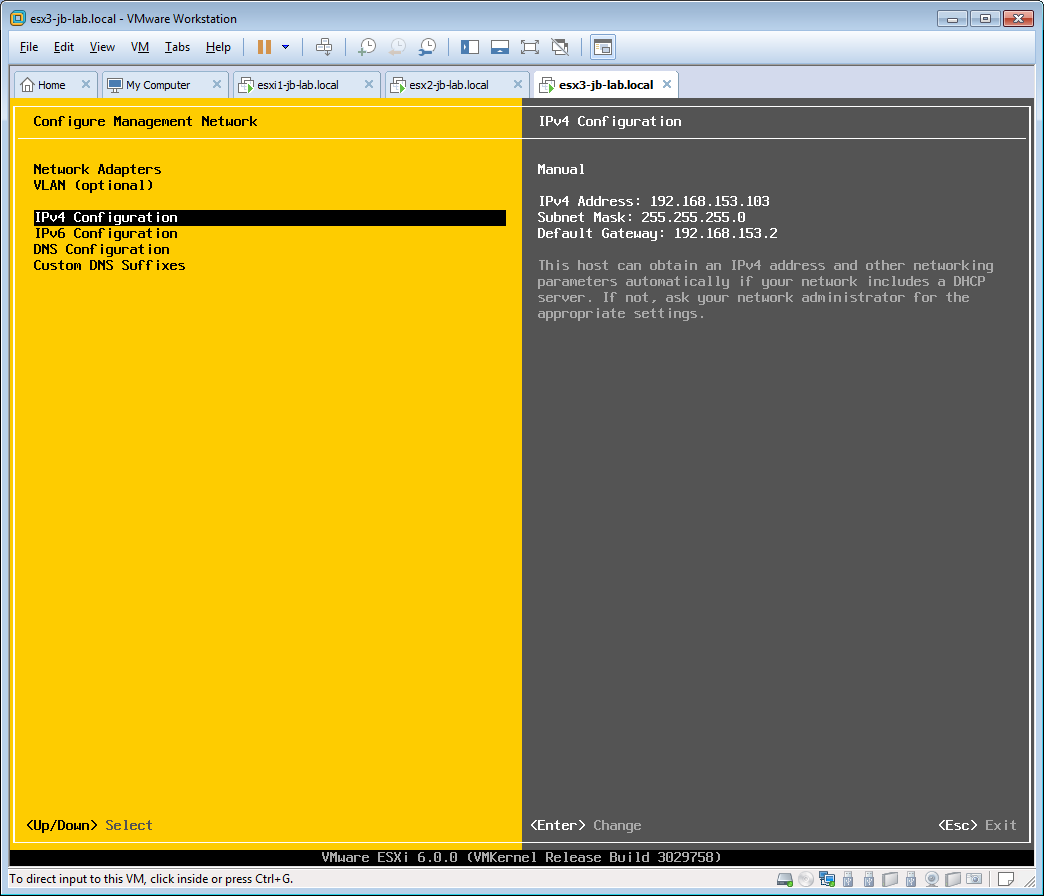
- Choose an IP address that will fall within an extensible Management network and is not within the DHCP range. Press [Enter]
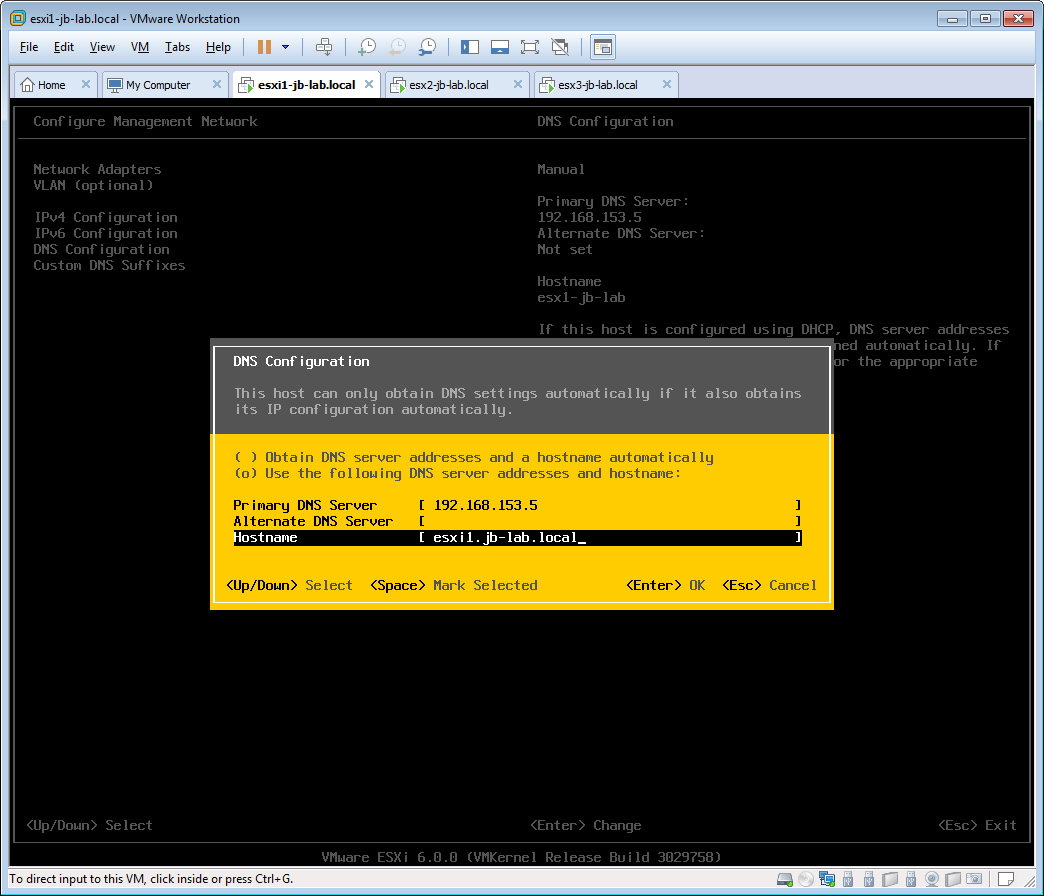
- Go to DNS Configuration and press [Enter]
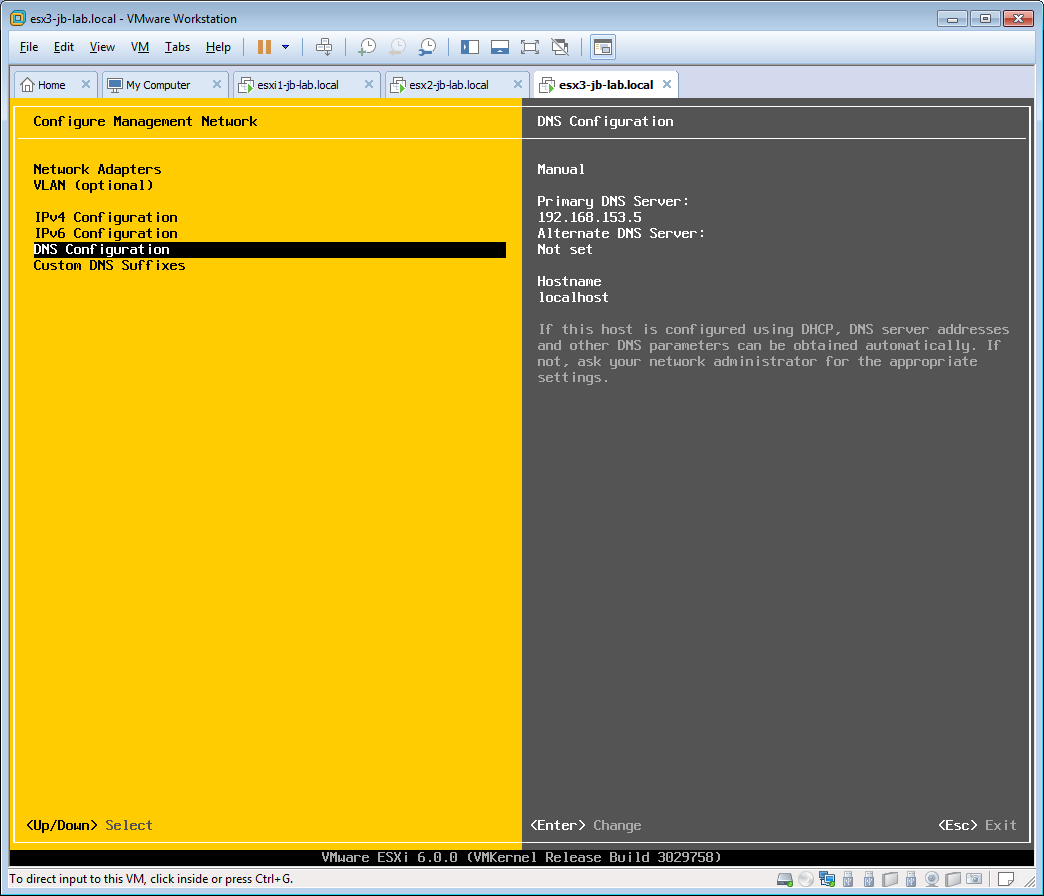
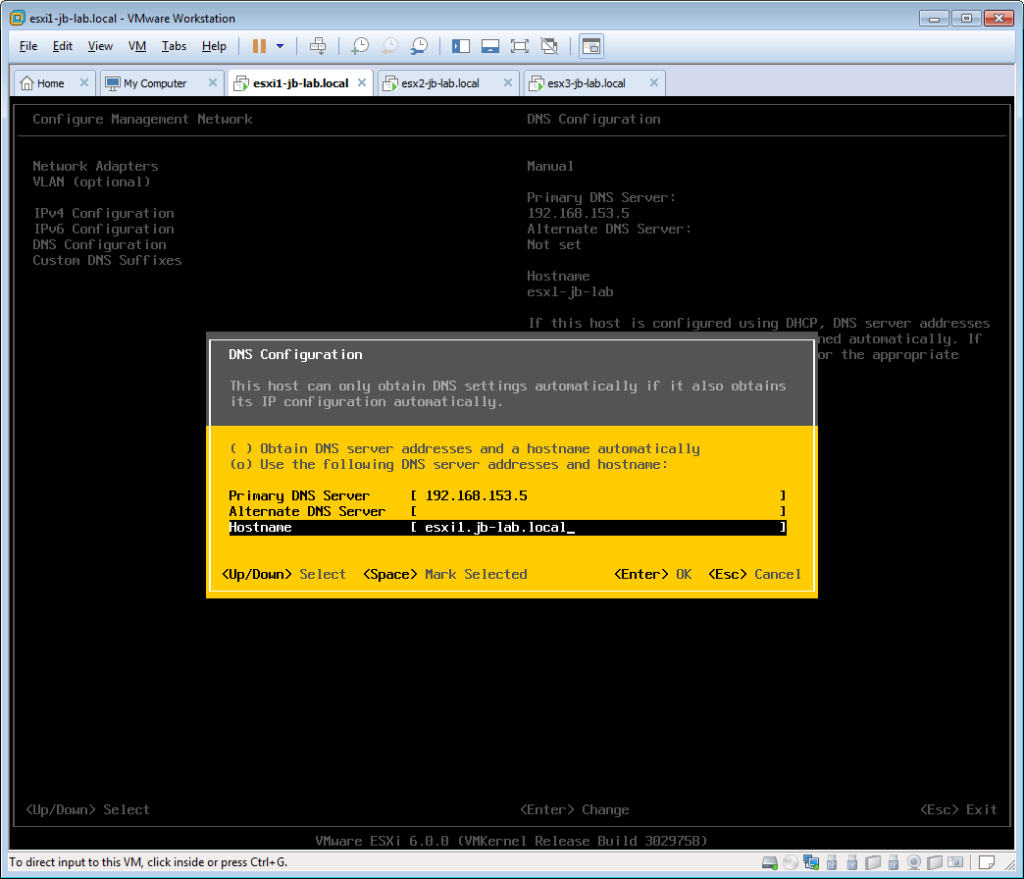
- Set the hostname the same as the VM name and set the DNS Server to an arbitrary low IP on this network, where we will create DNS then Press [Enter]
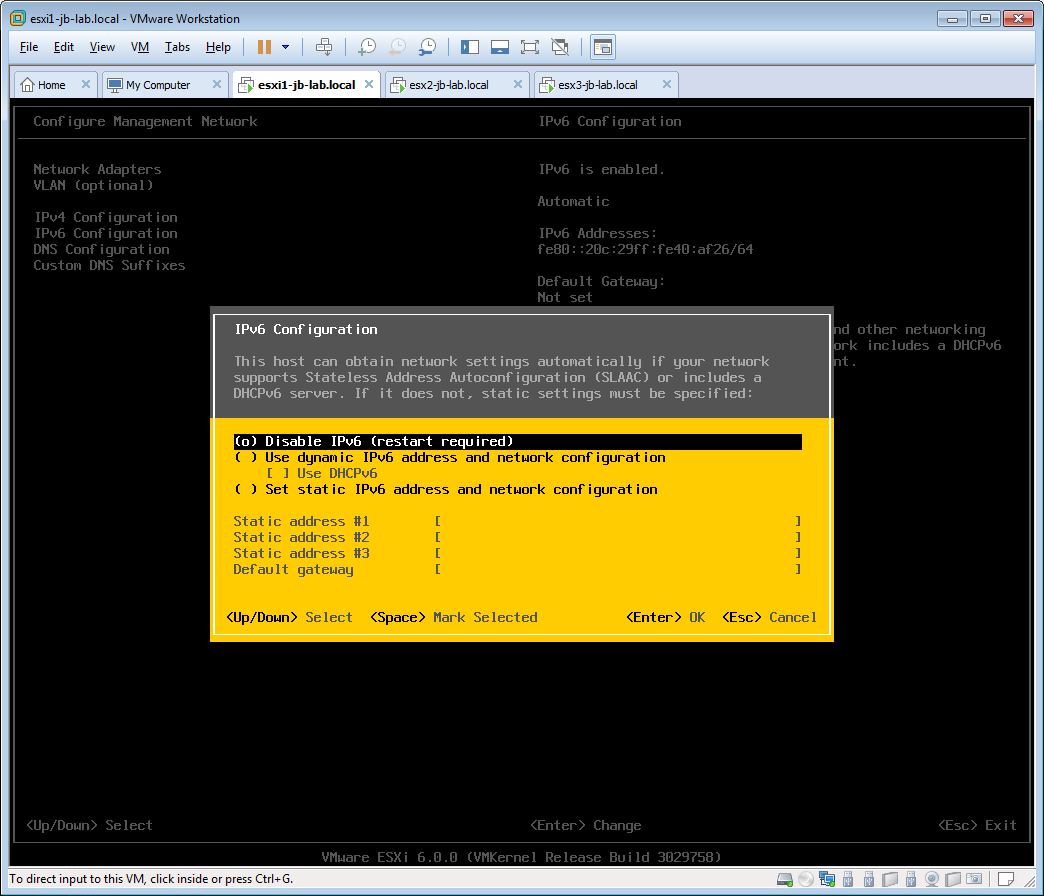
- Now go to IPv6 Configuration and press [Enter]

- Disable IPv6 Configuration and press [Enter]
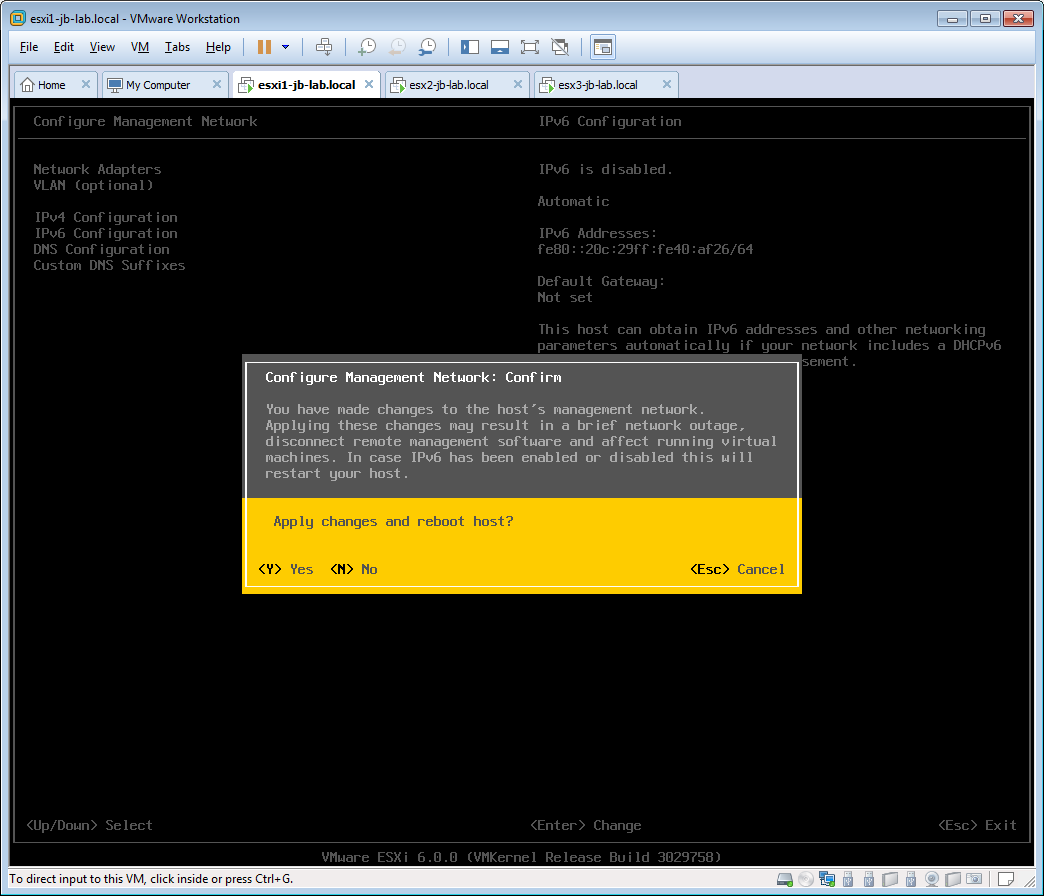
- Press [Esc]
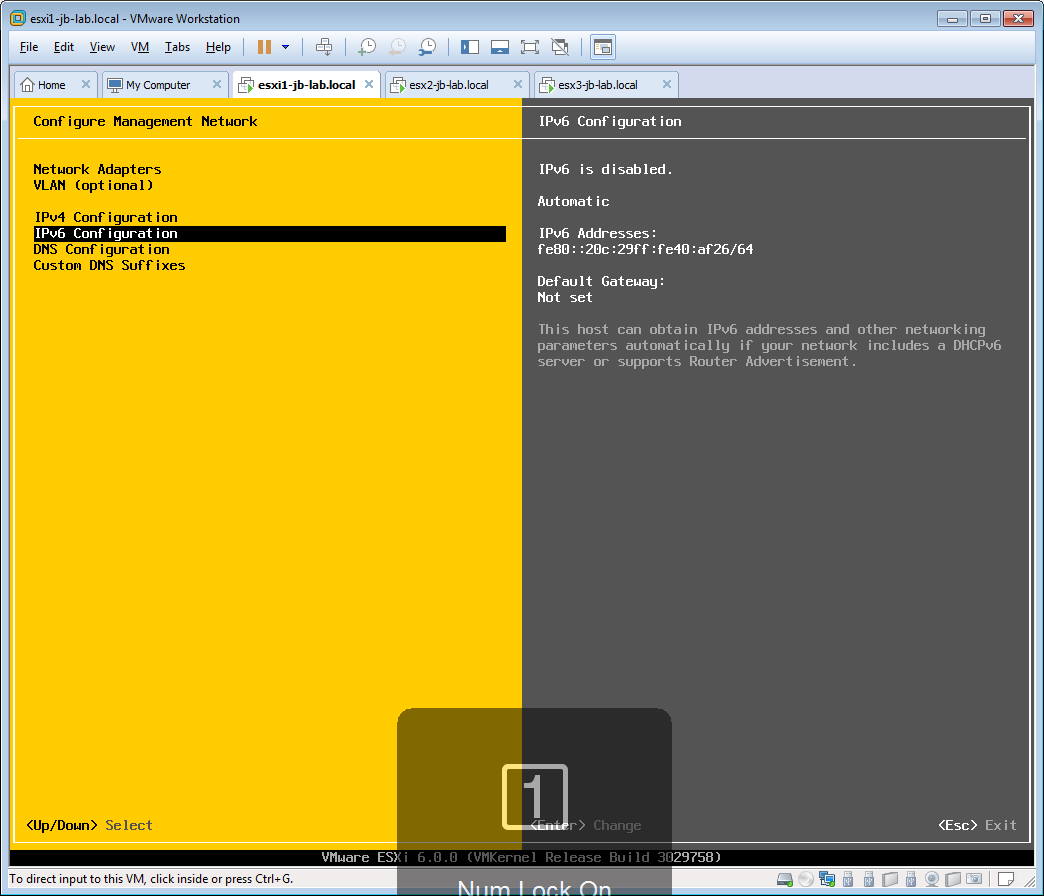
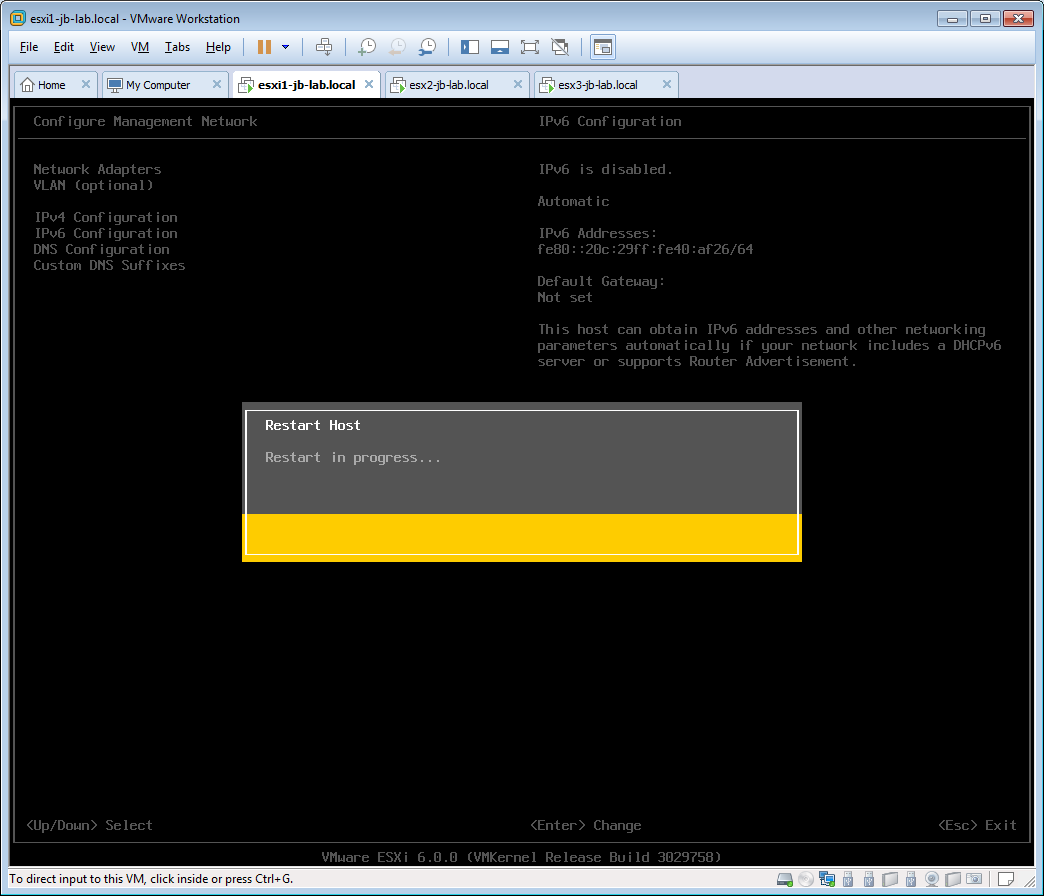
- Press [Y] to reboot
- Press [F2]
- Now do the same to the other two ESXi Hosts, except use unique Hostnames and IP addresses!
Coming soon…..
- Building a vSphere Home or Learning Lab – Part 2 – Installing the vSPhere Client, creating forward and reverse DNS, and then installing the VMware vCenter Server Appliance (VCSA)
hello John ,
This is really very useful article , Thanks for uploading for VMWARE Community . I have followed the shared steps , But unfortunately after installing the ESXI , I am ot able to connect my box through Vsphere clinet . I am using the same IP range what you have using in your screen shot . the moment I tied to I tried to login it gives me ” Unable to connect remote server server ” error . Will you able to help me here ? Thanks in advance .
one more quick thing , When we are giving host name . Do we need to use xxxx.local always , since i am using my laptop HDD to build these hosts
Ahhhh .. haa !!! Thanks . manage to fix the issue . I was using with NAT network LAN for management
No, you can use whatever domain you want. I am kind of tired of the whole .com thing, so I chose .local! Use whatever you want.
Hi, trying to follow this guide to set up a lab at home to learn:
Do I need to add all the VMnets to the ESXi hosts before it will work? I get this error: https://i.imgur.com/2mH7OIw.png here’s how it looks like https://i.imgur.com/ywRUVmD.png https://i.imgur.com/cKHyO6t.png https://i.imgur.com/QhCwyLS.png
This message only means that the gateway is not on the management network. For example: If the vSphere Management Network IP is: 192.168.100.101/24 (255.255.255.0), then the gateway needs to be somewhere in between: 192.168.100.1 and 192.168.100.254 (usually .1 or .254!)
Hi John great article. I am just wondering why we don’t use IPv6?
IPv6 is a fine protocol for public addresses, but simply unnecessary on a LAN. It may be technically “better”, but I still can’t remember an IP, whereas I know almost all my system IPv4 addresses by heart.
Thanks!
Hi thanks for the post, I am trying to setup a homelab using vmware workstation- vsxi7 which I want to run pfsense as the firewall, have a windows DC with dhcp and dns – then setup a windows client. I have tried to follwo several guids but seem to get stuck with the networking, when I try and set up using vsxi – it works fine if I set up in workstation, as soon as I try and replicat the lab in vsxi – the client does not get an ip from the windows DC, in PFsense I have created 3 network adaptors WAN LAN and DC.
How can I replicate the vmware network with the vsxi as I am not able to choose the different vmnet I setup in vmware
You have to set “promiscuous mode”