Building a VM with VMware Photon OS
When I first started using VMware products, ESX Server ran on Red Hat, Virtual Center (vCenter) ran on Windows, there was no such thing as a “Virtual Appliance,” or at least the term had not yet been coined and Photon OS was a long way in the future!
Along came ESX 3.5 and the first version of ESXi, and with that the OVF specification which VMware adopted immediately with native support for the format incorporated into VMware products by December 2007.
Back then, the few VMware Virtual Appliances that existed were distributed on CentOS. Unfortunately for all of us, Red Hat took over CentOS and changed the terms of the EULA so that distribution of pre-configured versions of CentOS was no longer permitted. That means that CentOS is still free, but once you alter the base OS, you are no longer permitted to re-distribute it.
Many people, myself included, looked elsewhere. Scientific Linux, for example, is a perfectly good example of a Fedora based Linux distro that remains fully GPL. I turned to Debian and Ubuntu Server as my preferred distro. Ubuntu is completely free to install and use, yet enterprise support is available should you need it.
VMware, instead, partnered with, and gradually migrated its Virtual Appliances to, SUSE Linux Enterprise Server. SLES is a fine distro, and in many ways familiar to of Fedora based systems. Yet there are some nagging differences, like the package management system, and increased mandatory security requirements. Sure, you can configure password strength and history requirements with SLES, but most admins didn’t. I can’t tell you the number of times I came across VMware Virtual Appliances on jobs that had to be trashed ate because the original installer was required to choose a password that was just a little bit stronger than their normal, and they forgot to record or remember the stronger password. Stronger is not better, if you have to write it down on a post-it note and stick it to your monitor!
This brings us to the state of VMware Virtual Appliances today where, VMware seems to have reversed course and returned to a RHEL/CentOS lookalike distro with Photon OS. Although described by VMware as “yum-compatible,” this is tantamount to categorizing Photon OS as a Fedora derivative since Linux distros are grouped by their installation and package management systems.
Getting Photon OS
VMware has open-sourced Photon OS and it is very easy to get: https://vmware.github.io/photon/
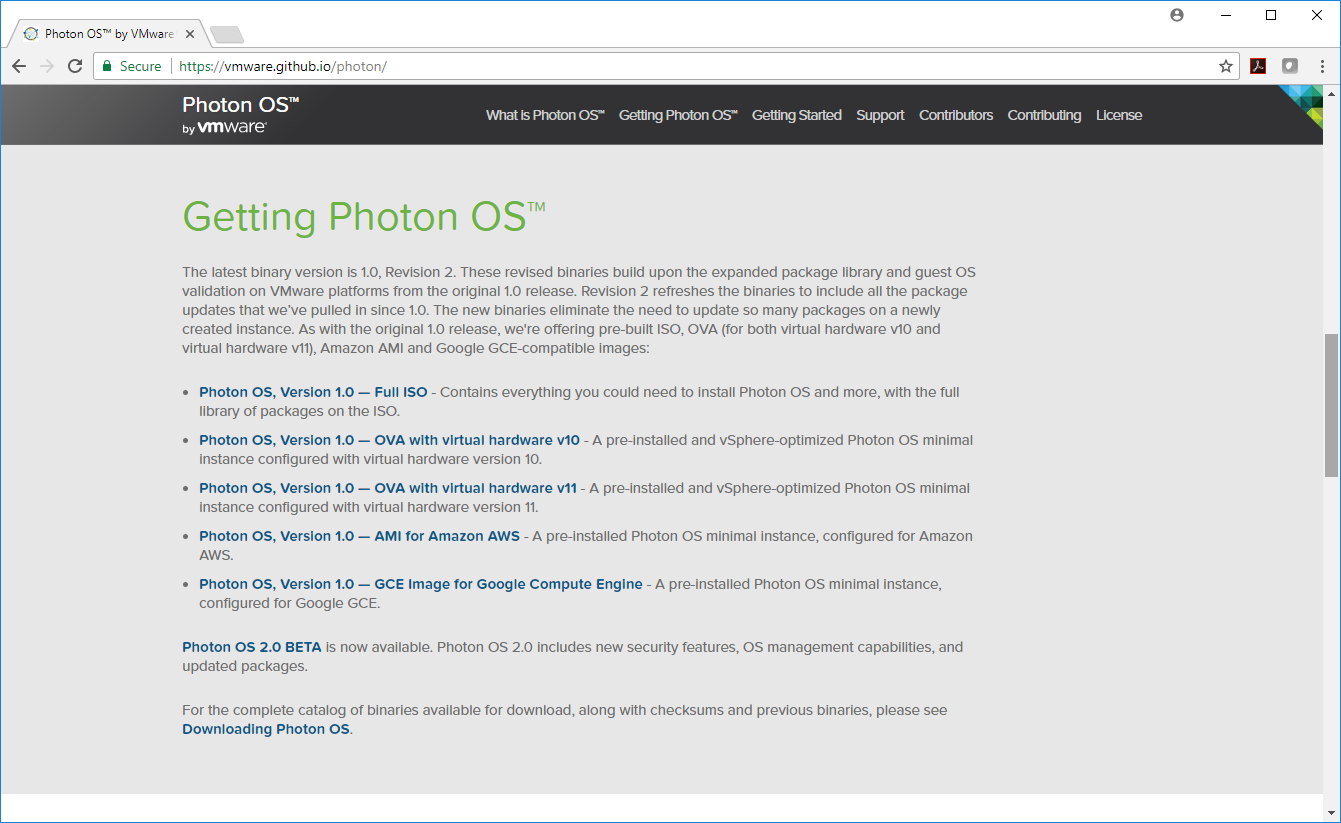
You can choose from a number of pre-configured OVA Virtual Appliances, or get the Full ISO and build your own VM. I recommend getting the full ISO, and building your own VM.

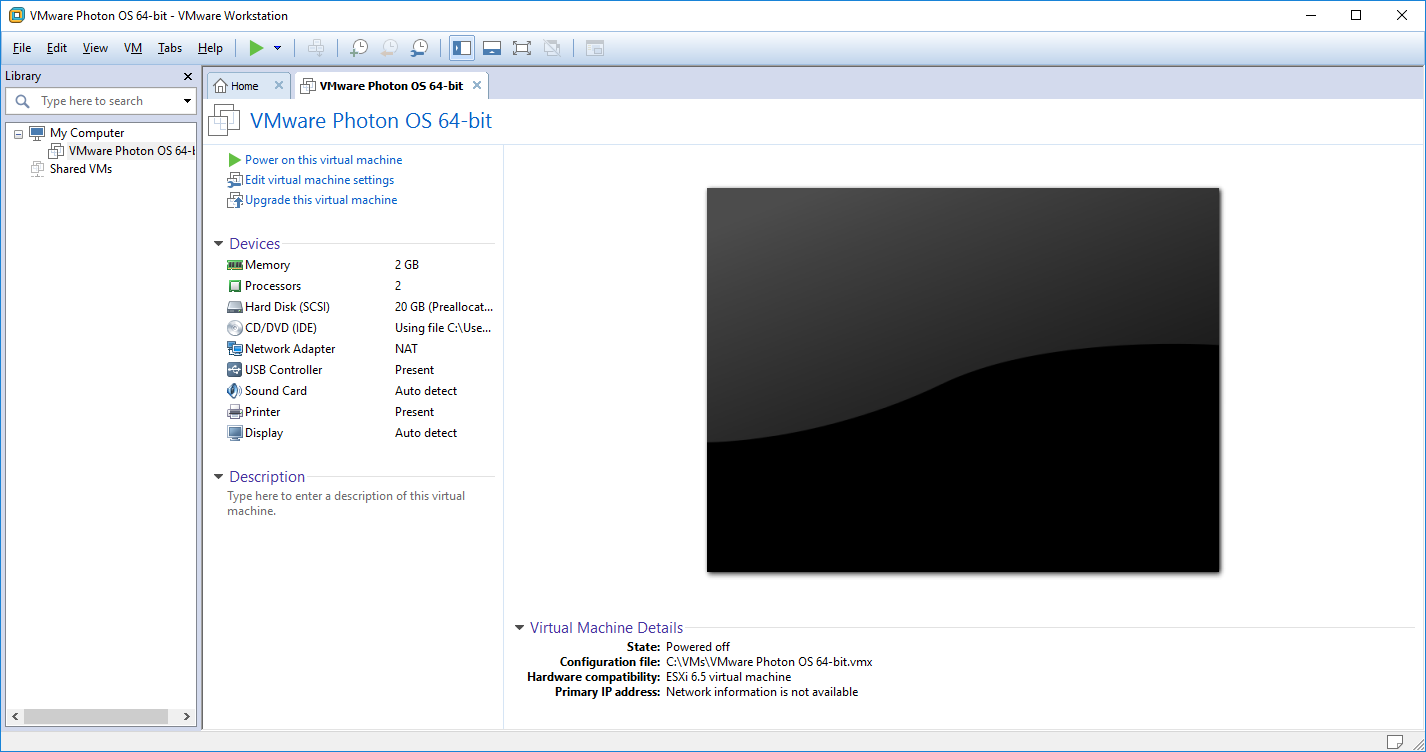
Because of problems with the vSphere Web Client, we will be building our VM on Workstation Pro and making it vSphere Compatible
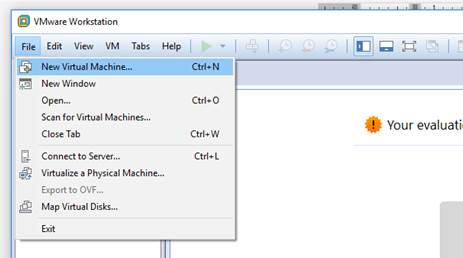
In Workstation Pro, select: New Virtual Machine
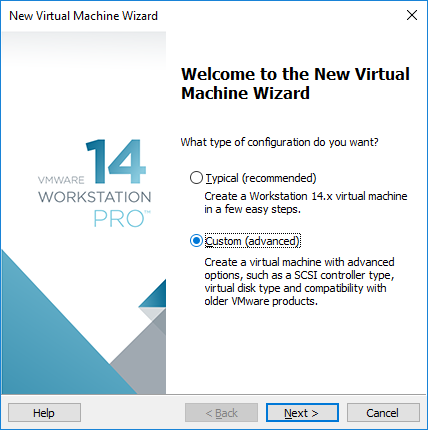
Always choose: Custom (advanced)
The “Typical” install often makes assumptions and obfuscates steps which may be necessary or advantageous in the learning process. If you are using Workstation Pro as a lab/support/ or learning platform, youe needs will only be served by choosing a Custom installation.
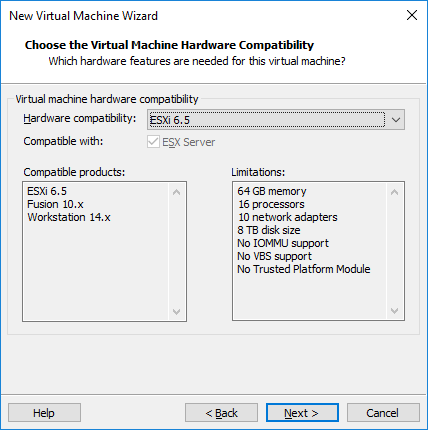
We are using Workstation Pro to build the Photon OS, but the target is a Virtual Appliance for VMware vSphere
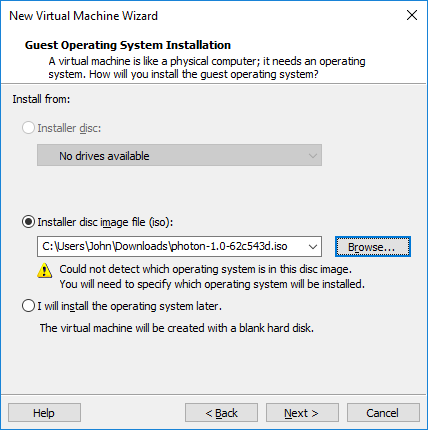
Point the installer at the Photon ISO that we downloaded
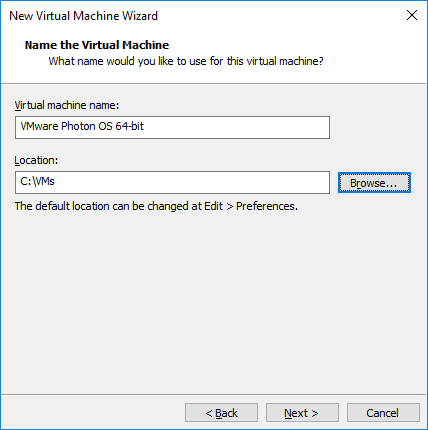
Select Linux, and in the drop-down, choose: VMware Photon OS 64-bit

Name your VM and give it a location
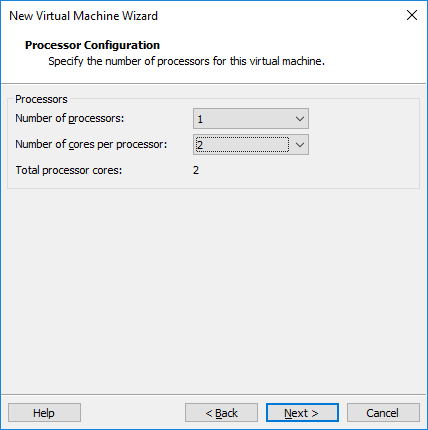
Select the number of CPUs.
I prefer to add more Cores to a single Socket, before I increase the number of Sockets.
The CPU resources of the VM is equal to the “Total processor cores” (A.K.A. vCPU) no matter what!
I am choosing a moderate CPU setting of 2 vCPU
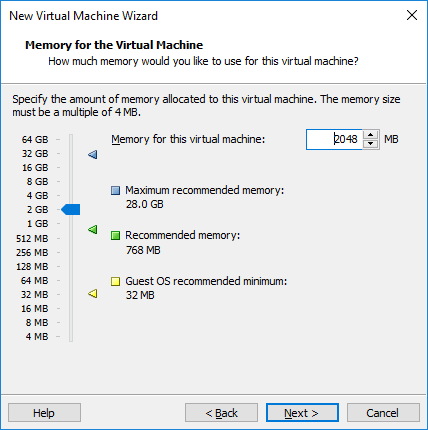
I will choose a moderate RAM setting of 2GB
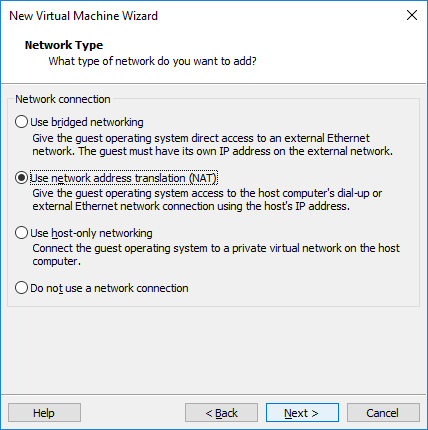
I am going to put my VM on NAT, that way, I will have access to the internet to perform updates after it is installed.
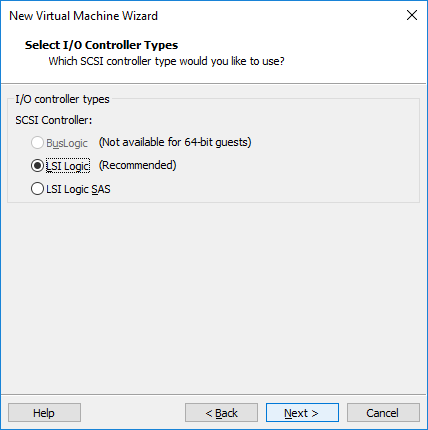
Default choice: LSI Logic
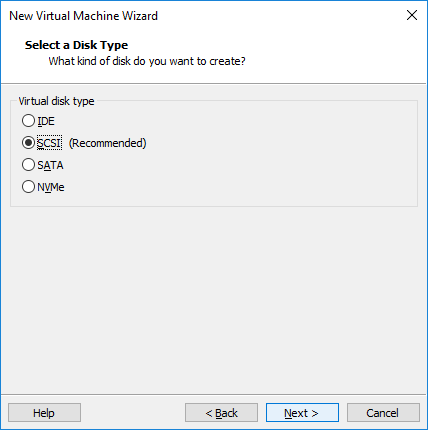
Choose SCSI
Choose: New disk

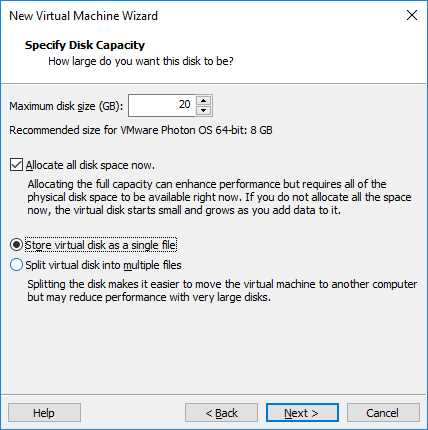
I prefer to both: Allocate all disk space now and: Store virtual disk as a single file.
These choices might make the VM less compatible with primitive file systems like FAT, but I don’ particularly care. I am building this for vSphere, and I am building on NTFS with a SSD, so I am choosing performance-oriented options.
I allow Workstation Pro to name the Virtual Disk
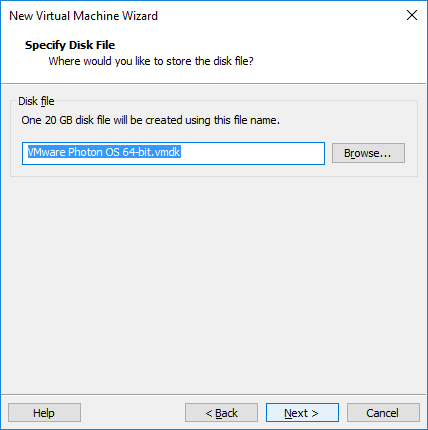
And Finish
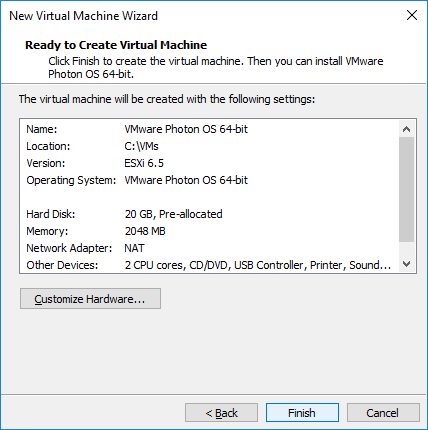
Once the VM is created, you will need to power it on
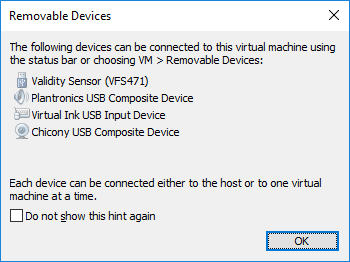
You may be immediately promped with all of your host devices that could be connected to your VM, should you choose to do so.
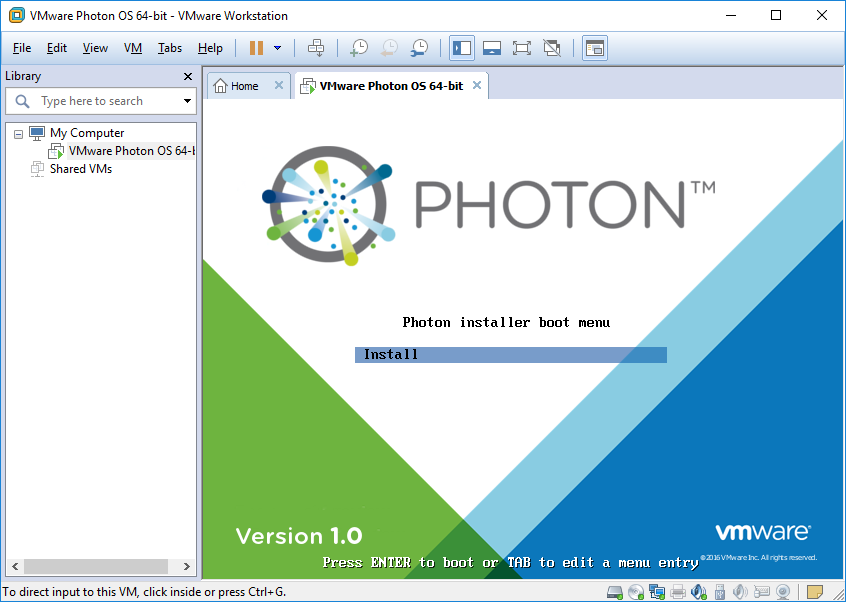
And shortly thereafter, you will have access to the Photon OS installer in the console
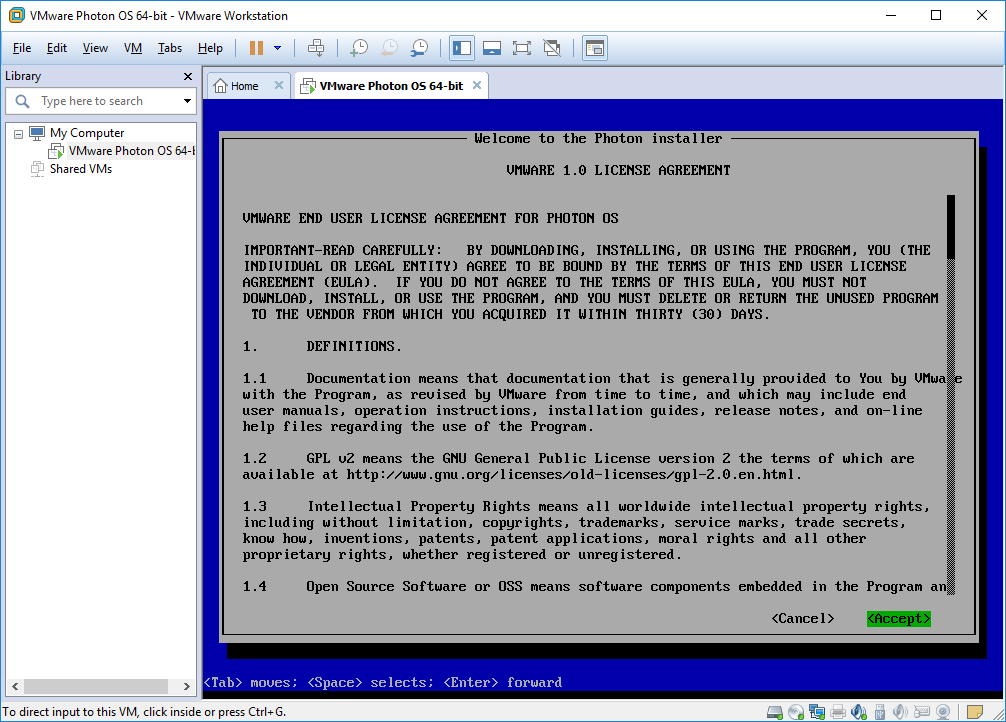
Accept the EULA
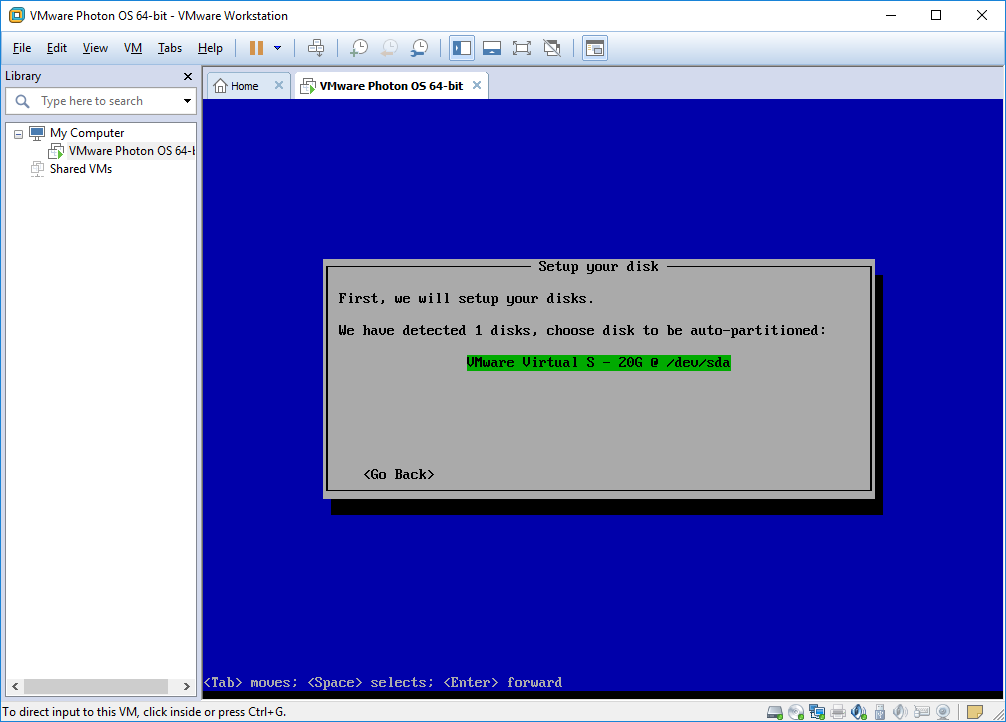
Choose the (only) disk: /dev/sda
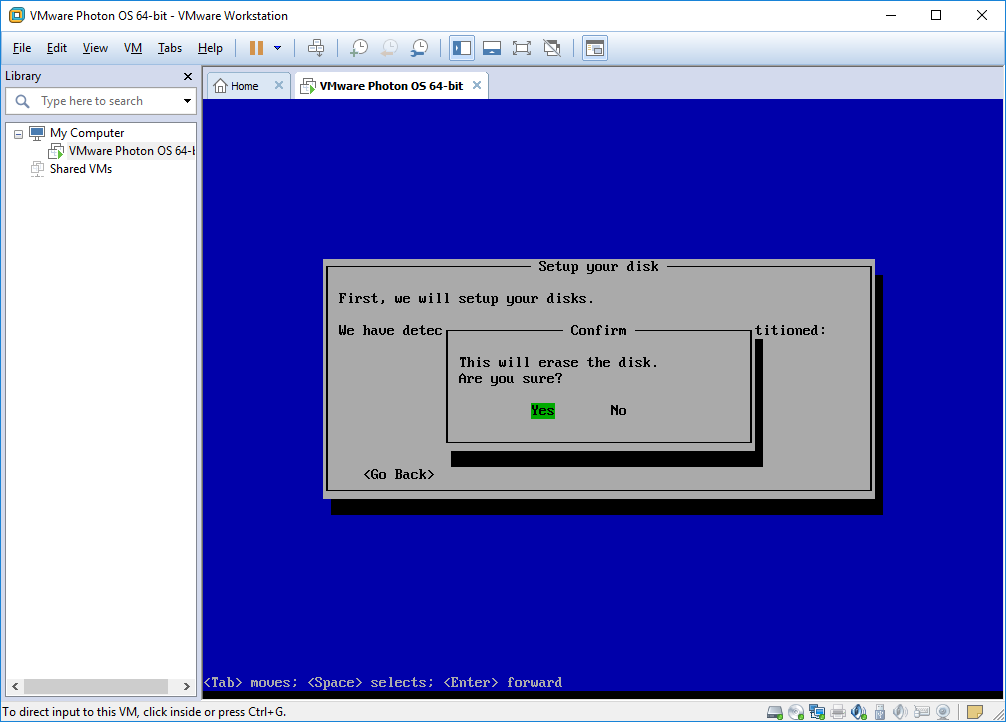
Yes
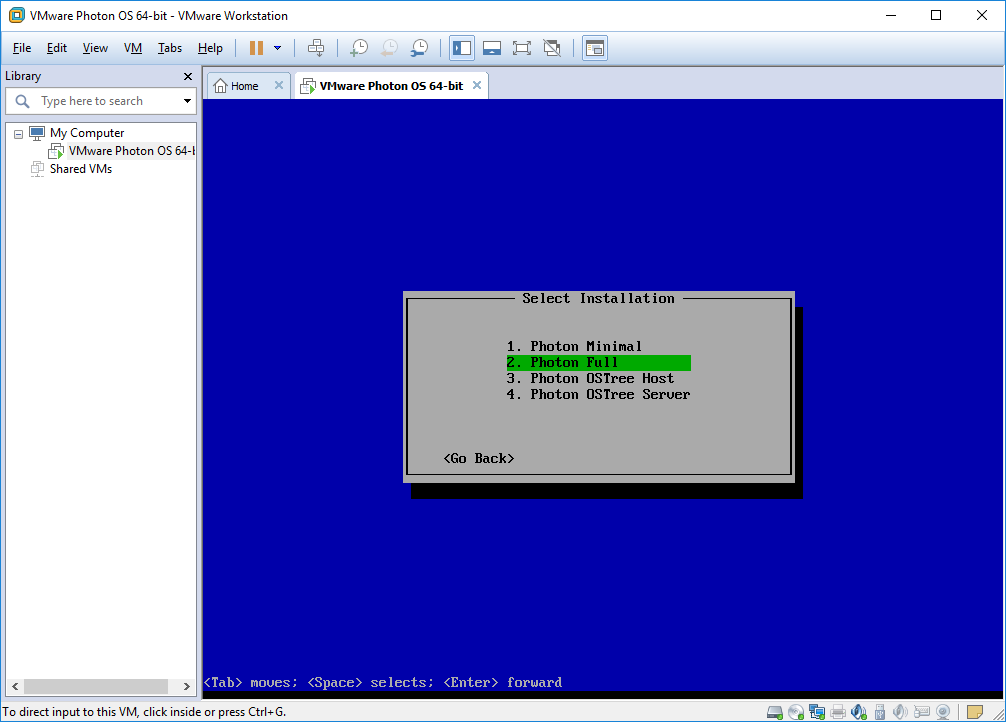
Choose: Full (or other choice as best suits your need)
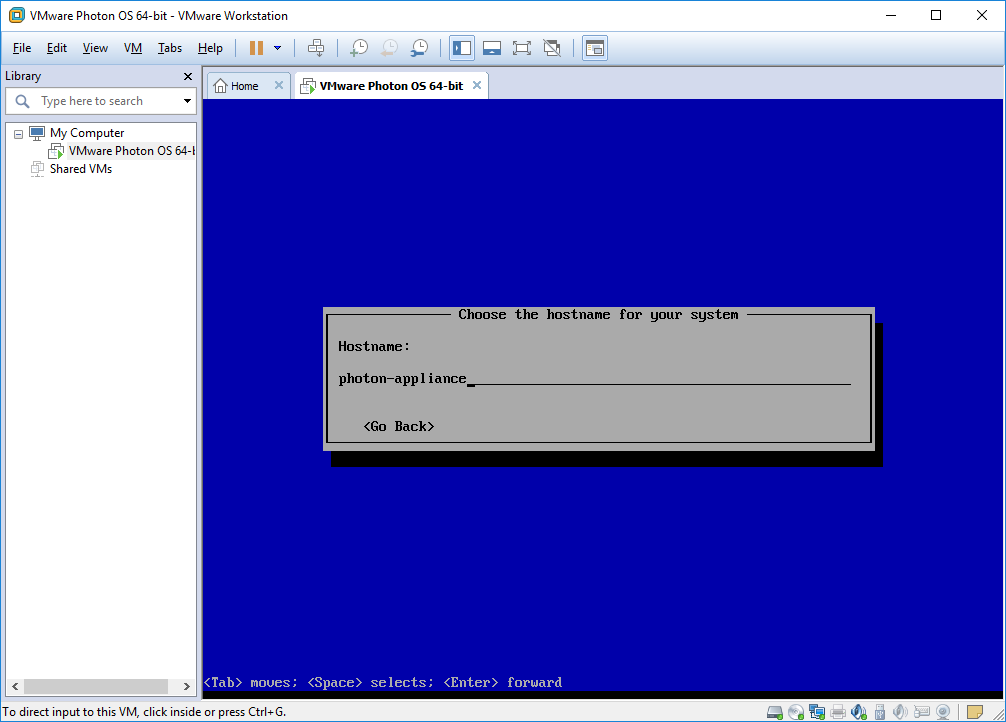
I set the Hostname: photon-appliance
NOTE: this is a 16-character hostname and thus not compatible with Active Directory
I am going to set the password to: photon appliance
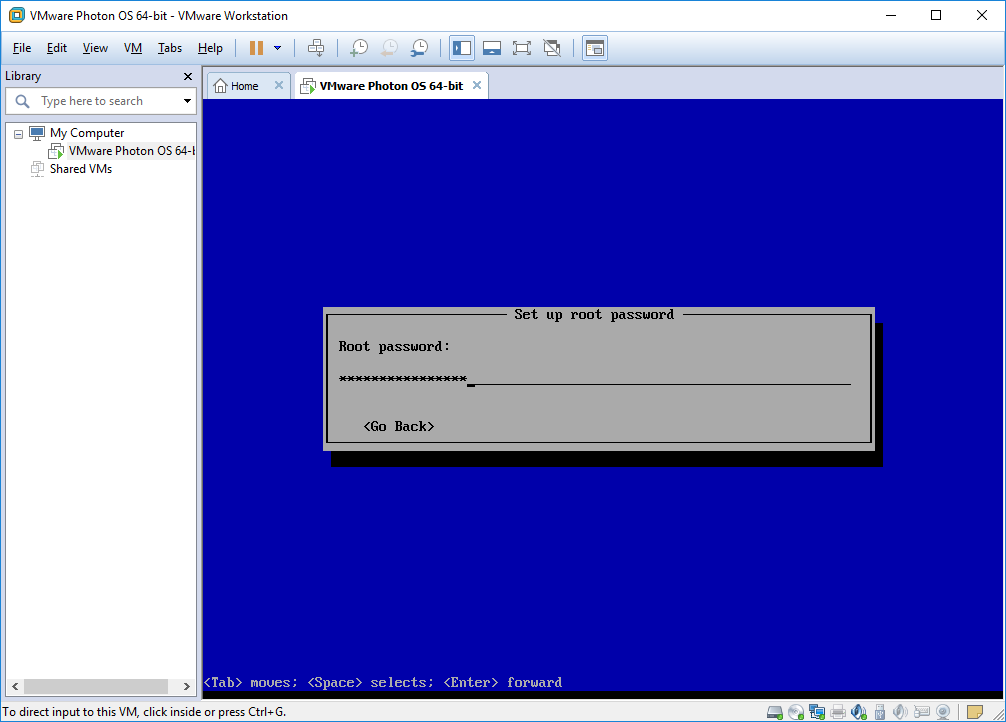
And repeat: photon appliance

And watch the installation
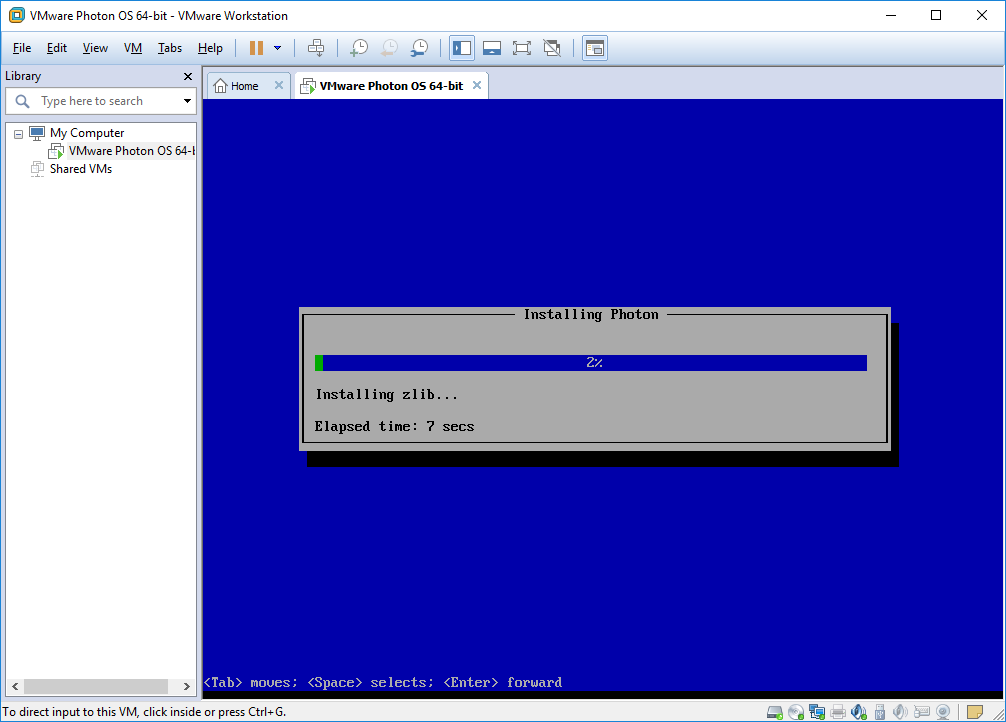
After 240 Seconds (on my system), the installation is done and I press [Enter]

Photon OS boots

And I login with the username: root and the password: photon appliance
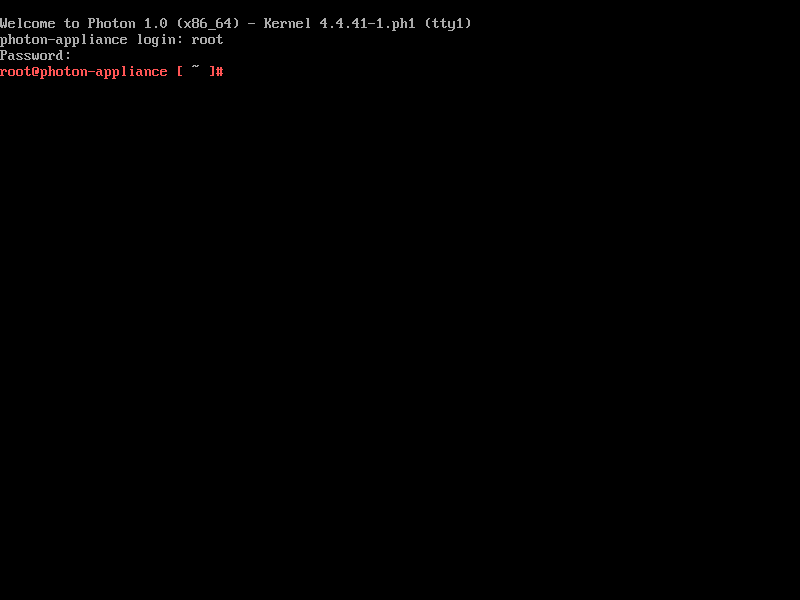
The installation of Photon OS as a VM on Workstation Pro is now completed!