Backing up and restoring the vCenter Server Appliance 6 database
One extremely important advantage of the VMware vCenter Server Appliance (VCSA) is its native PostgreSQL (vPostgres) database. With the embedded database and VCSA, it is now possible to support installations which scale to the maximum capability of vCenter, without additional Operating System or Database licensing costs.
Incumbent with the use of VCSA, however, comes a certain degree of responsibility for backing up the PostgreSQL database embedded with the vCenter Server Appliance. A good backup of the VCSA database makes the following tasks much easier:
- In-place restore of VCSA database
- Migration to a different installation of VCSA
- Protection of vCenter tasks & events for auditing purposes
The process is actually very simple and detailed in VMware KB: 2091961, however typical to VMware, there are few actual procedural details which might help an admin who was not intimately familiar with Linux procedures, for example:
- How do you create the folder you want to keep database backups on the VCSA?
- How do you transfer the vCenter vPostgres backup and restore package linux_backup_restore.zip to the VCSA?
- How do you extract a ZIP archive on a Linux system?
- How do you retrieve the database backup from the VCSA once it is created?
I will answer these questions in a simple, step-by-step procedure with screenshots and suggestions for applications and settings to use in the process.
Preparing to back up the vCenter Server Appliance (6.X) Database
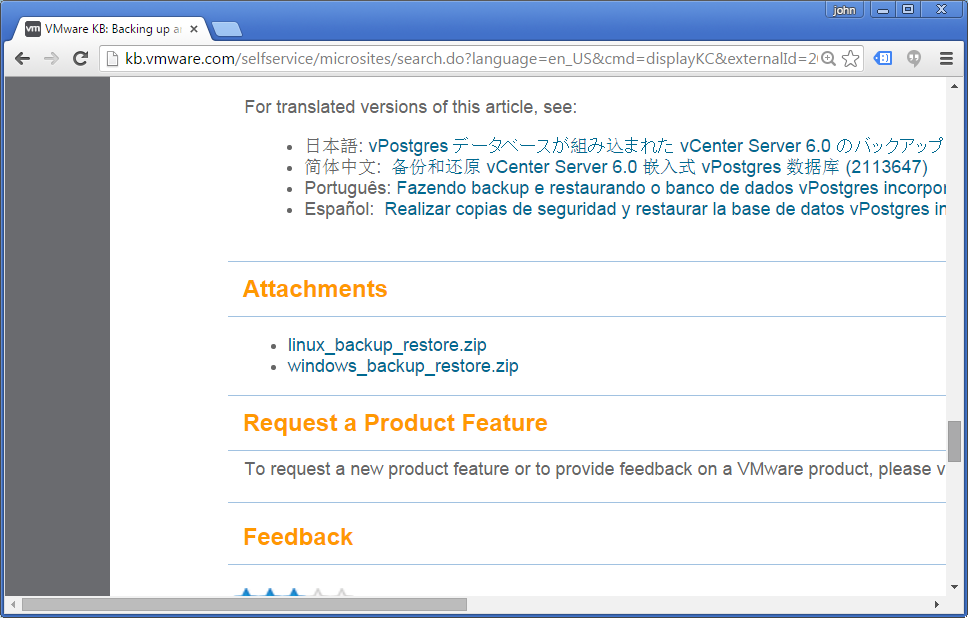
Open the VMware KB: 2091961 and scroll down to locate the attachment: linux_backup_restore.zip
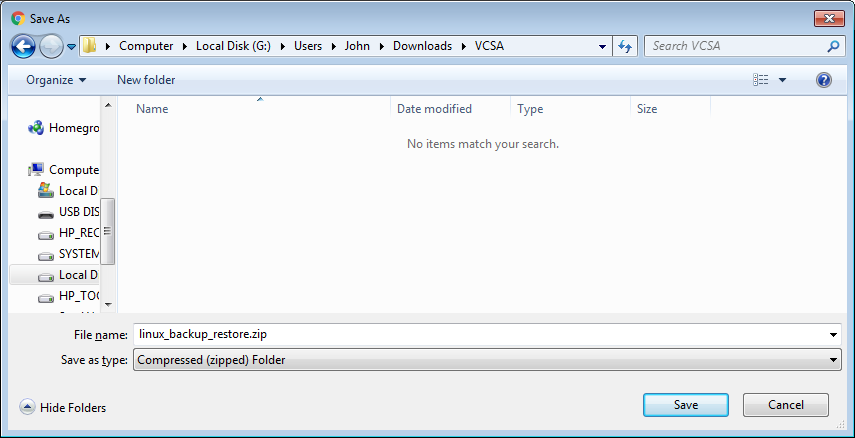
Save the file to an appropriate folder on your local Windows system
Install WinSCP
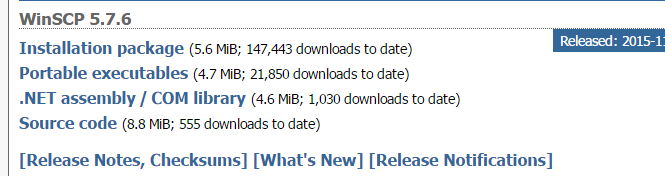
Now, if you don’t already have it installed, go get the WinSCP Installation Package. WinSCP is free and one of the most useful utilities with vSphere in general, but there are some WinSCP settings specific to vSphere and the VCSA.
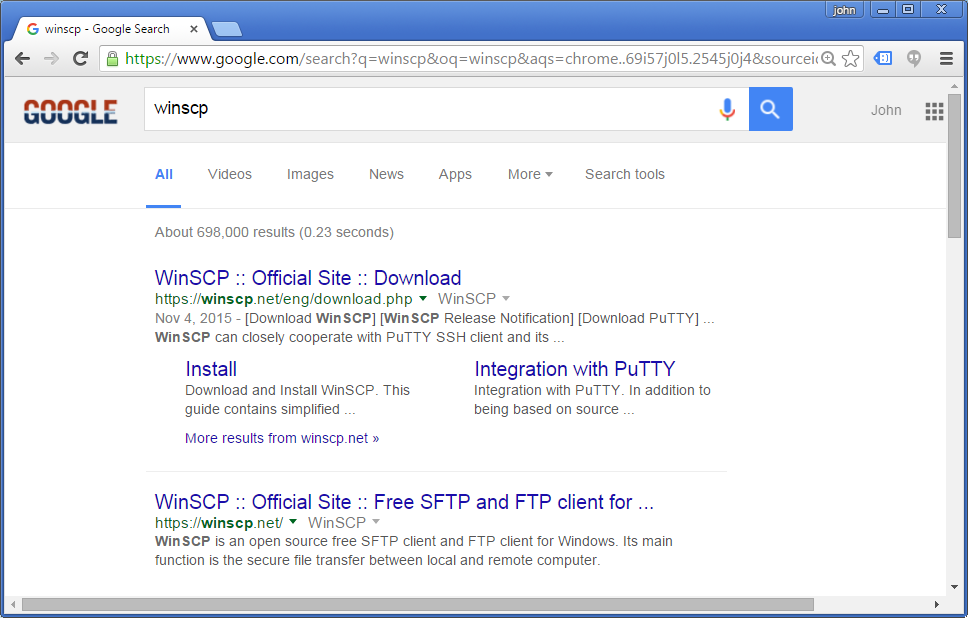
Get the Installation Package so you can save settings specific to your environment
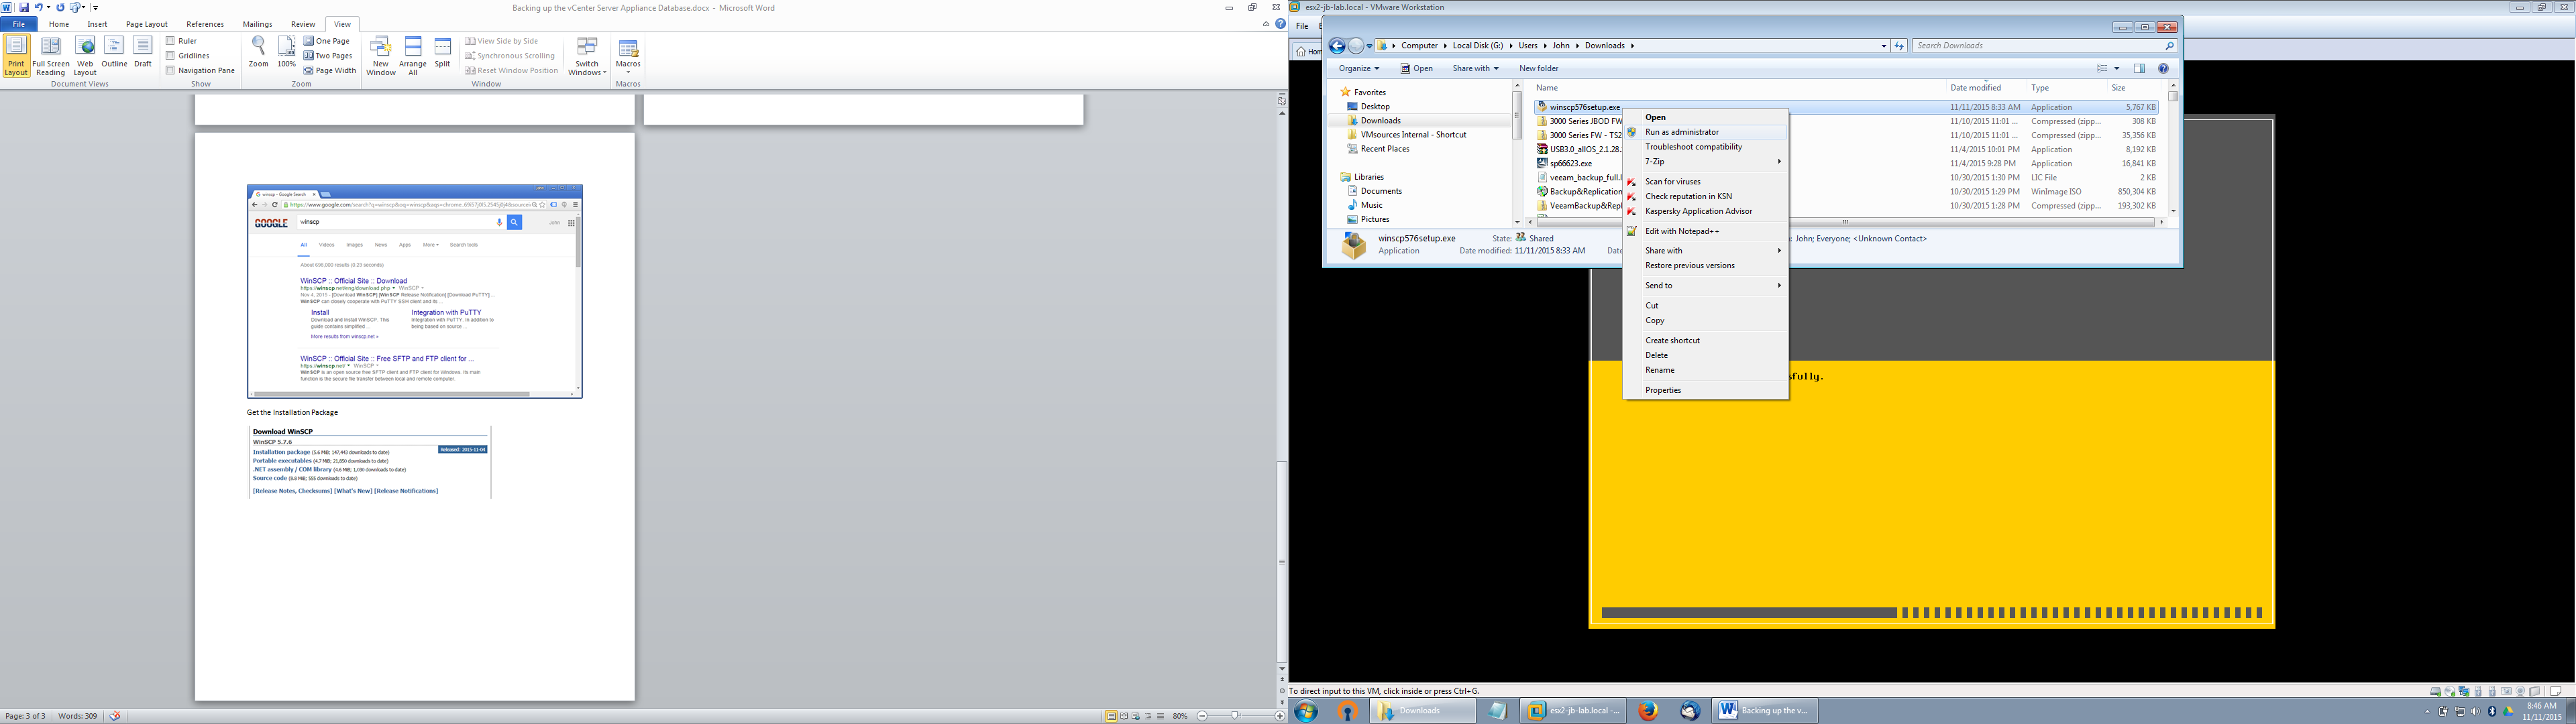
Run as administrator
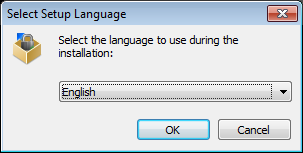
Choose your language and then: OK
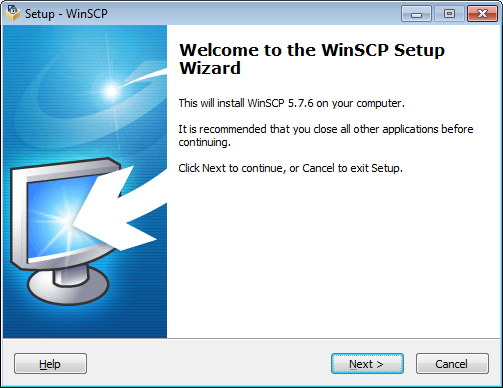
Next
Accept and then Install
Choose to donate and/or Finish
Enable SSH on the VMware vCenter Server Appliance 6
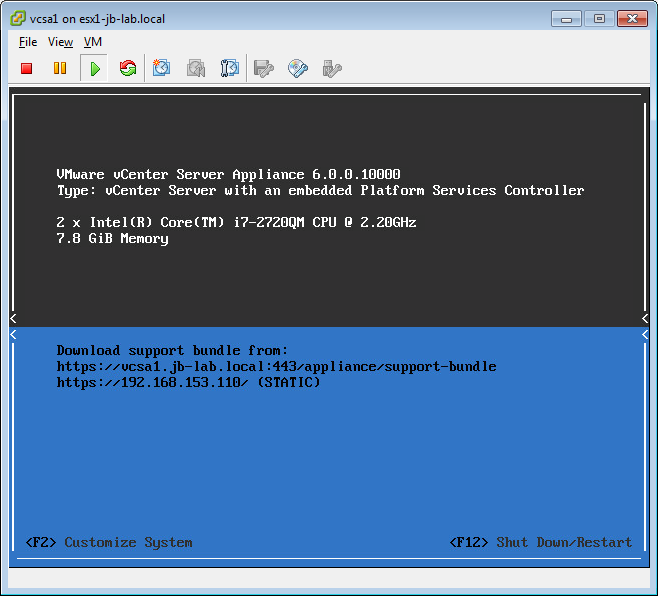
Using a vSphere Client, open a Virtual Machine Remote Console window to your VCSA installation to make sure SSH is enabled.
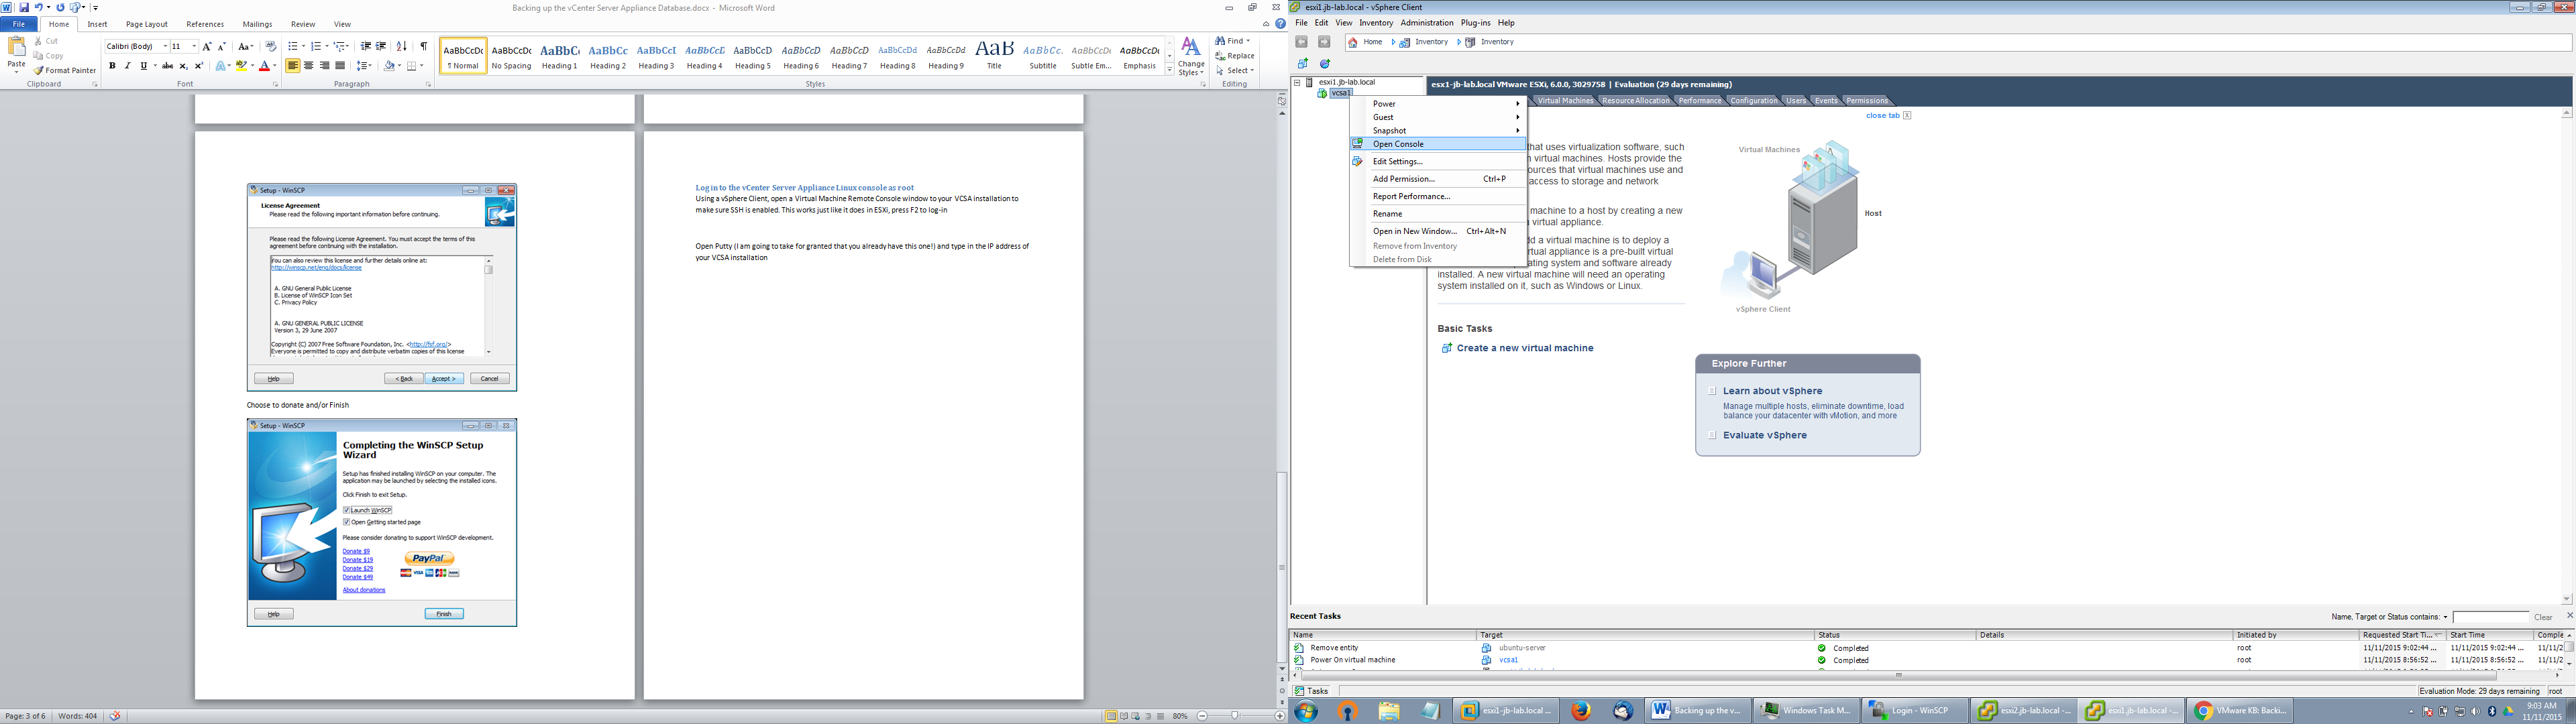
This works just like it does in ESXi:, press F2 to log-in

The password you specify here will be the OS password you set when installing the VCSA.

Using the up/down arrow on your keyboard, scroll down to: Troubleshooting Mode Options then press: Enter
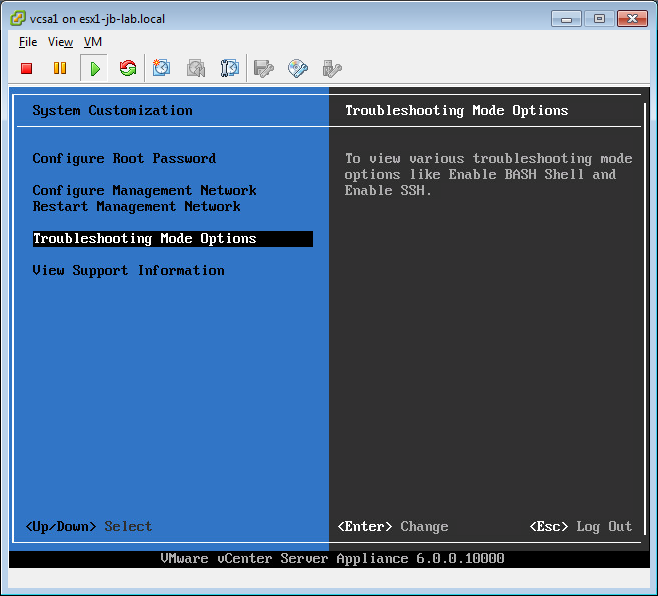
Now, using the up/down arrow, highlight: Enable SSH and press: Enter to toggle SSH for your VCSA installation. NOTE: it is not necessary at this time to enable the BASH Shell, we will do that from Putty

When set correctly, this is how it looks:
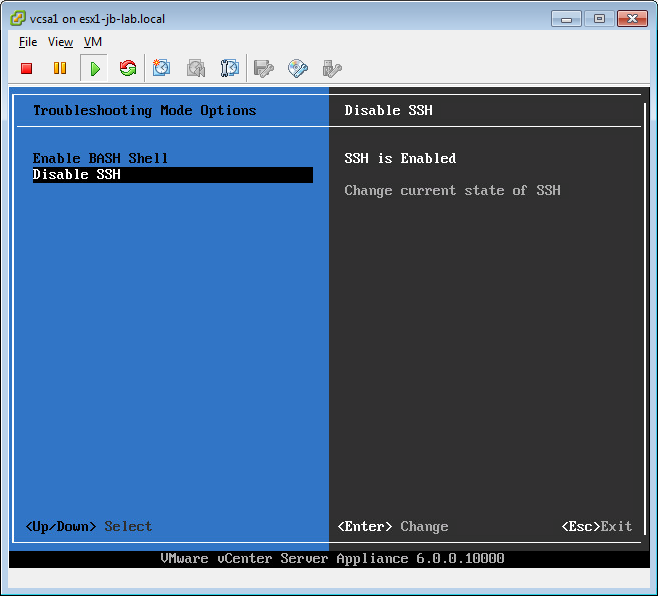
Press: Esc to exit
Log in to the vCenter Server Appliance Linux console as root
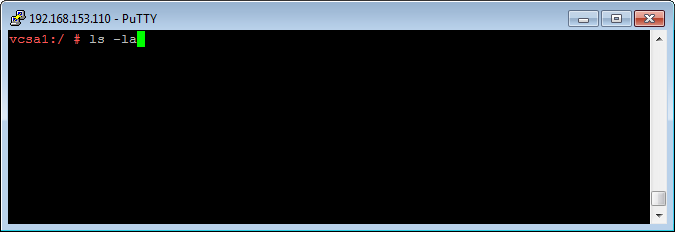
Open Putty (I am going to take for granted that you already have this one!) and type in the IP address of your VCSA installation (in my example above, it is: 192.168.153.110)
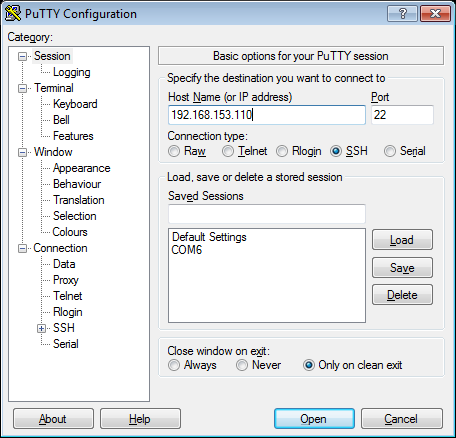
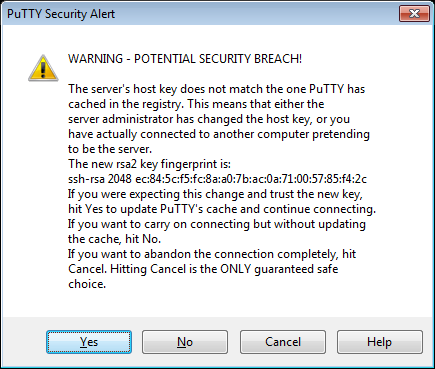
Yes to accept
Enter the username: root and the password that you set for your OS installation.
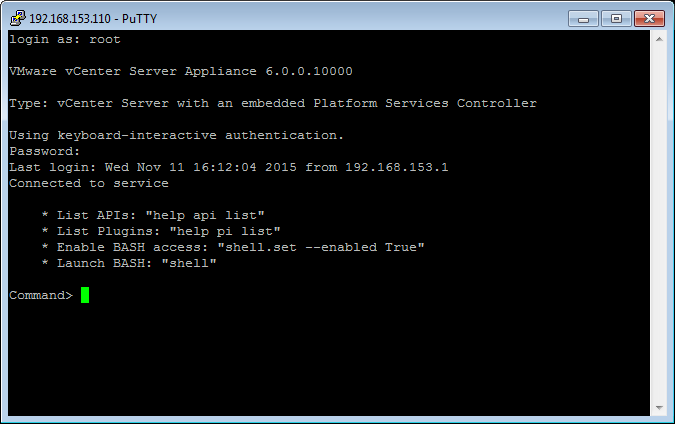
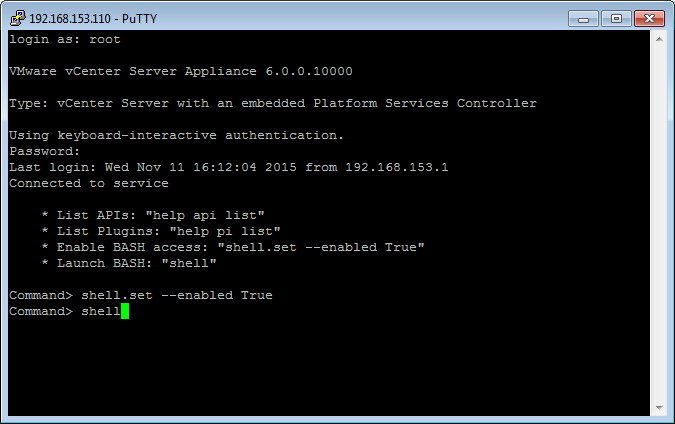
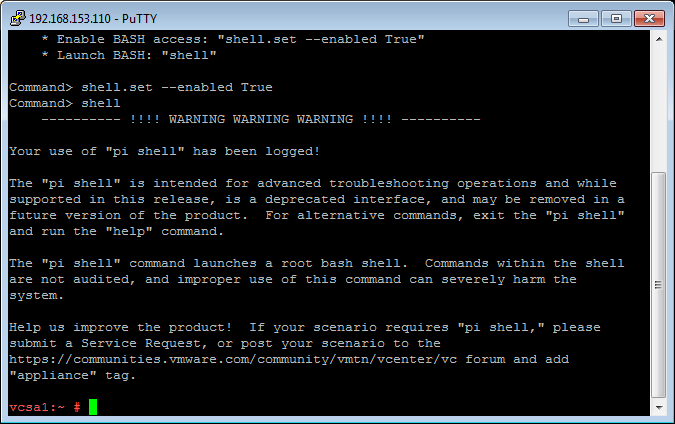
Now, type (or copy & paste) the two commands to Enable BASH Access and Launch BASH Shell on your VCSA
You will find yourself at the root of the VCSA installation
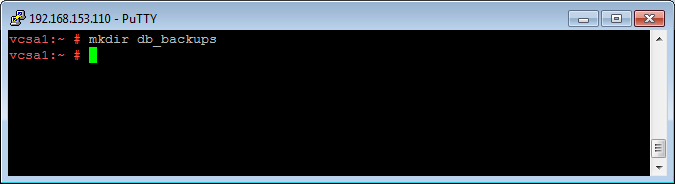
Now, create a folder to store the PostgresSQL backups, at least until you are able to transfer them off the system. Run the command: mkdir db_backups
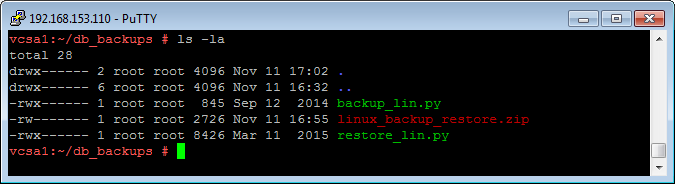
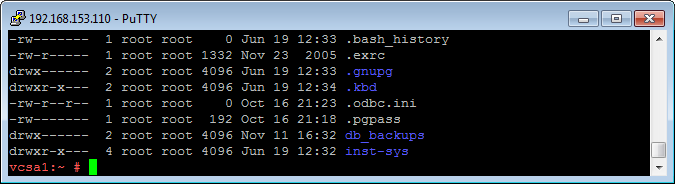
Now, list that folder with permissions by typing: ls –la to list the root folder
We can now see the permissions for: db_backups as: drwx (or just rwx for the User)
The Linux permissions listing works as follows:
| Read | Write | eXecute | Read | Write | eXecute | Read | Write | eXecute | |
| d | r | w | x |
so the fact that our directory “db_backups” shows “drwx” means that the user (that’s us) has Read, Write and eXecute on this folder.
Change directory into the: db_backups folder

Connecting to VCSA with WinSCP
Using WinSCP successfully with the VMware vCenter Server Appliance requires one of two things to occur:
1.Reconfigure VCSA
–OR-
2.Reconfigure the connection on WinSCP
I universally choose to re-configure WinSCP to work with my vCenter Appliance!
Enter your basic connection parameters in WinSCP and click: Advanced
Now choose: SFTP and enter the following value as SFTP Server: shell /usr/lib64/ssh/sftp-server
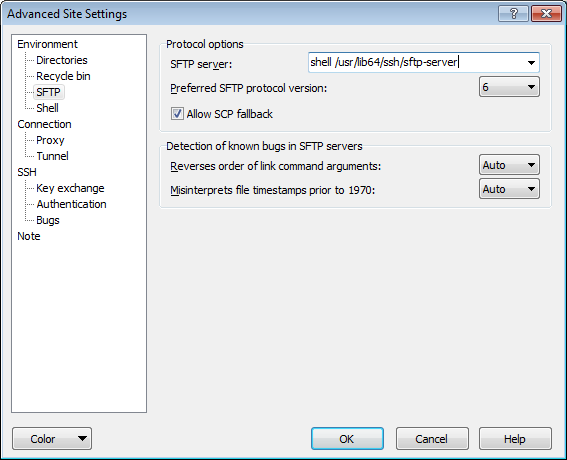
Now click: OK and then: Login
Yes

Continue
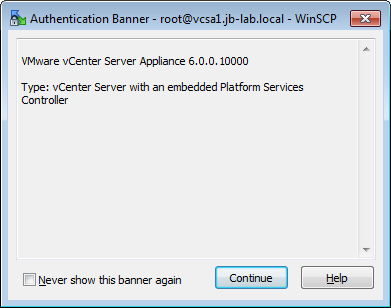
And you are in
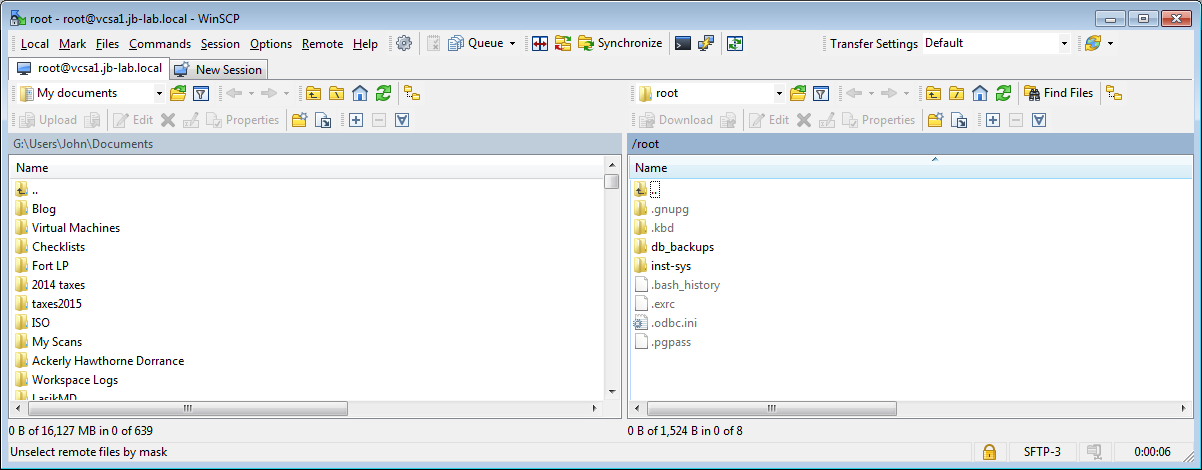
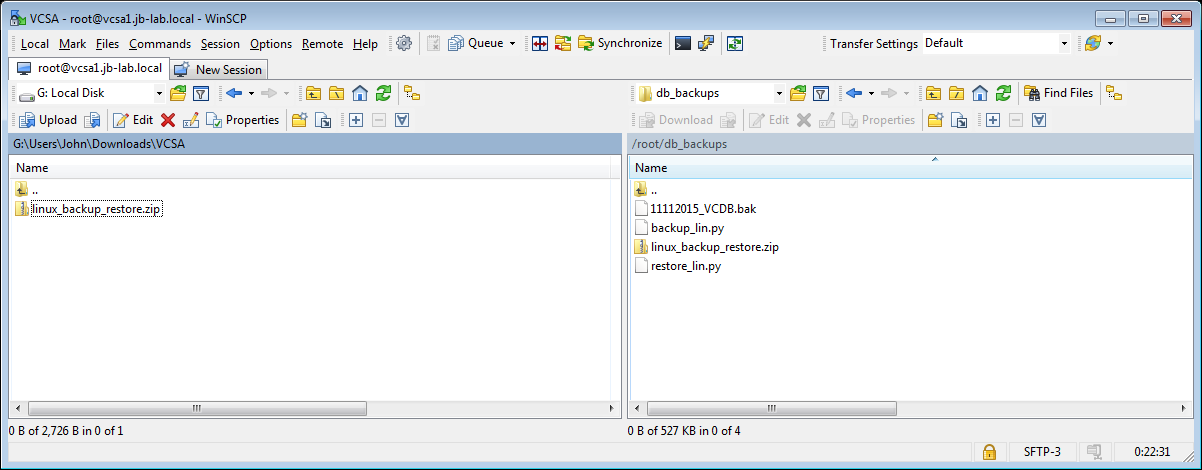
Now locate the location you saved: linux_backup_restore.zip (on the left) and the folder you create on VCSA (on the right)
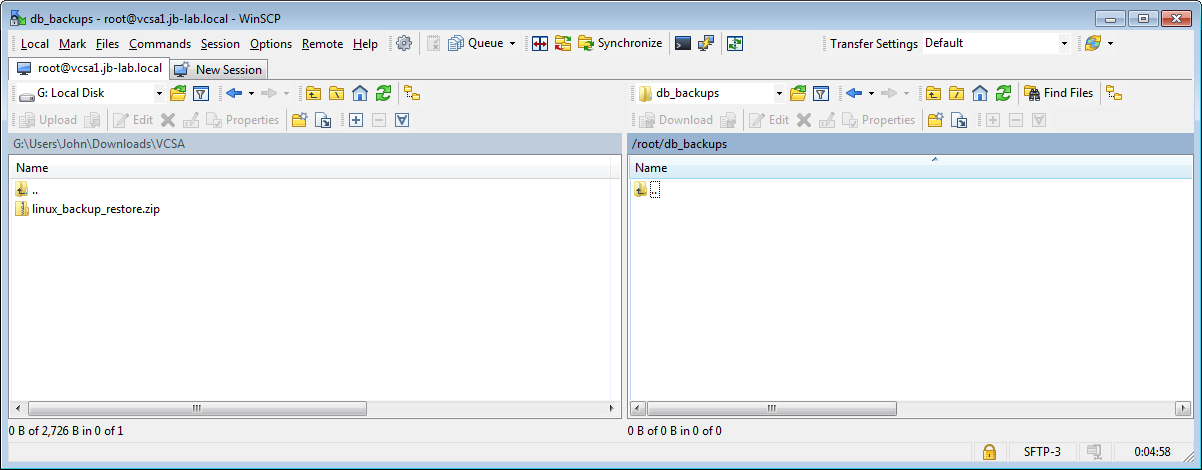
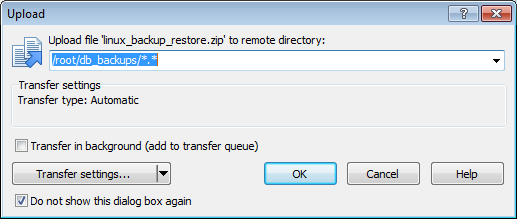
and drag-and-drop the file to copy to your VCSA
Extract the ZIP on the VCSA
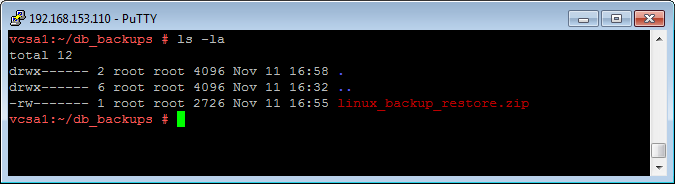
List the contents of the directory: db_backups with the command: ls –la
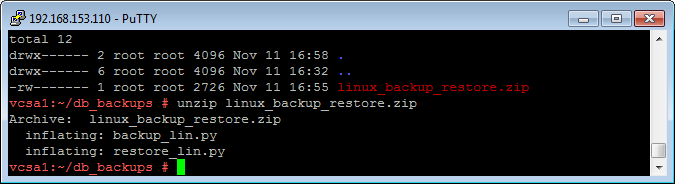
Unzip: linux_backup_restore.zip
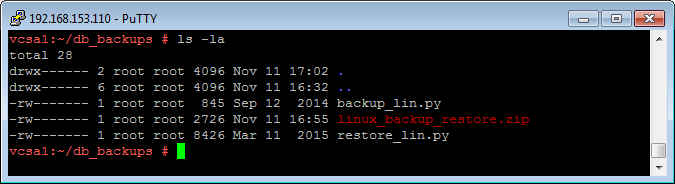
List the contents of the directory: db_backups with the command: ls –la
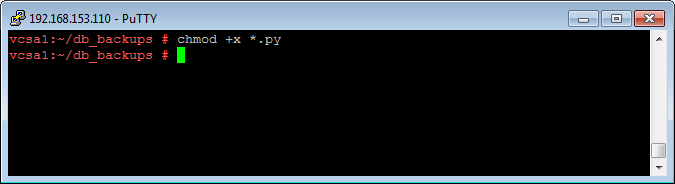
Neither of the scripsthas eXecute permissions, so add eXecute for the User with the command: chmod +x *.py
List the contents of the directory: db_backups with the command: ls –la (again)

The *.py have become eXecutable!
Backup the VMware vCenter Server Appliance PostgreSQL (vPostgres) database
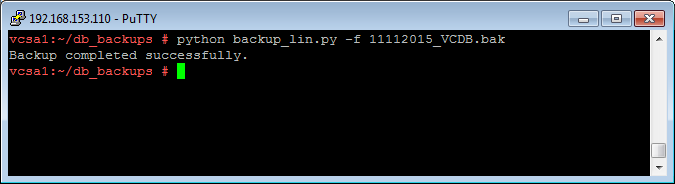
Run the: backup_lin.py script, provide a filename: python backup_lin.py –f 11112015_VCDB.bak
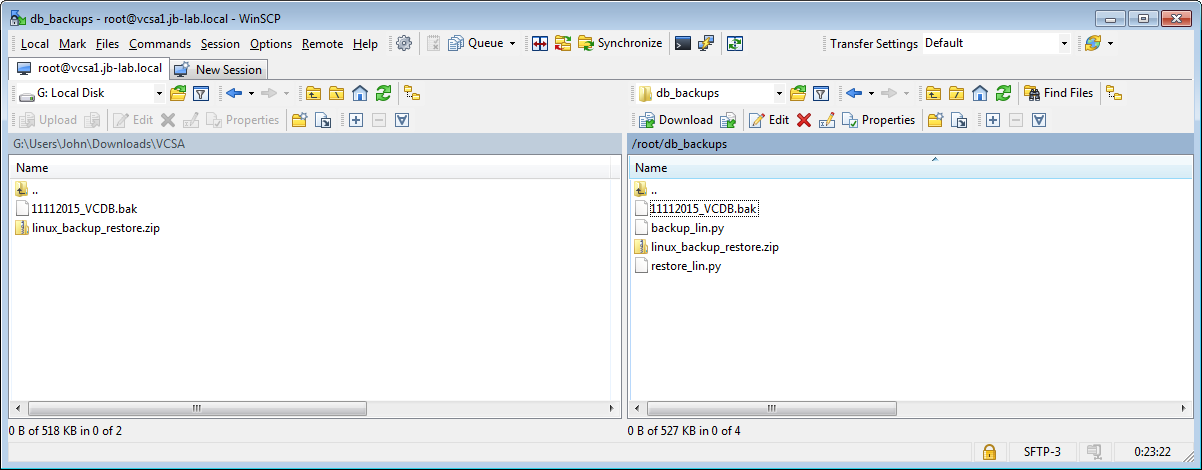
Now use WinSCP to transfer the backup to a different location
You will have to refresh the folder listing in WinSCP (Ctrl+R) to see the files created
Drag the database backup to your chosen folder on Windows
Restore the VMware vCenter Server Appliance PostgreSQL (vPostgres) database
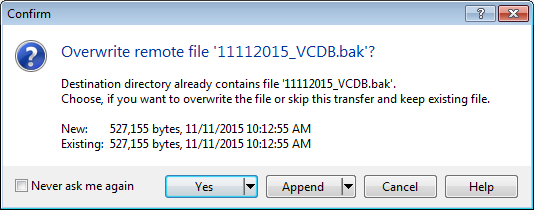
First, use WinSCP to upload the appropriate backup file. WinSCP will prompt you to overwrite, if a copy of that file exists. Make your choice.
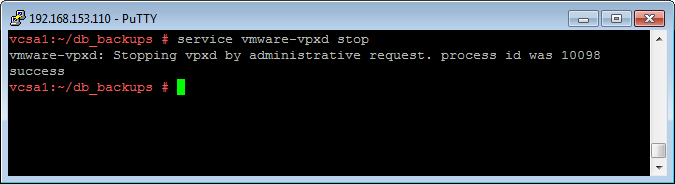
Stop the vCenter Server with: service vmware-vpxd stop
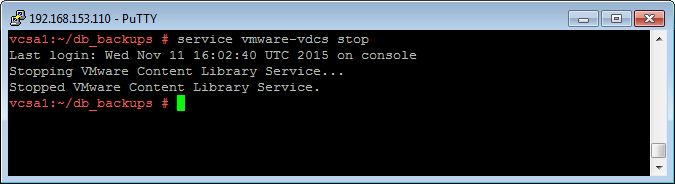
Stop the vCenter Datacenter Content Library Service with: service vmware-vdcs stop
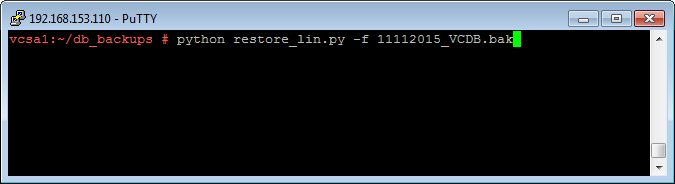
Restore the vCenter database with: python restore_lin.py –f 11112015_VCDB.bak (or whatever the name of your file)
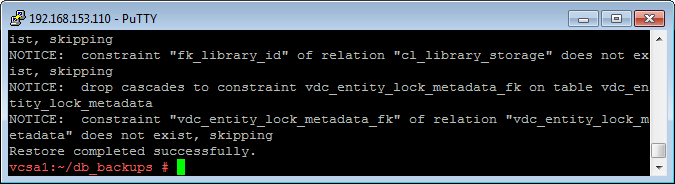
There may be numerous “NOTICE” lines referencing parts of the vCenter Server Appliance which simply don’t exist in your configuration. Just ignore these and look for the ultimate message: Restore completed successfully
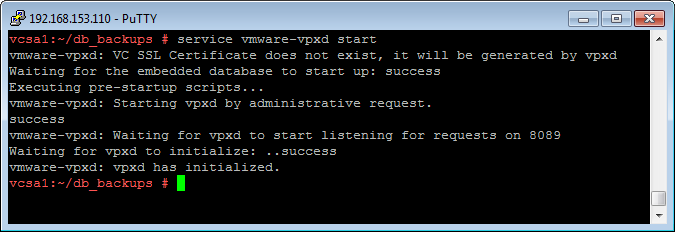
Now start the vCenter with: service vmware-vpxd start
Now start the vCenter Datacenter Content Library Service with: service vmware-vdcs start
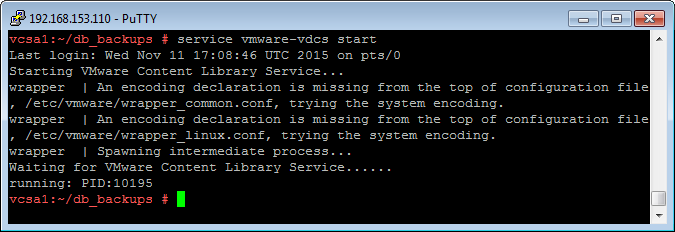
And you should be in business!
Thanks a lot,
Your post It is pretty interesting, I run your proedure and was sucessful, is important keep a backup the VCSA.
Thanks!
John, Your instructions were spot on!!!! Thank you for taking the time to documenting this process for all of our use!
Thanks!
Very detailed instructions Thank you
Thank you.
Great Blog Post!!!
When you run the backup will this truncate the logs or database? I was running out of space on the VCSA, so I ran the backup, I just want to verify?
Thanks
Joe
The VMware KB referencing the scripts I used doesn’t say. I know that “tiny” and “small” installations of the VCSA, leave undesirably small partitions for the database and events, but it is possible to grow those partitions easily and live.
Very useful posting. The detailed steps are very useful..
I have to take a minute and thank you for this. Great job, very helpful.
What a great article – thanks so much for helping fill in the blanks.
What was interesting is that we already had bash shell enabled and couldn’t connect via WinSCP. I had to switch back to appliance shell, set it to bash shell, then WinSCP was able to connect. Otherwise I was getting an error that said “are you sure you’re running an SFTP server?”
Thanks again!
You are welcome!
Very good, step by step, clear and concise instructions. Thanks for the good work John! I have a tricky question for you: can I run backup on one VCSA and restore on another VCSA? The reason is I can’ t change the VCSA’s name from IP address to FQDN, the only way I can do that is by creating a new instance of VCSA with the correct FQDN name, and then copy the config over.
I think so, but I have never tried. Let me know.