Install ESXi 6 to a physical server with IPMI
We are going to install ESXi 6 on a physical server using HP’s IPMI interface known as iLO to perform the install. iLO is considered best-in-class for IPMI consoles, but still can take some getting used to. IPMI out-of-band interfaces collectively have the advantage of allowing users to:
- Power servers on and off
- Connect to ISO and FLP media
- Input commands and view the console interface, including blue, purple and red screens that would not be visible with an in-band console

First we are going to choose Image (by the picture of the CD/DVD)
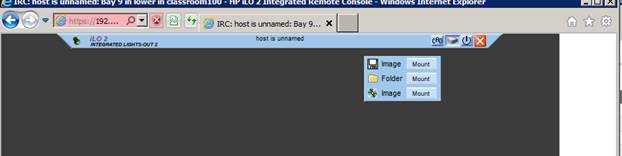
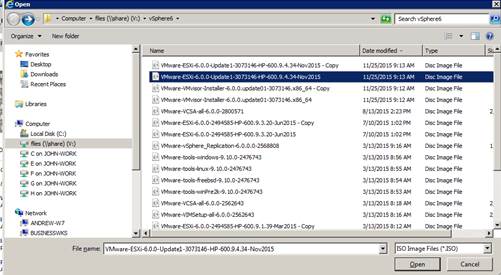
Then connect to the HP customized ESXi image that we just downloaded. Always use the vendor customized ESXi image for physical installs, when one is available
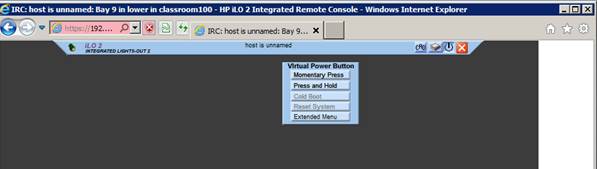
Now click on the power icon and choose: Momentary Press
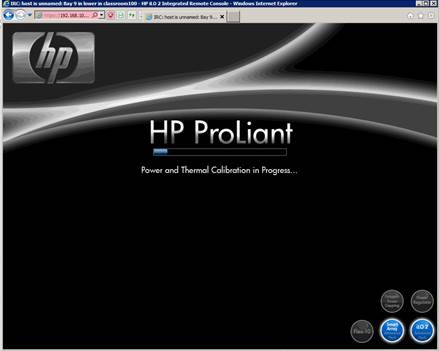
Wait a good long time to even see this
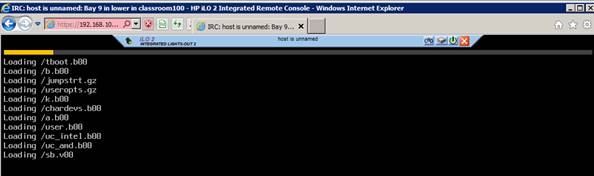
And another good long time before the CD/DVD starts to load. When installing ESXi 6, the DVD will load to RAM (which is what you see happening below) and then the hypervisor will start.
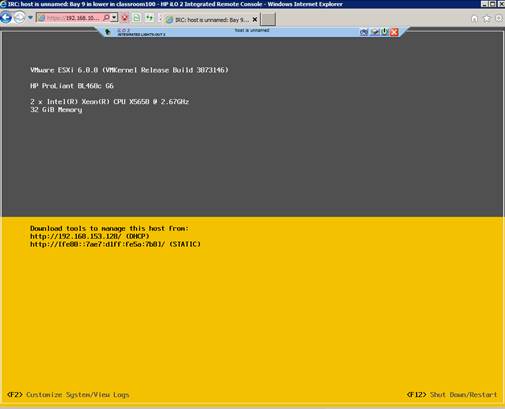
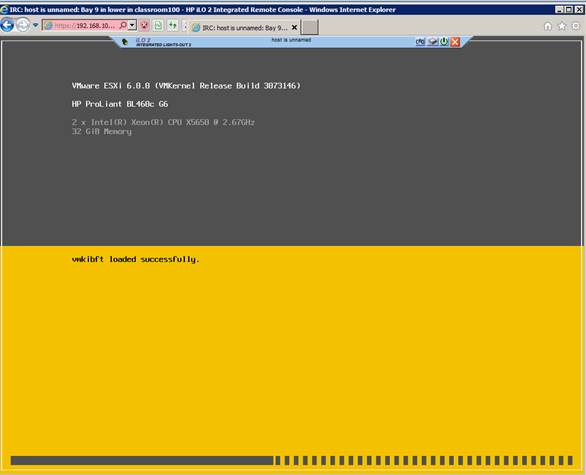
When the hypervisor has started, the screen will become yellow and grey, like below. The process speeds up from here.
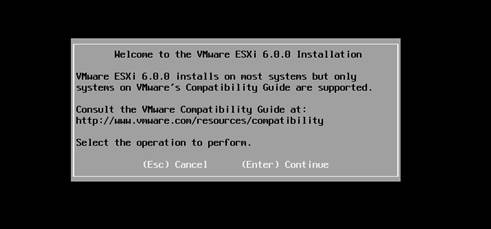
[Enter]
[F11]

Wait, just a few seconds (usually).

[Enter]
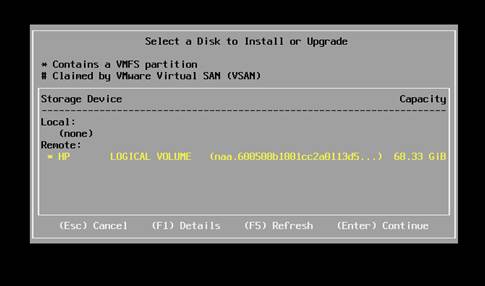
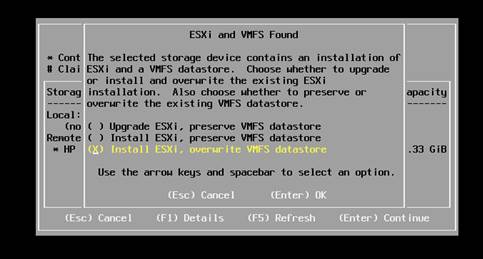
Select your choice here. The default is “Upgrade ESXi, preserve…” but we want a fresh install, so we chose “overwrite” [Enter]
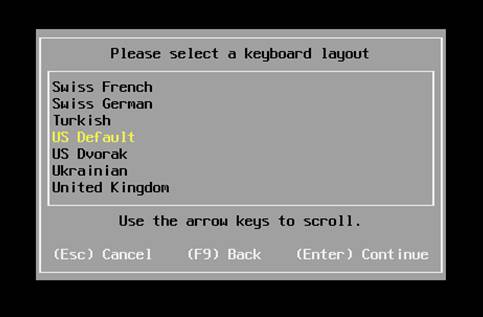
Choose your keyboard [Enter]
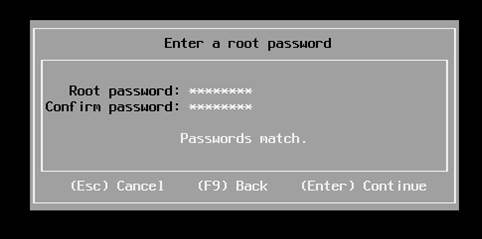
Set a password [Enter]
This next step may actually take a few minutes

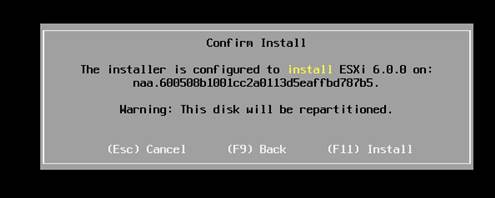
[F11]
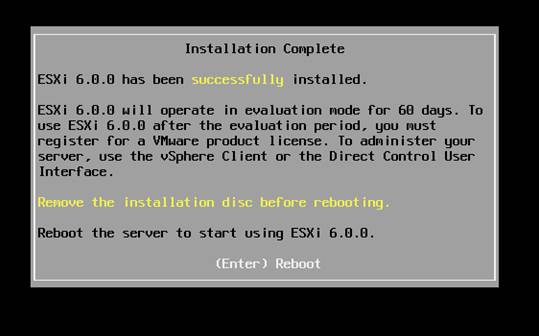
Wait, but since the binaries are all loaded by this point, this goes quickly.

Disconnect the ISO from IPMI and then press [Enter]

Initial Configuration of an ESXi Host with the vSphere Client
There are certain basic settings you will want/need to configure before your ESXi host is suitable for use in production, or even in a lab environment. At the very least, you will need to give your ESXi a hostname and IP address.
Now, I could press [F2] here and configure my ESXi host using the Direct Console User Interface (DCUI), but the DCUI provides a limited set of options, and using an IPMI interface such as iLO (even though iLO is one of the best of its kind), is not always a user-friendly procedure. Besides, we covered using the DCUI in: http://www.johnborhek.com/vmware-vsphere/building-a-vsphere-home-or-learning-lab-2/
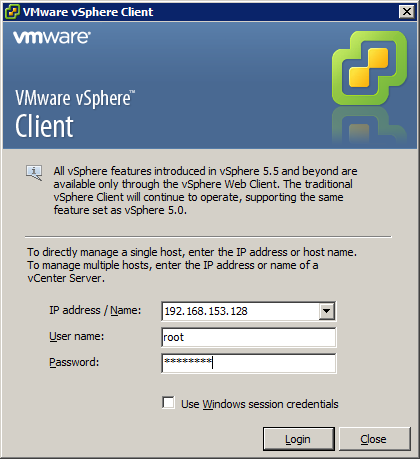
Instead, I will show you how to make these initial configurations using the VMware vSphere Client for Windows (sometimes called the vSphere Desktop Client or the vSphere C# Client), which is the only viable client for a standalone host.
Open the vSphere Client for Windows and enter the DHCO IP address you saw on the previous screen. You will use the User name: root and the password you assigned during the install.
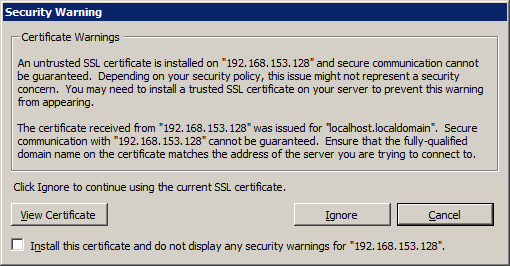
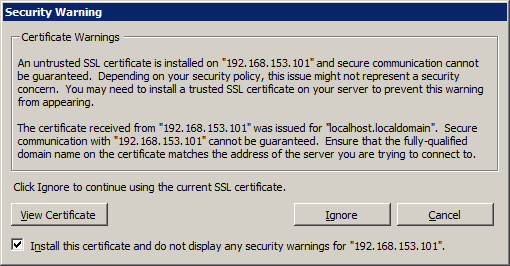
Just click Ignore here. Installing this certificate would be useless, as we are going to change the IP.
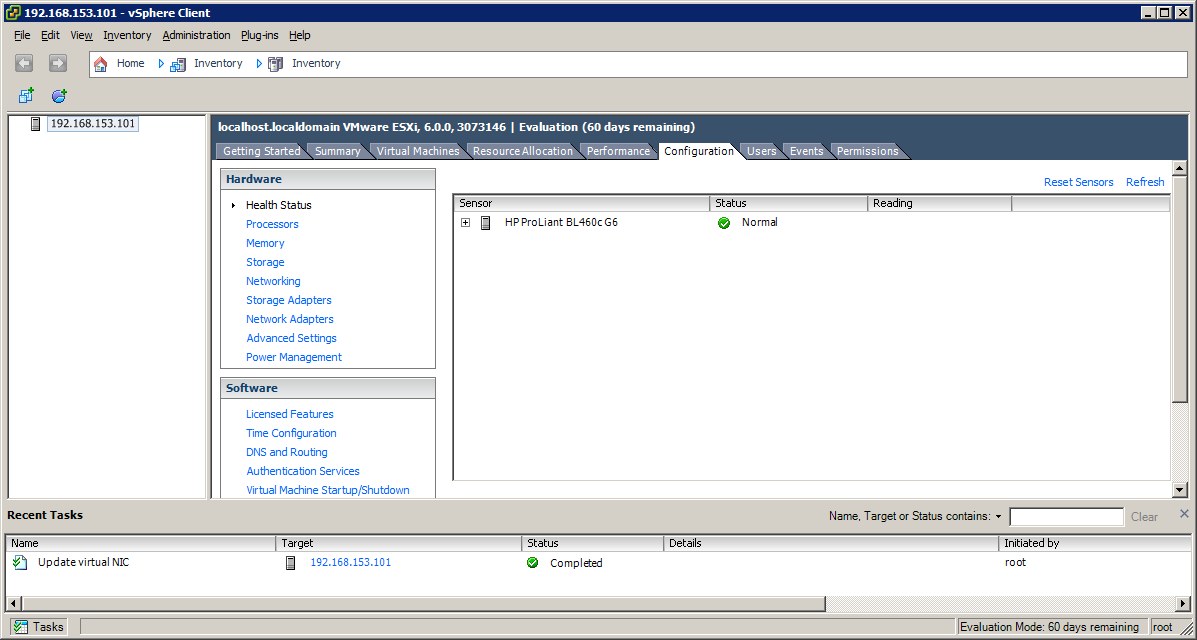
You may have to click Home to see this screen
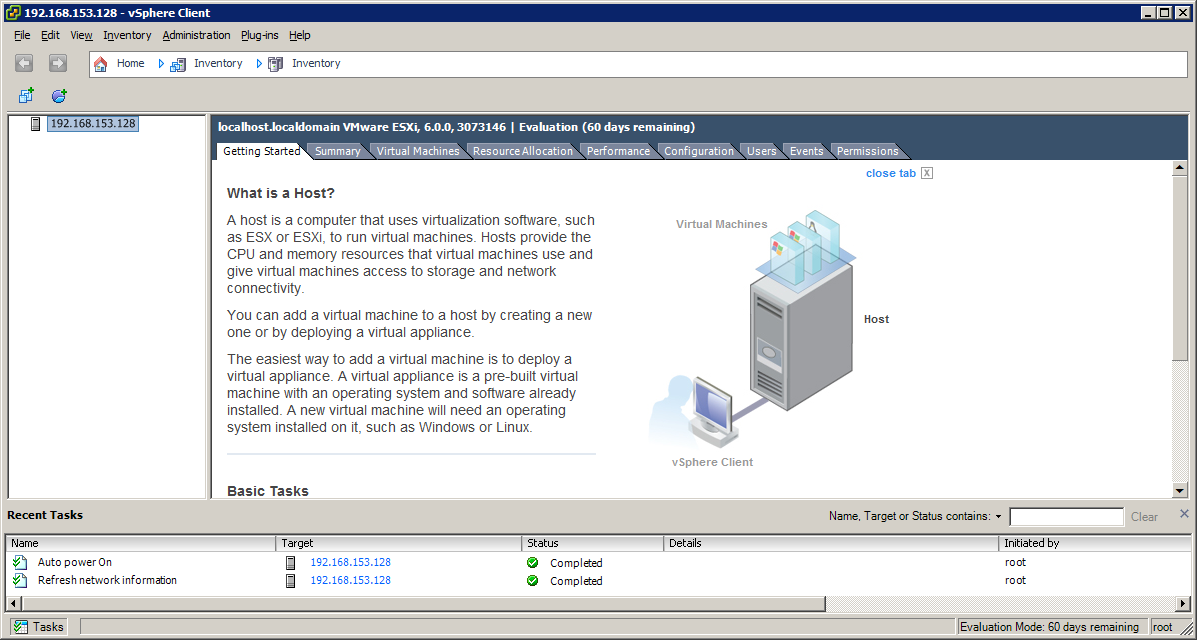
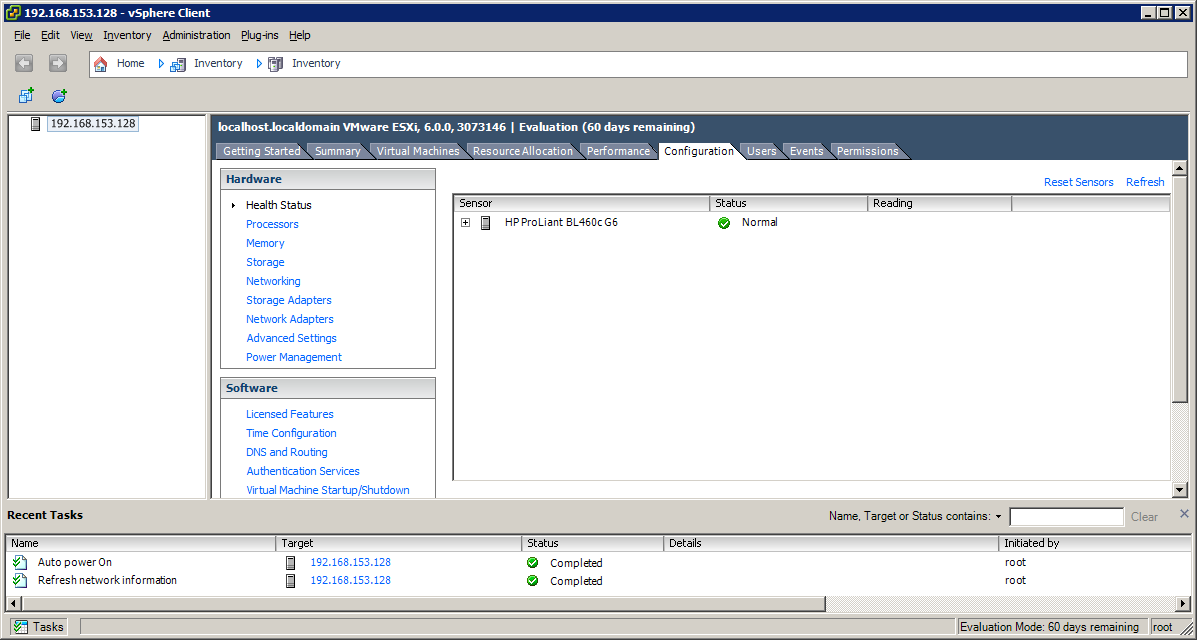
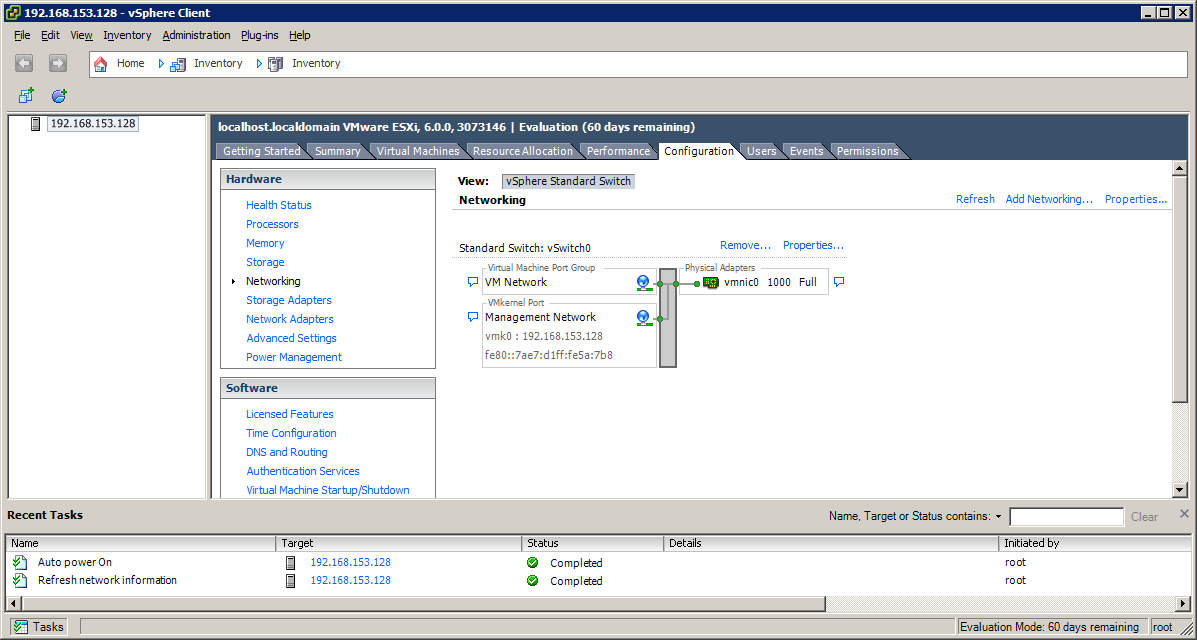
Now choose the tab: Configuration and choose the option: Networking
Click on Properties of vSwitch0. Be careful as there are two “Properties” links on this screen. You want the one right by the vSwitch
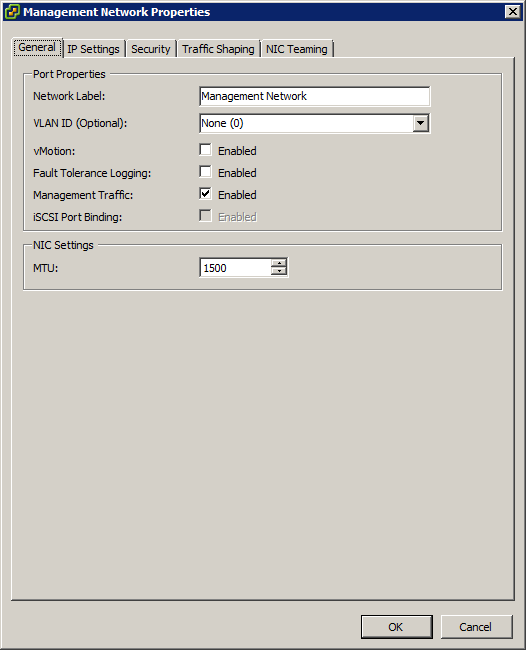
Highlight the: Management Network and choose: Edit
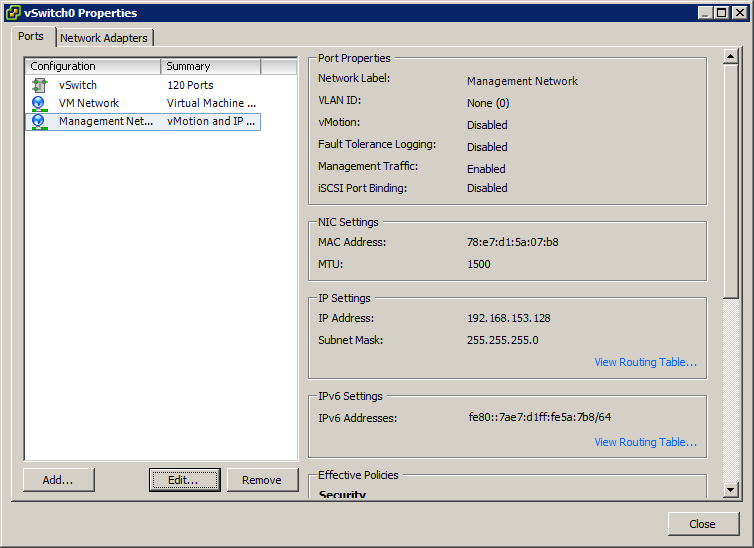
We probably won’t need to change any of the settings here.
Choose the tab: IP Settings
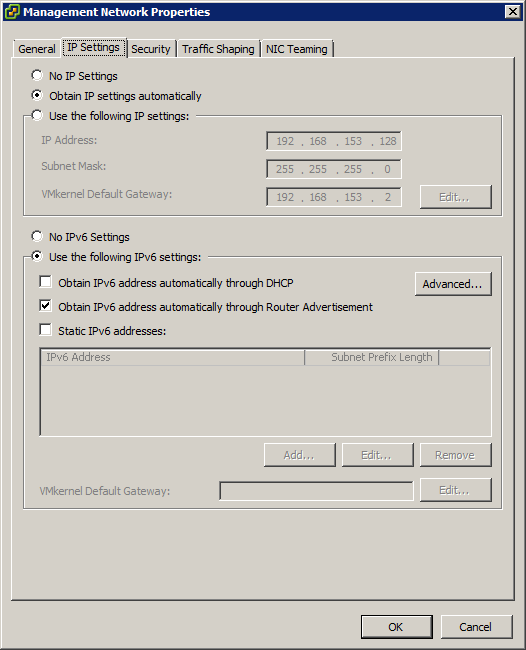
Now select: Use the following IP settings and don’t forget to click: No IPv6 Settings
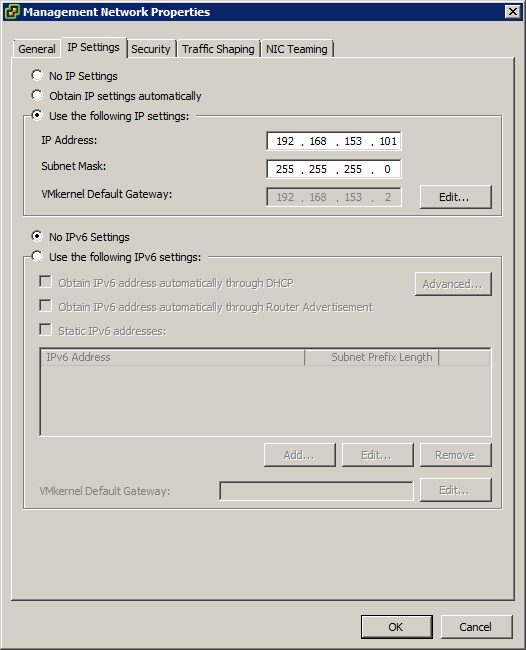
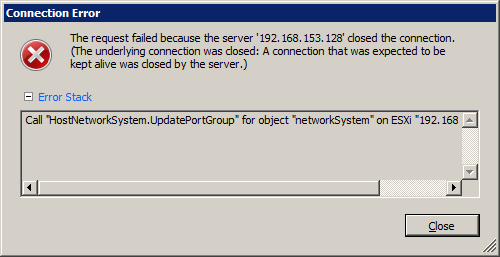
Now remember, as soon as you apply this, your client session will become invalid because the IP is now different.
Enter the new IP you assigned, along with the username: root and you password

Now is the time to “Install this certificate….” as well as: Ignore
Click on the tab: Configuration
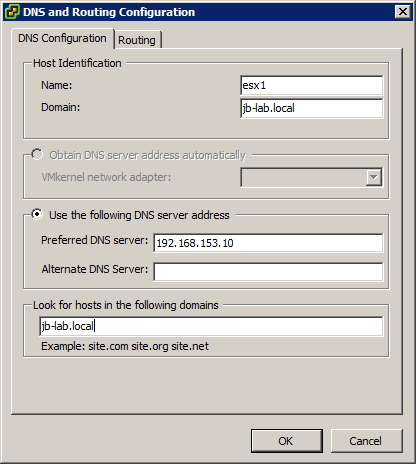
Choose the option: DNS and routing and then: Properties
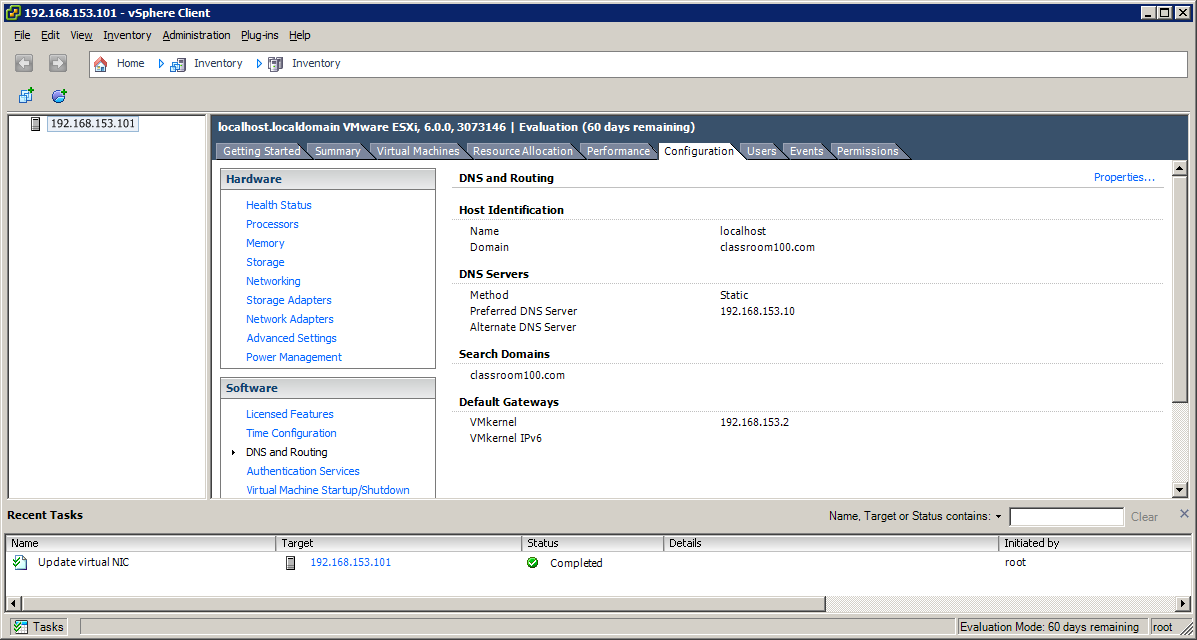
This is (probably) not the correct information, as it is supplied by DHCP.
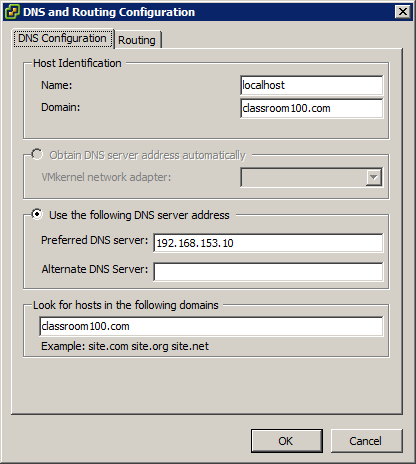
Enter the correct hostname and domain, as well as the search domains (“Look for hosts in the following domains”)
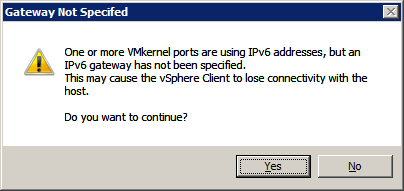
You may see this if you left IPv6 enabled.
You are now finished with initial configuration of your ESXi Host and may proceed to set up storage, networking and everything else.