Mission Critical Virtual Machines on VMware vSphere
Building Mission Critical VMs on VMware vSphere is pretty simple. There are just a few commonly acknowledged Best Practices with which to adhere, regardless of whether you are installing Windows or Linux:
- Use Paravirtualized drivers wherever possible
- Remove unnecessary hardware from the VM (settings)
- Disable unnecessary or unused devices in BIOS
- Assign no more resources to the VM than are actually required
In the following steps, I am going to be building a VM to serve as Active Directory Domain Controller for my lab (jb-lab.local) on Windows Server 2012.
Building the VM container
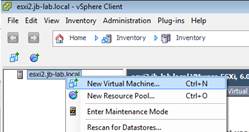
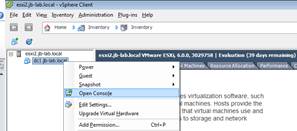
Begin by right-clicking on an ESXi Host
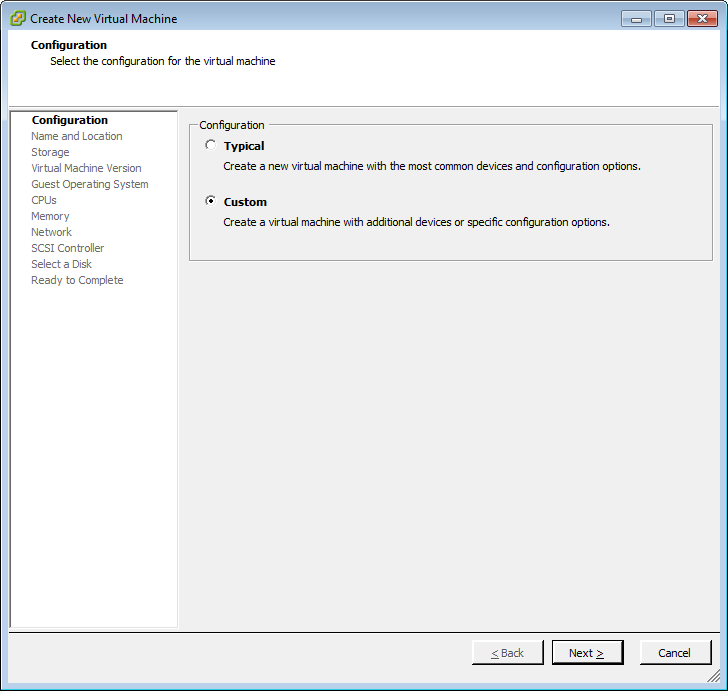
Choose: Custom
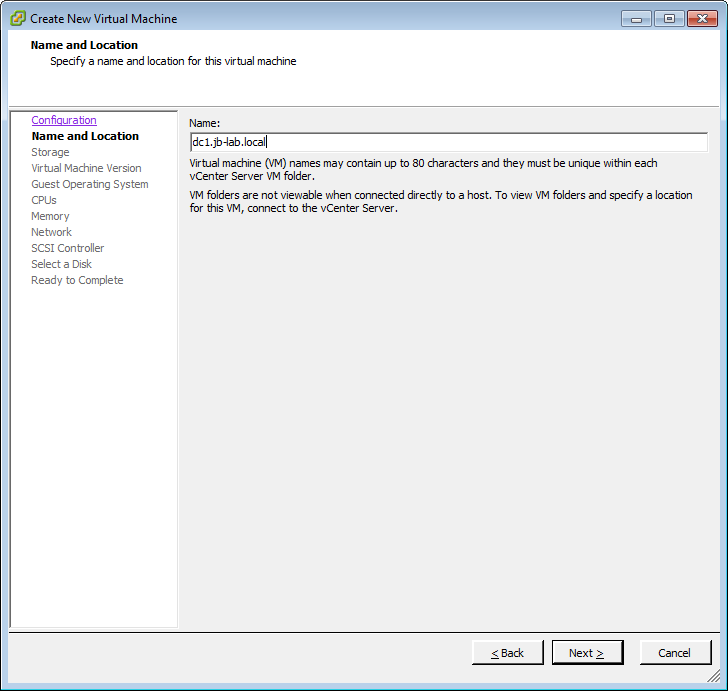
Name your VM
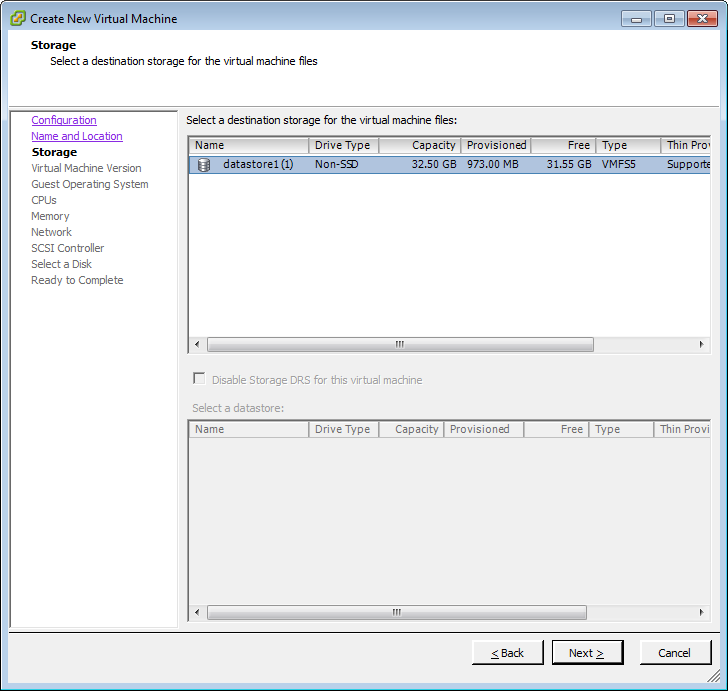
Choose a datastore from the list
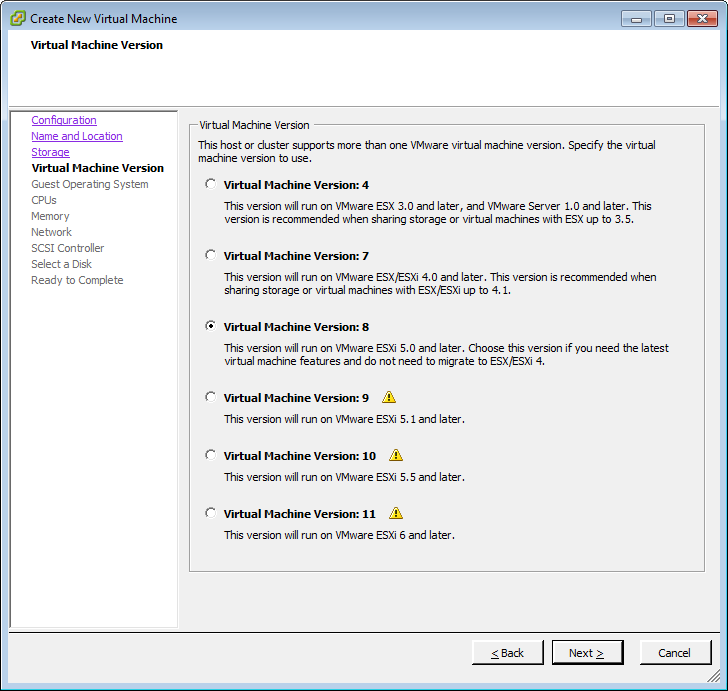
Select your Virtual Machine Version.
NOTE: I am holding all the VMs I manage (for lab, production, and client installations) at VM Version 8 until VMware figures out the vSphere Web Client debacle. I can’t risk a mission-critical VM or application being less than 100% manageable, regardless of the circumstances!
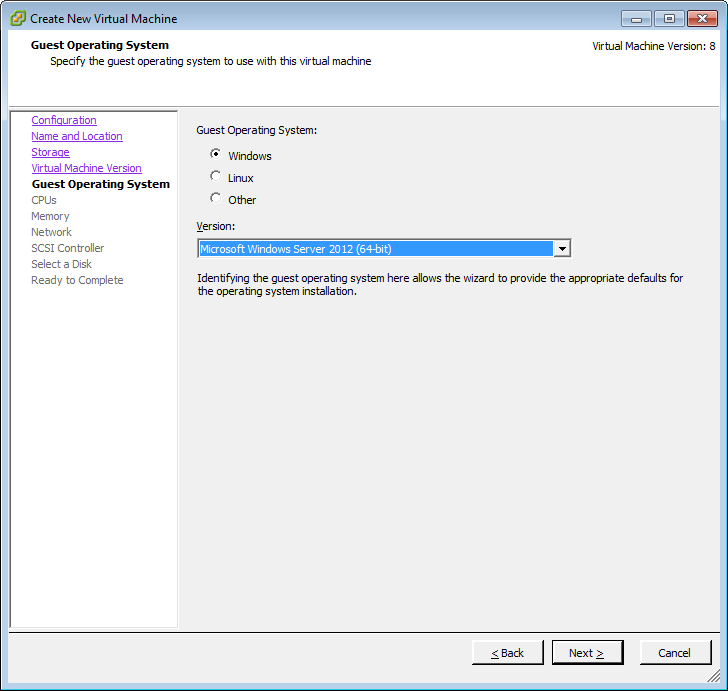
Choose your OS
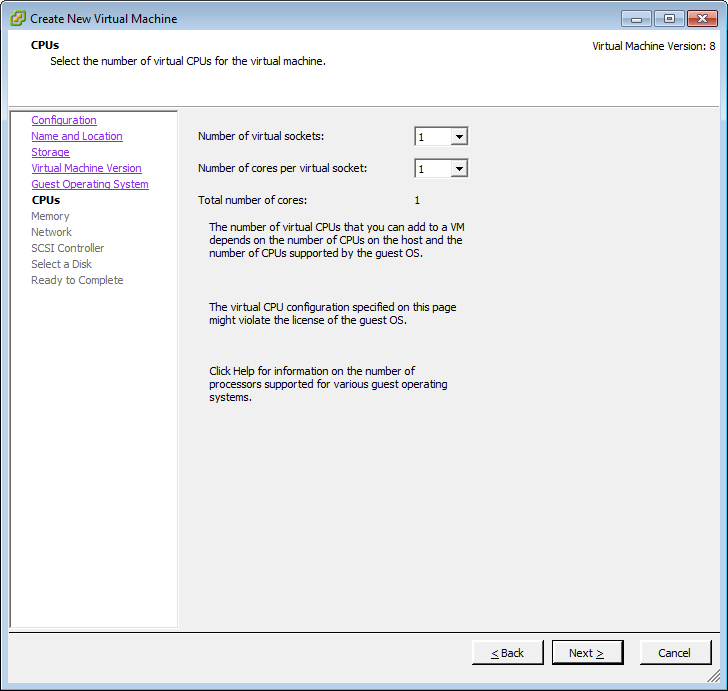
Select the number of vCPU that will be assigned to the VM. As a Domain Controller, I am going to go with a single vCPU. Most server applications would require at least 2 vCPU to support multi-threaded processes.
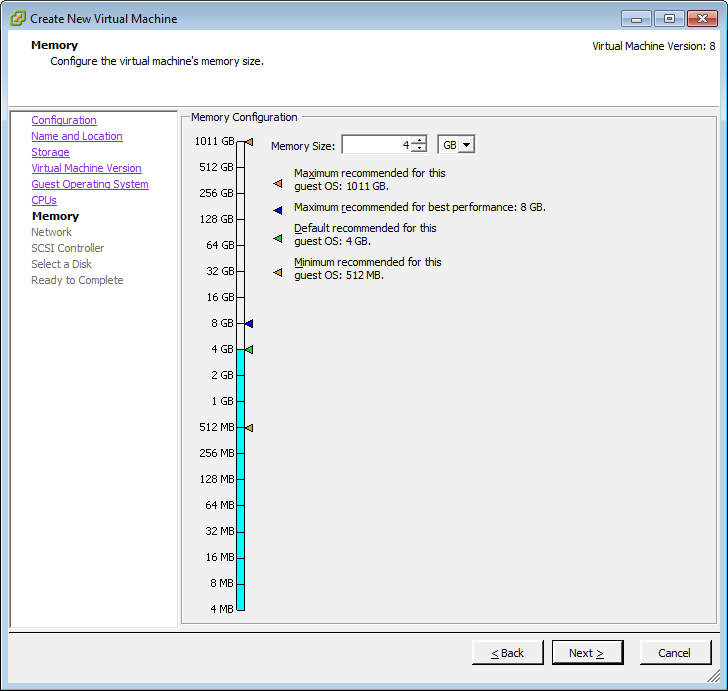
Again, as a DC, I am going to go with a minimum of RAM.
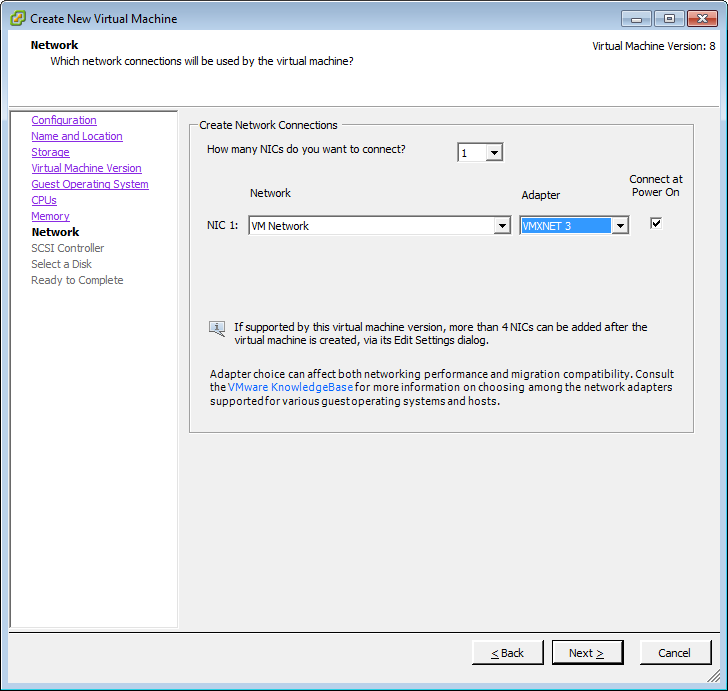
Here I will choose the appropriate network and then select the VMXNET3 Adapter. I preferentially use VMXNET3 on all Linux VMs, and all Windows family 7 and above VMs.
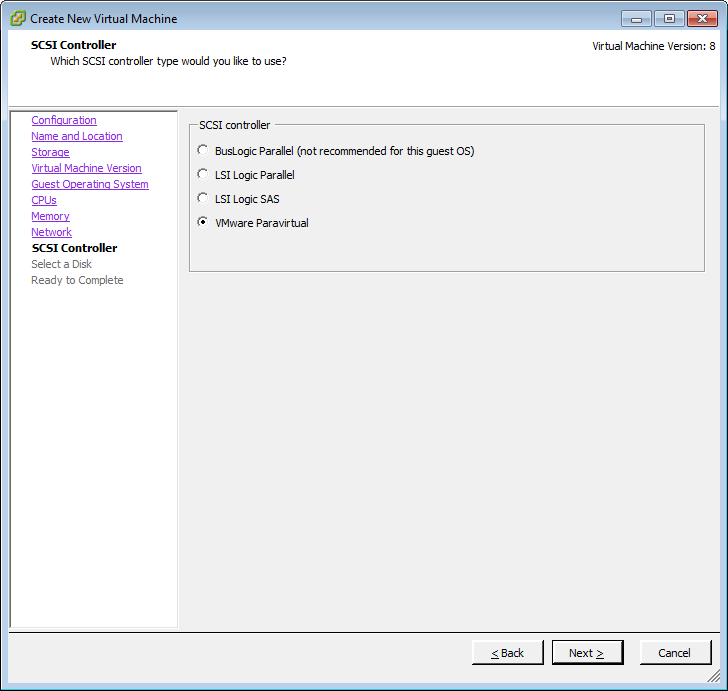
And for the SCSI controller, I am going to choose VMware Paravirtual as both more efficient (less CPU per given I/O) and potentially faster.
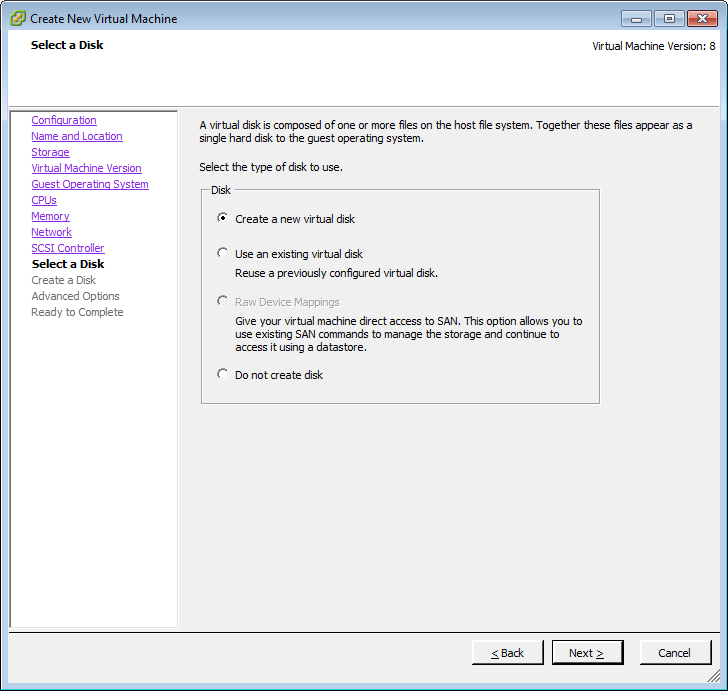
And create a new Disk
As a Domain Controller, and potentially a template for other servers, I see no harm in Thin Provisioning. With most server VMs, a commonly accepted Best Practice would be to use Thick Provision Lazy Zeroed as a Disk Provisioning option, to prevent over-commitment of datastores.

The first disk of the VM will be on SCSI 0:0
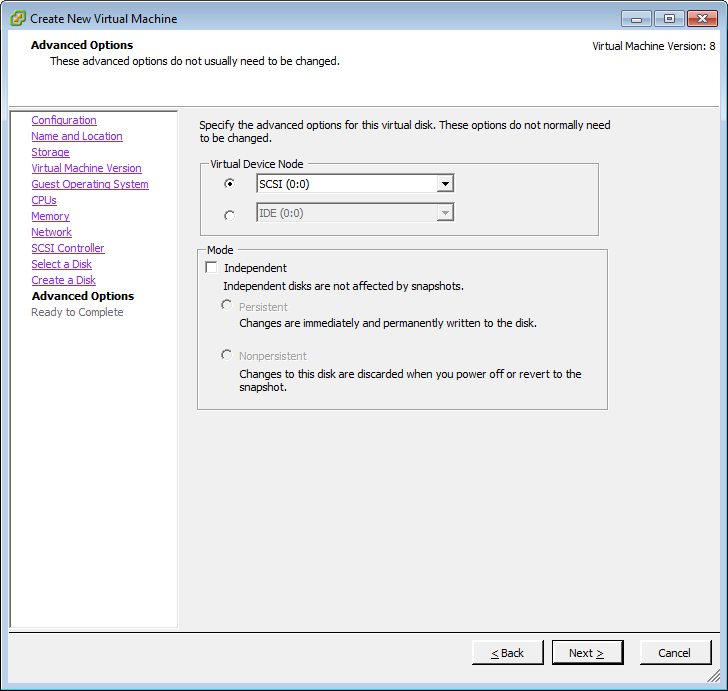
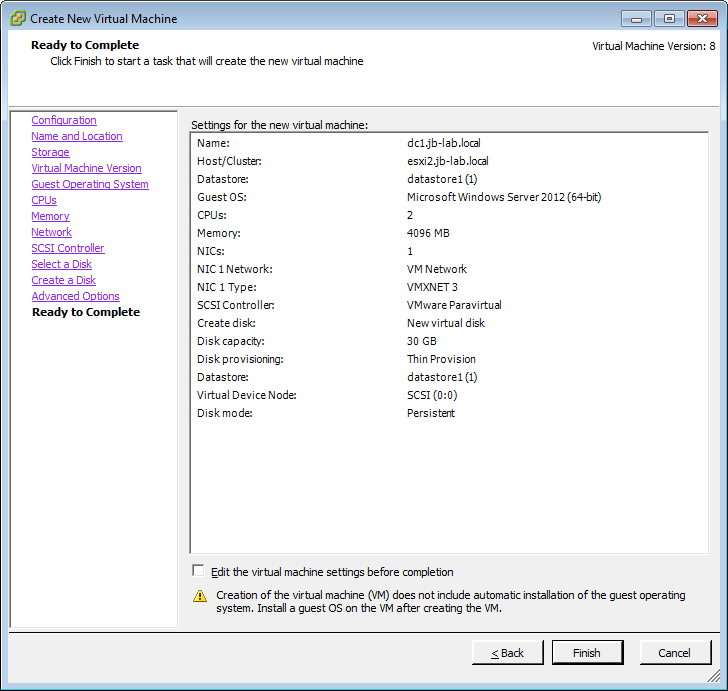
And I finish the container.
Installing the Operating System
Open a VMRC in a free-floating window.
Click the green arrow to power-on

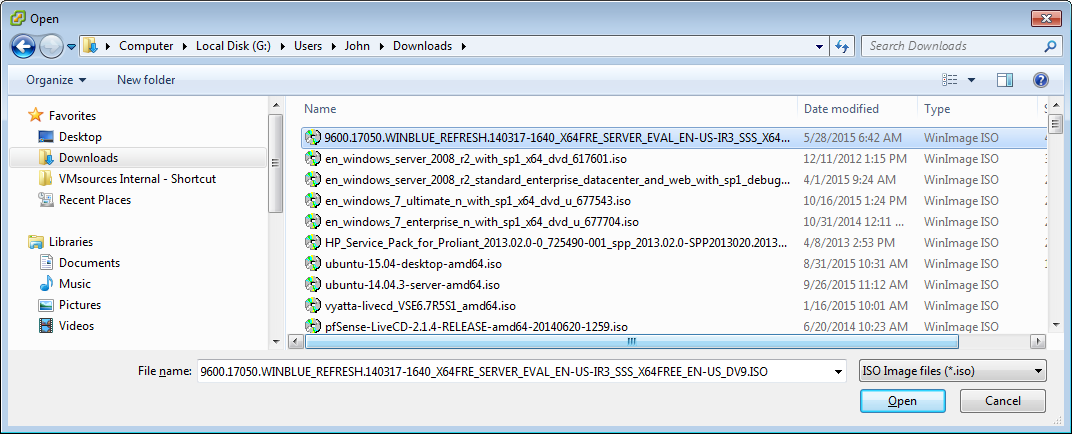
Locate the CD/DVD Icon and choose: Connect to ISO on local disk
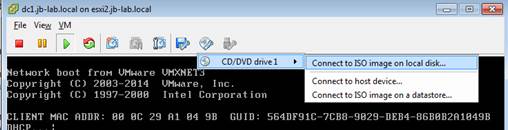
Find the ISO you would like to build your VM from
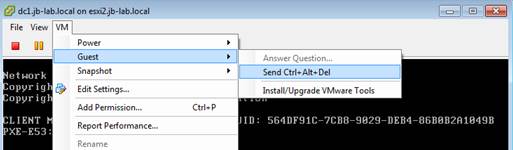
Send Ctrl + Alt + Del
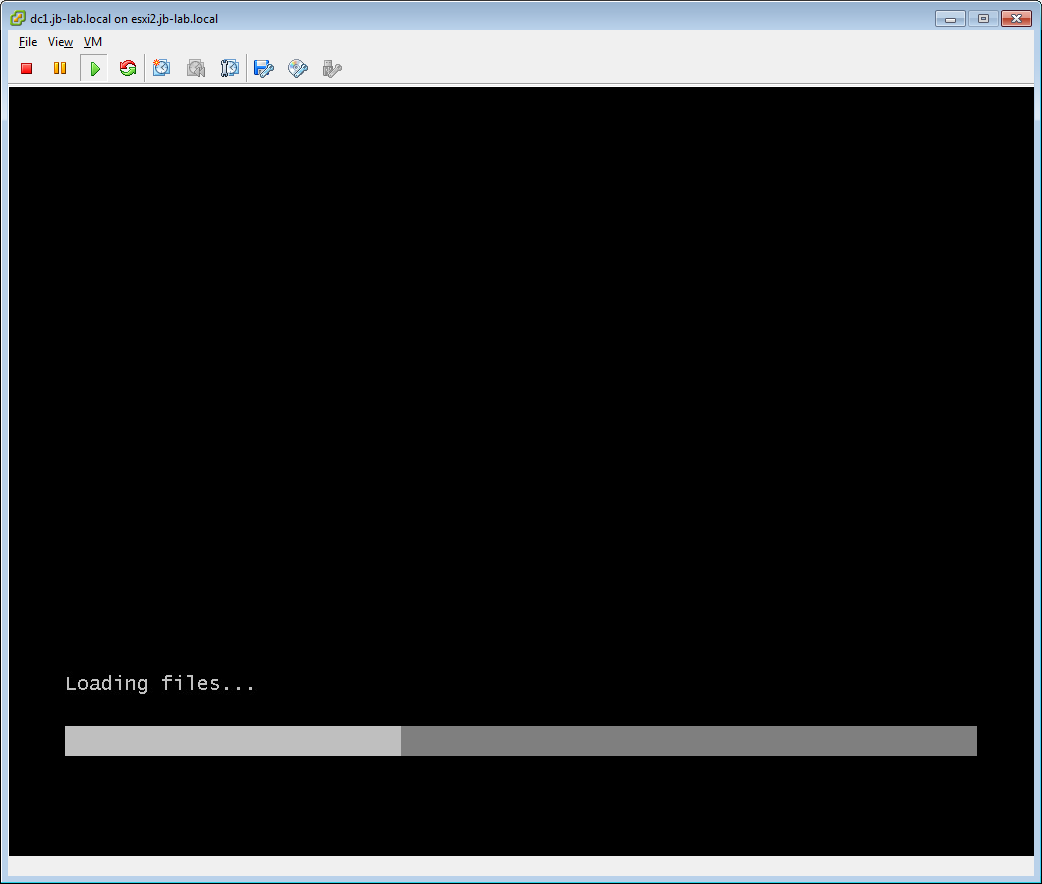
Allow the files to load
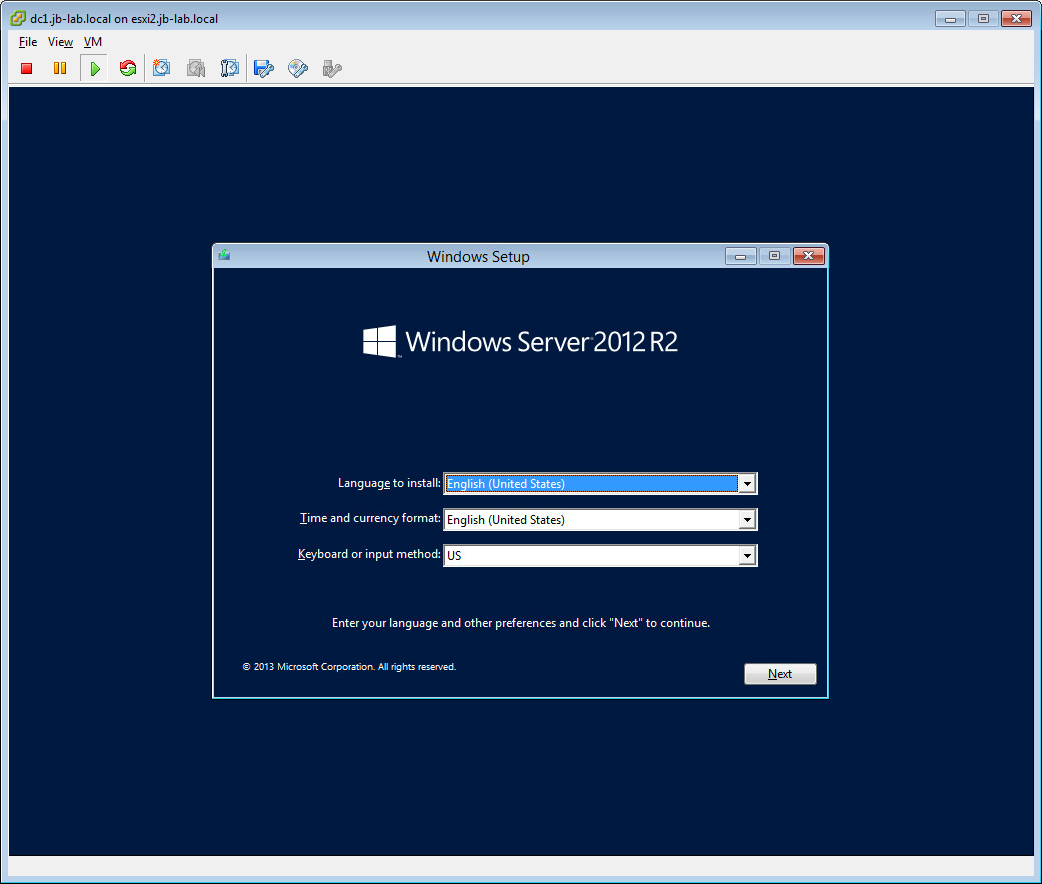
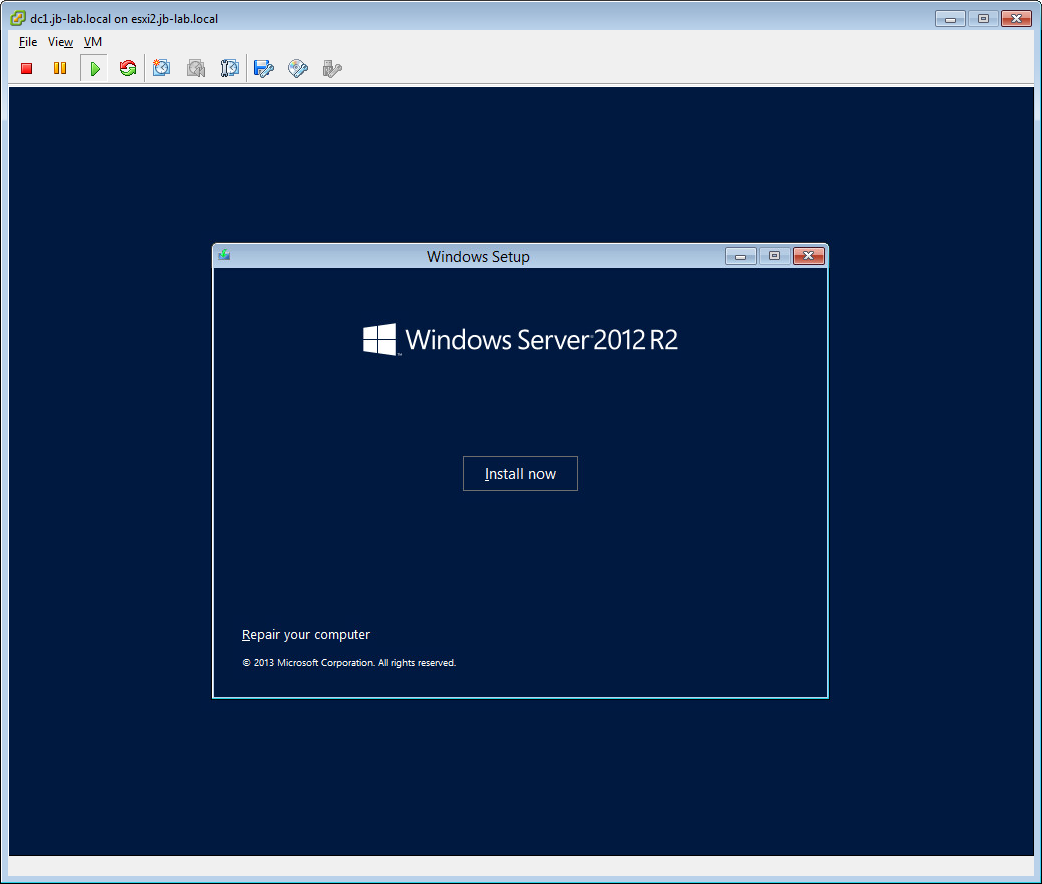
Select your language options and then Alt + N (for Next)
Alt + I (for Install)
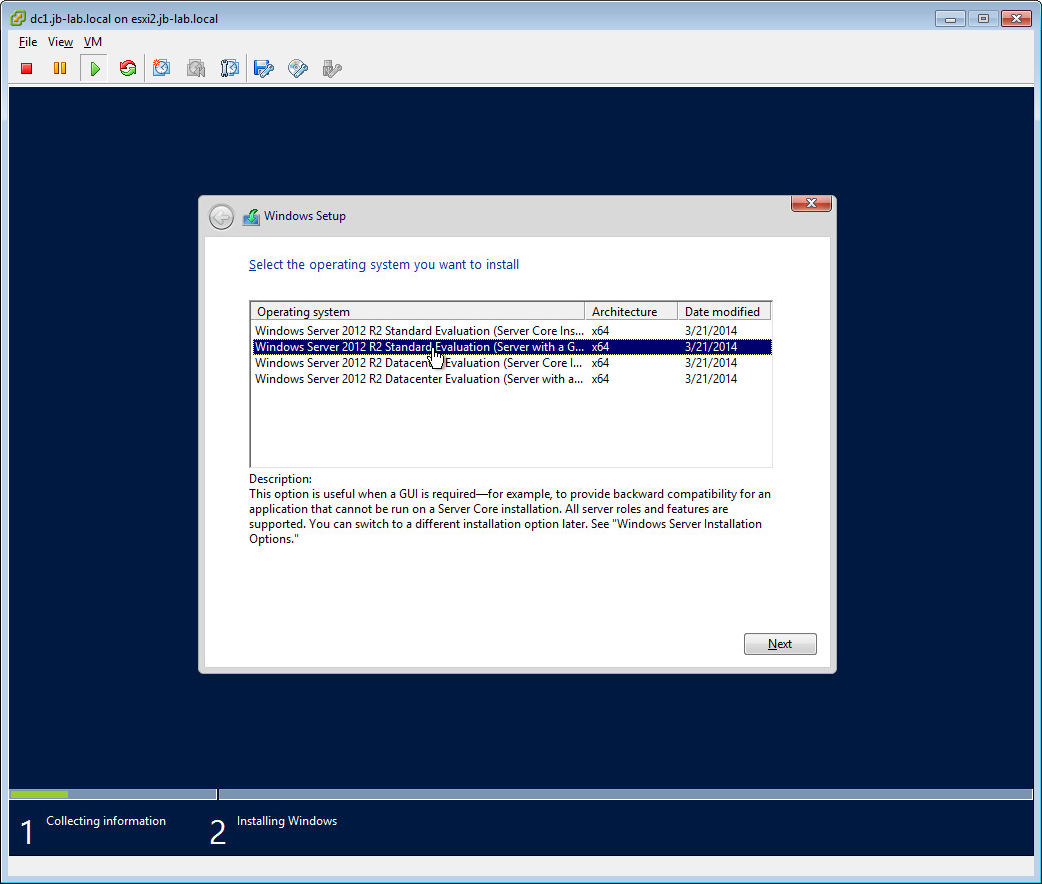
Choose the version (if a choice is available) and then Alt + N (for Next)
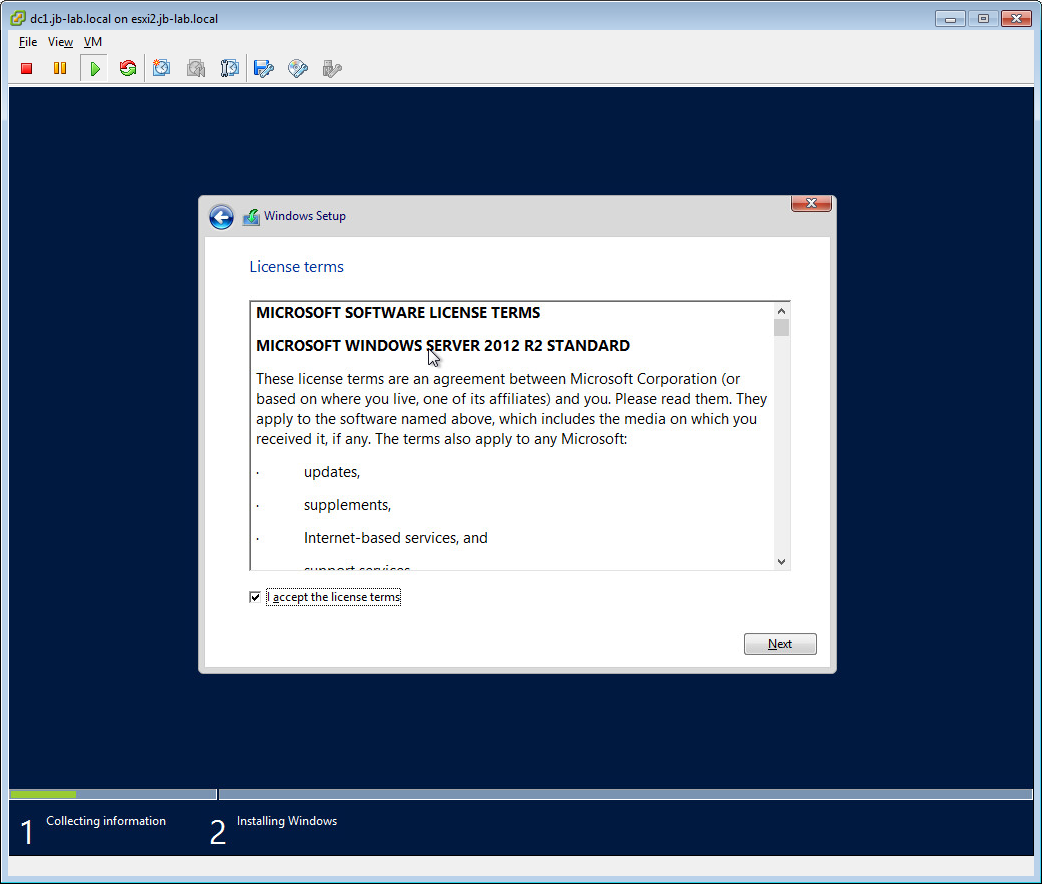
Alt + a (for accept) and then Alt + N (for Next)
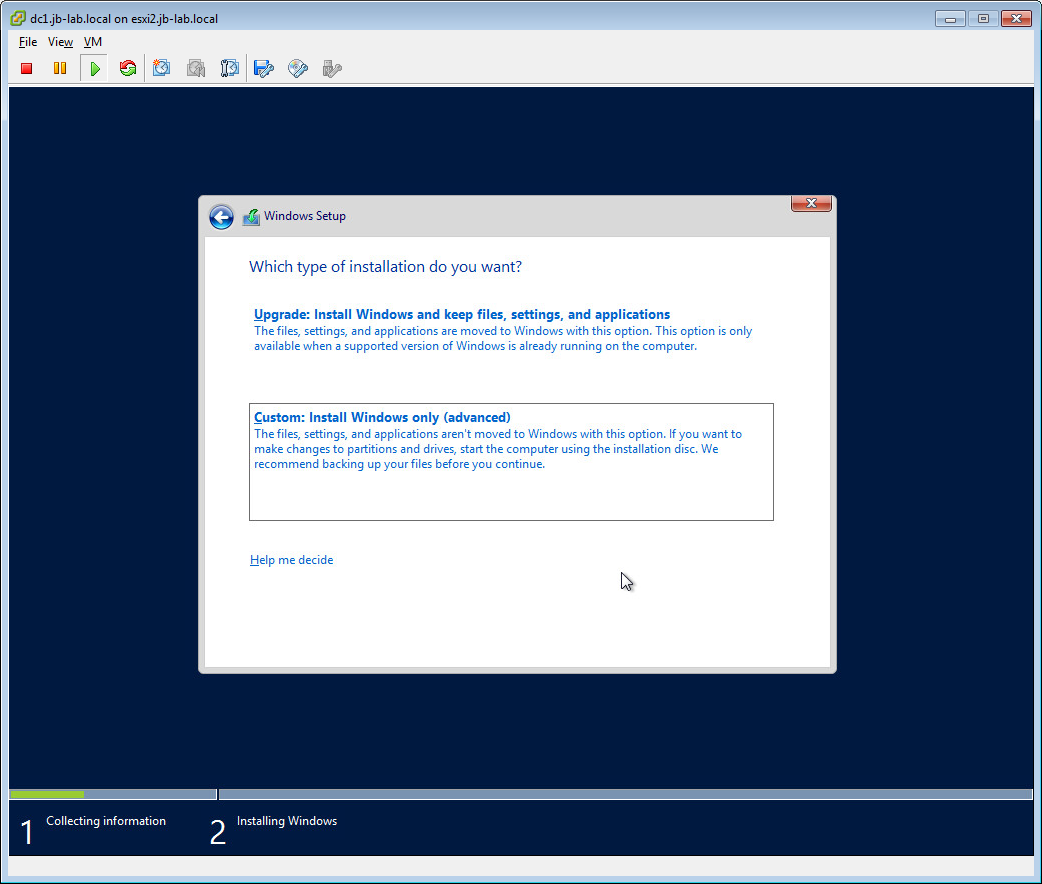
Alt + C (for custom)
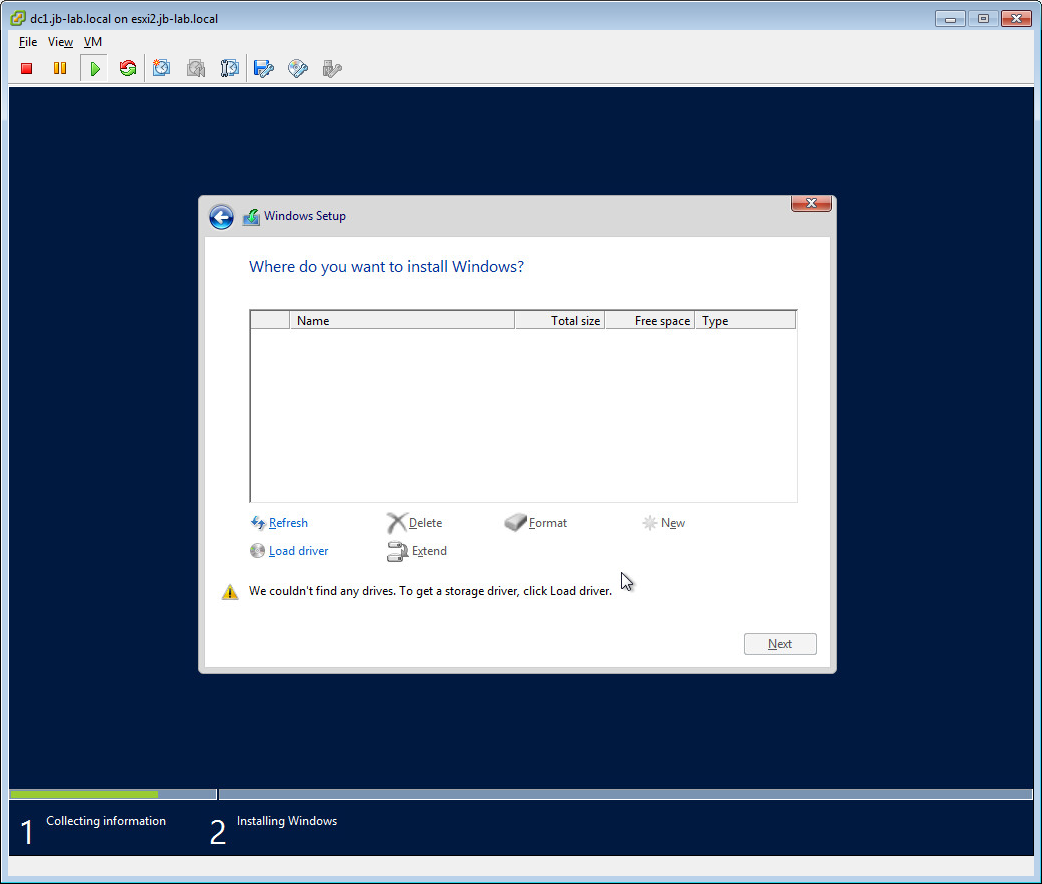
At this point the install will stall because Microsoft does not include the VMware Paravirtual SCSI driver in Windows. To inject the driver into the installation, release the mouse by pressing Ctrl + Alt
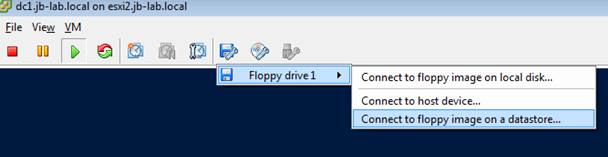
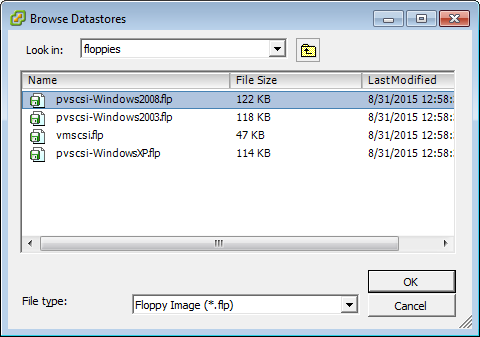
With the mouse released, click the Floppy Icon and select: Connect to floppy image on a datastore…..
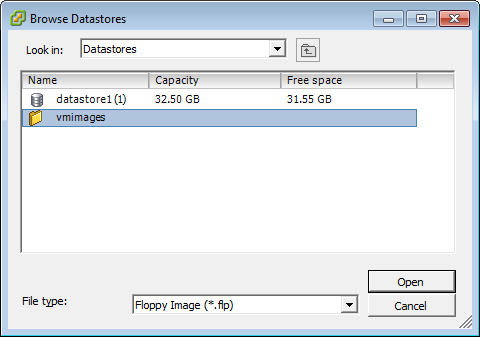
Browse to: vmimages
Browse to: floppies
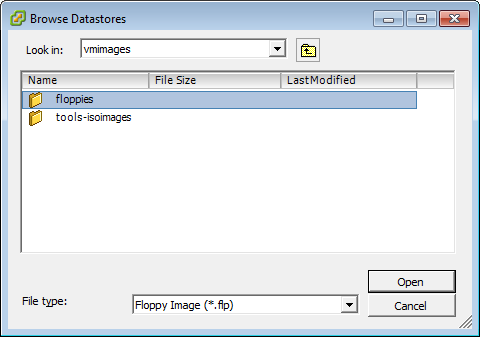
Locate the: pvscsi-Windows2008.flp image and click OK. VMware has thus far not released o pvscsi driver specific to Windows family 8 and beyond.
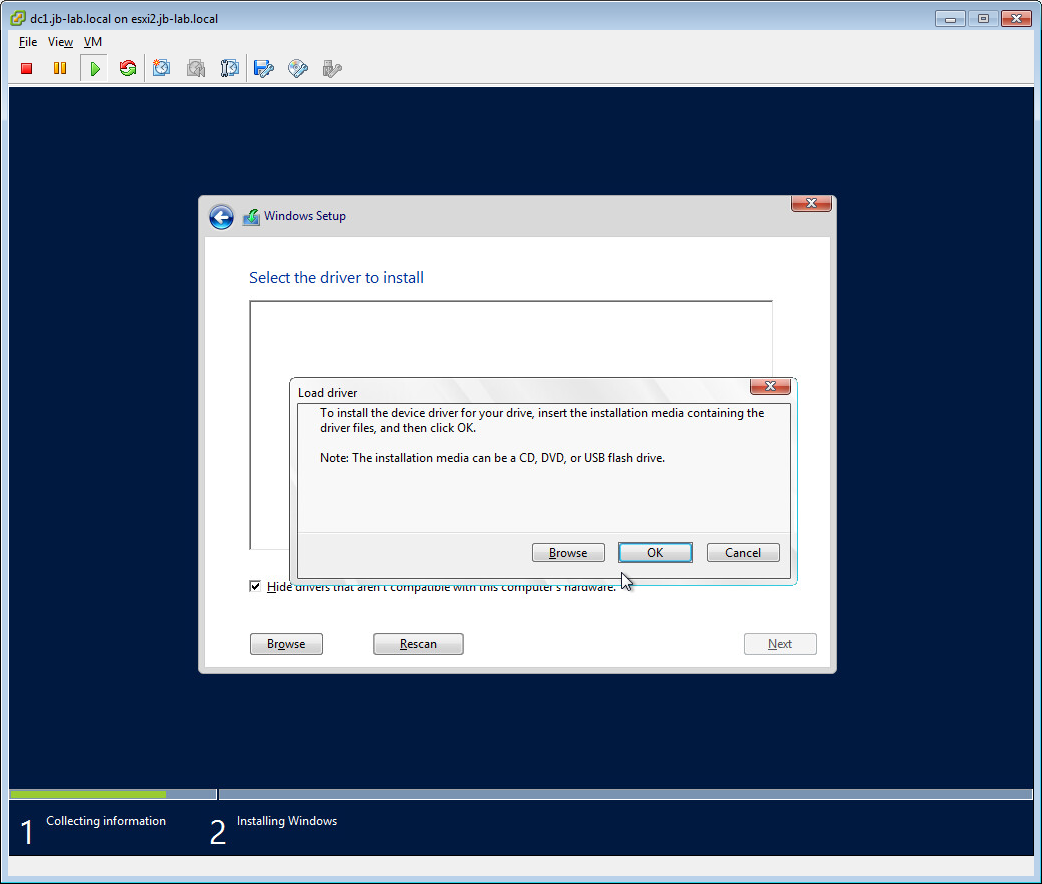
Click back inside the VMRC and then: Alt+L (for Load)

Click: OK
Now Alt + R (for Rescan)
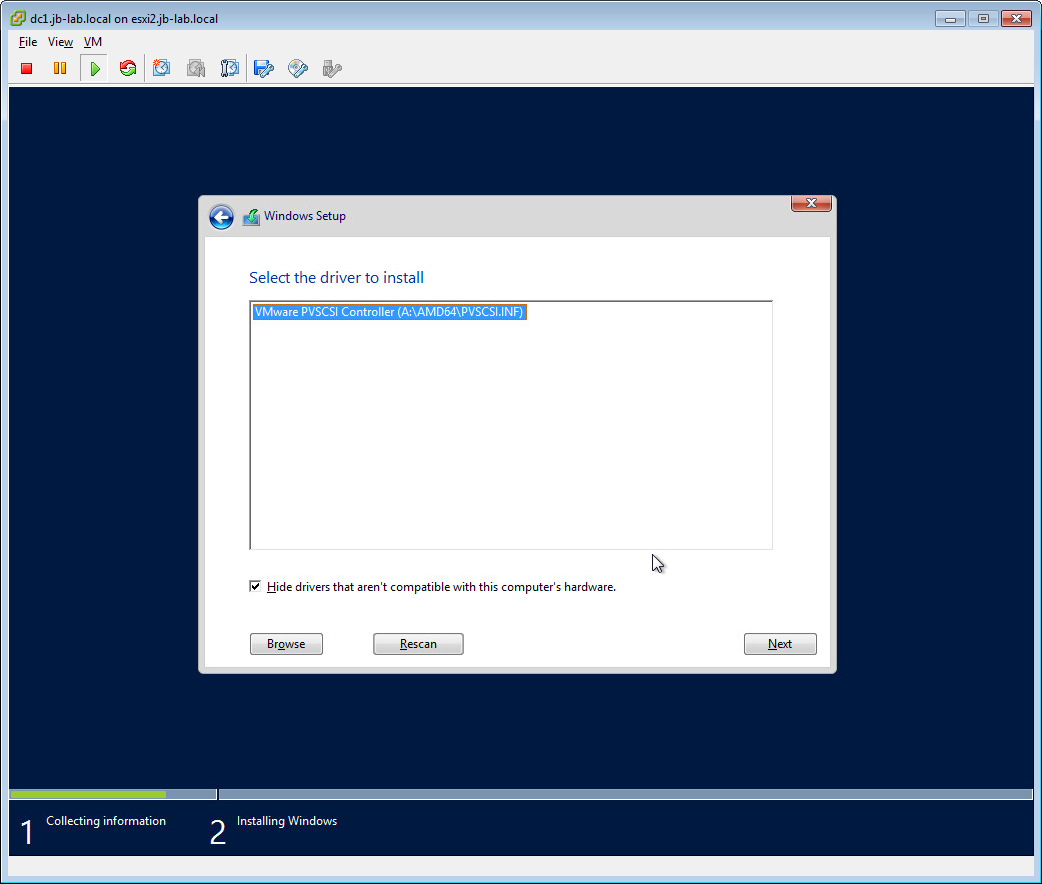
Allow a few seconds for the driver to load

And the disk should be visible
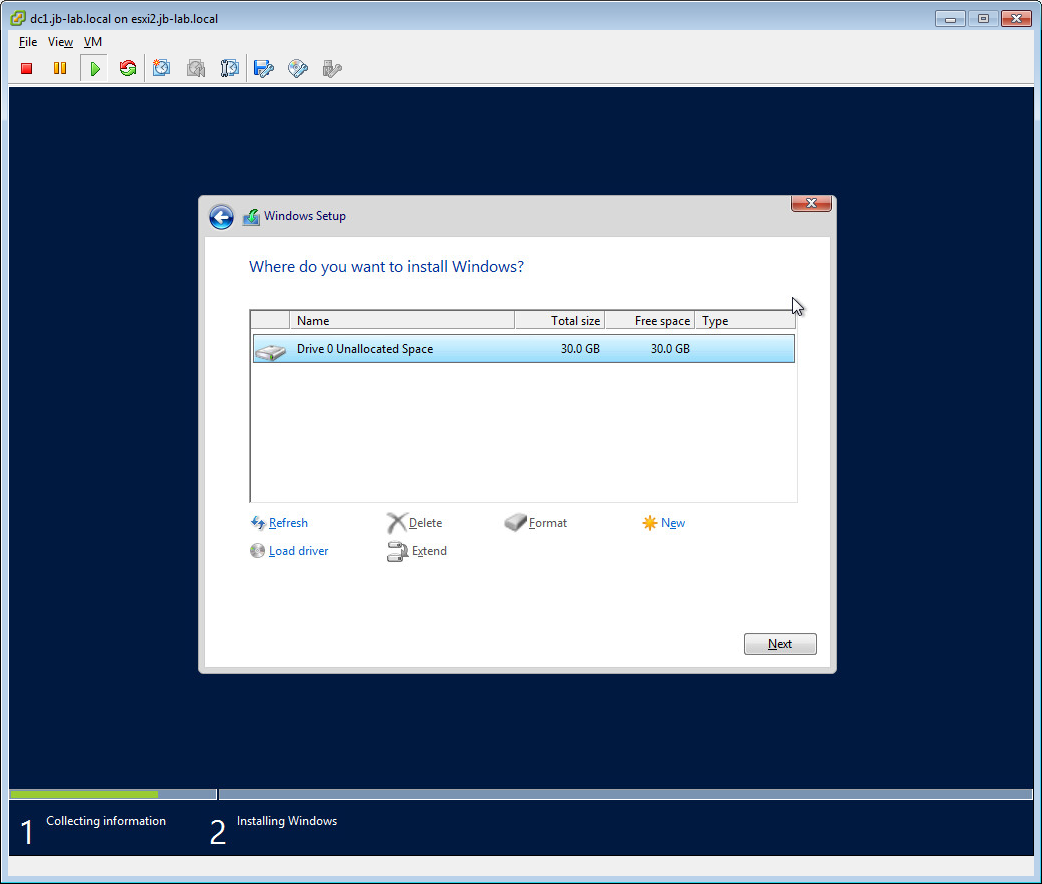
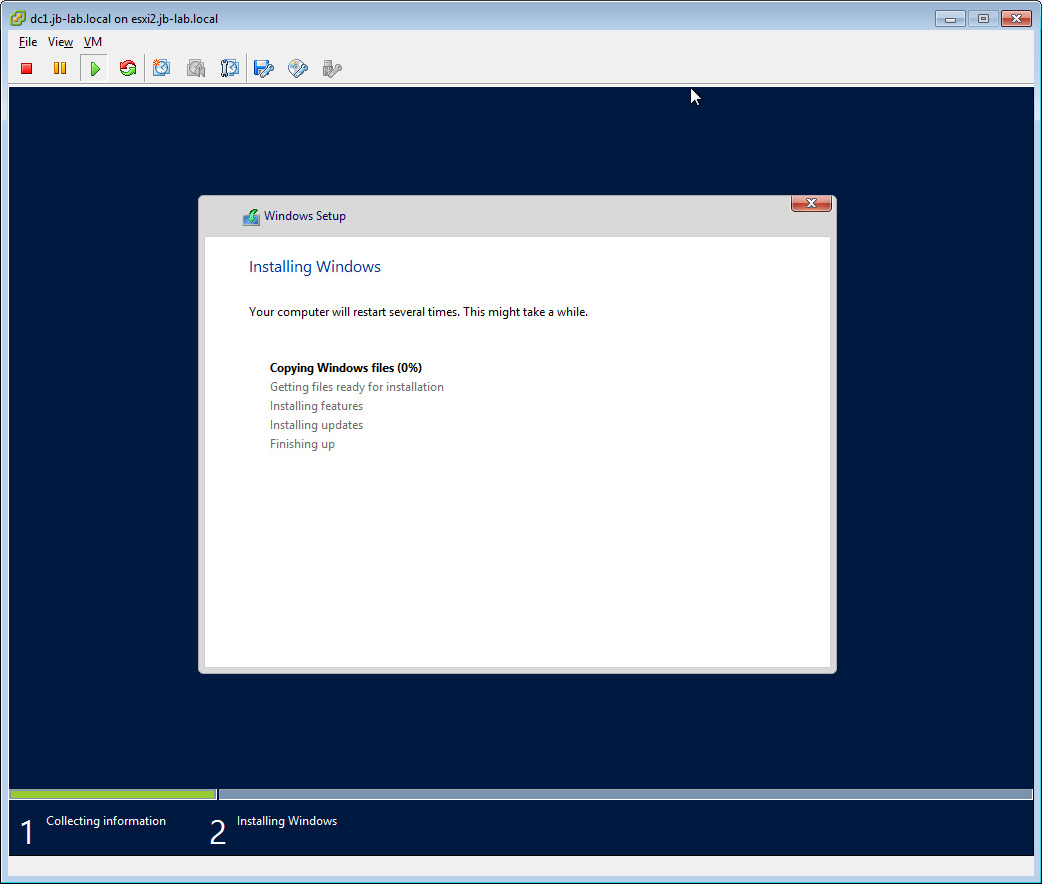
Alt +N for next and the OS should begin to install.
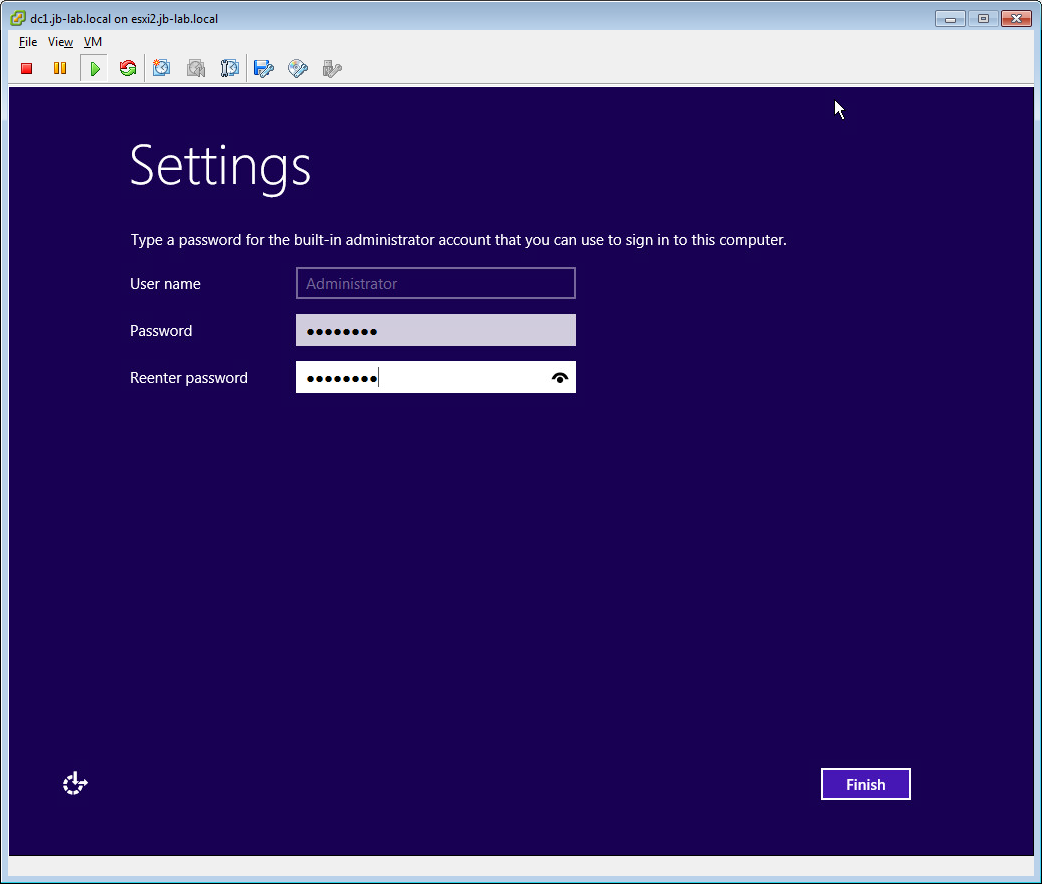
When the OS is installed, set a password and Finish
VMware Tools
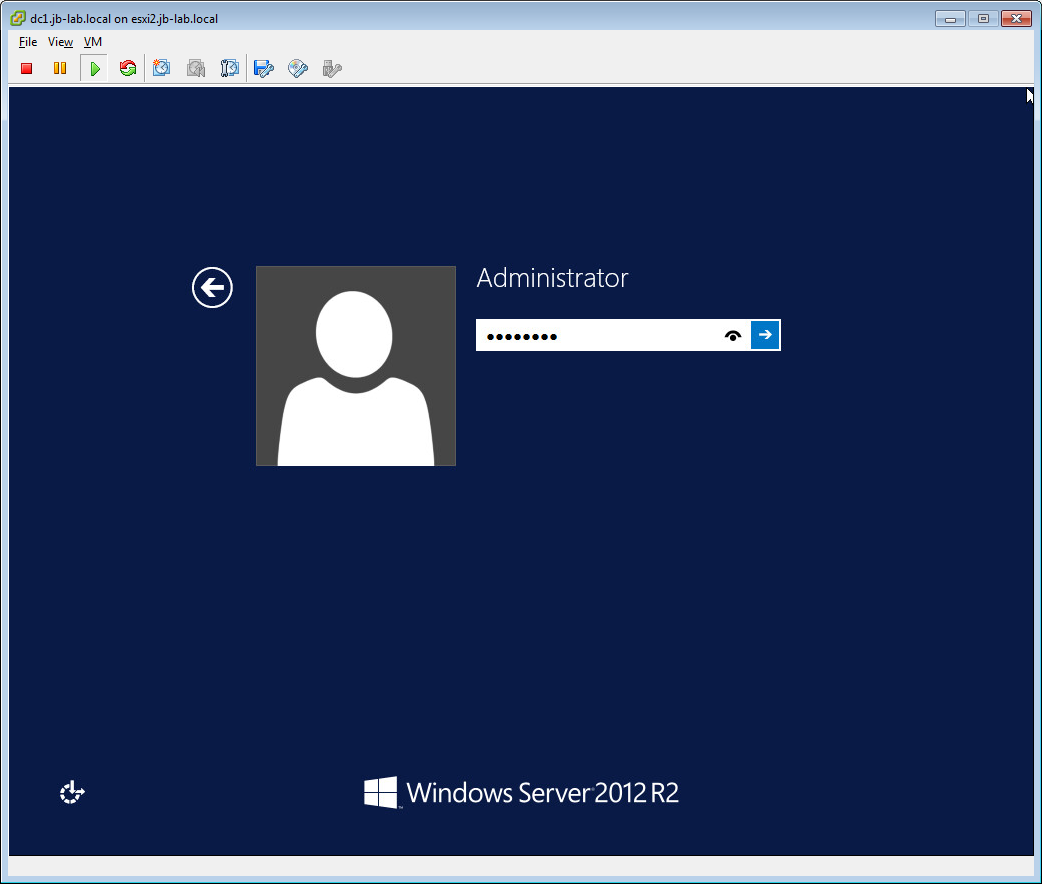
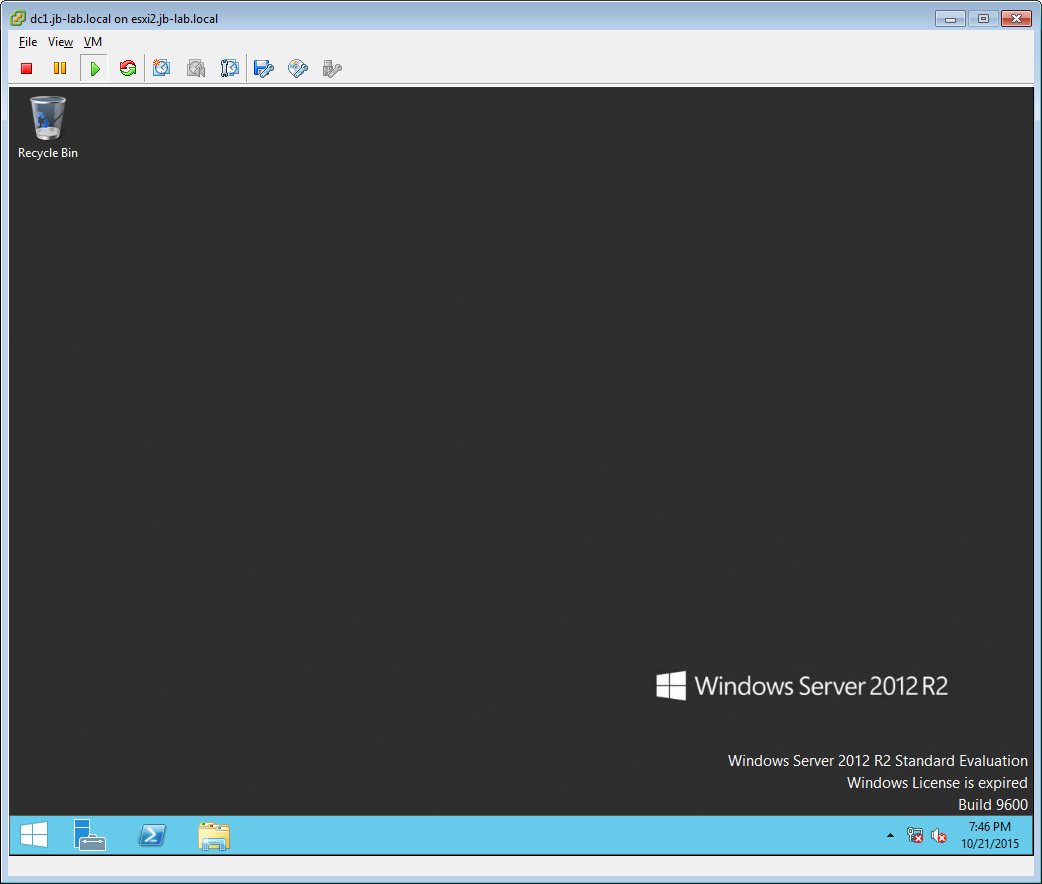
For Windows, the only source for legitimate VMware Tools is VMware. Go ahead and log-in
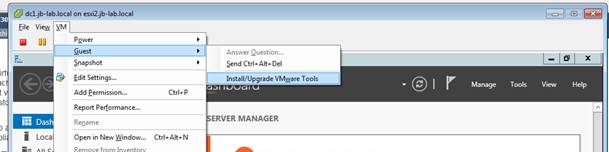
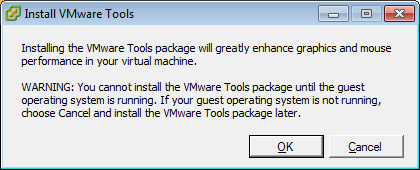
Release your mouse with Ctrl + Alt and Select Install\Upgrade VMware Tools
OK
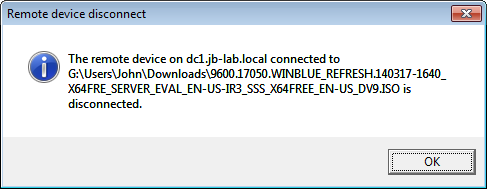
This is inevitable because the CD/DVD was previously connected to the Windows ISO
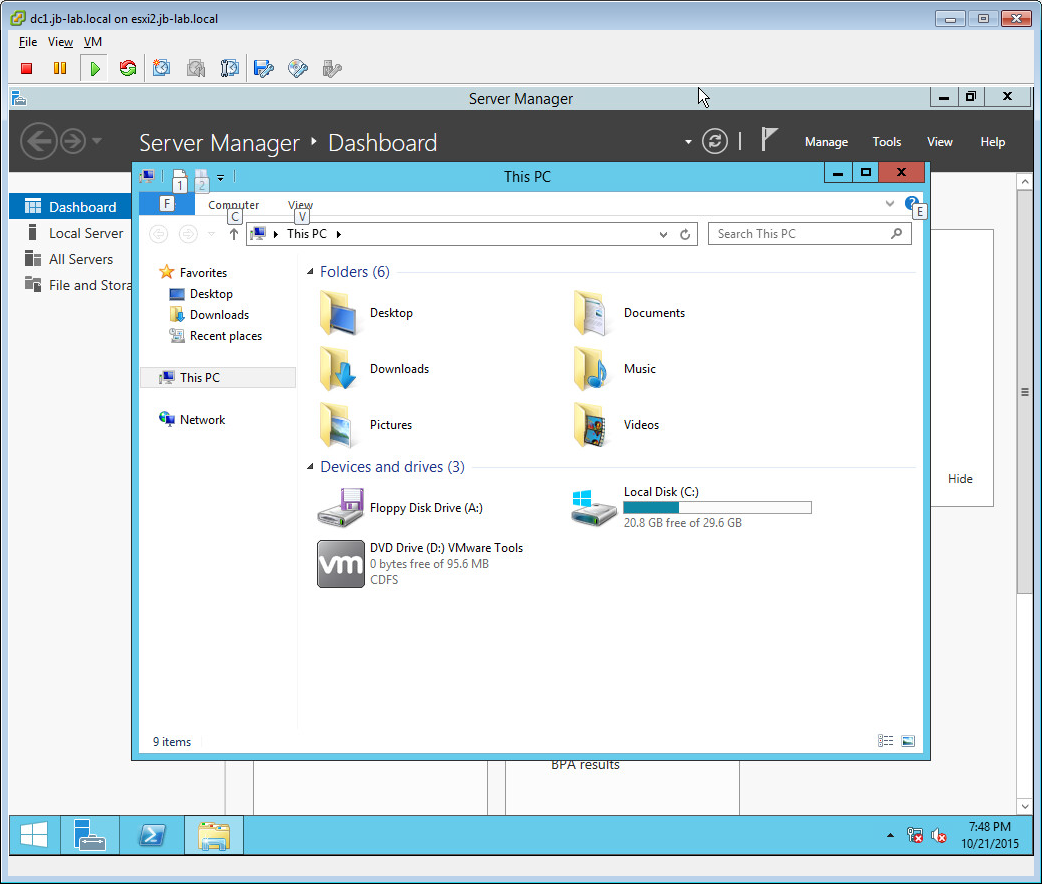
Now double-click on the DVD Drive to run the installer for X64 Windows
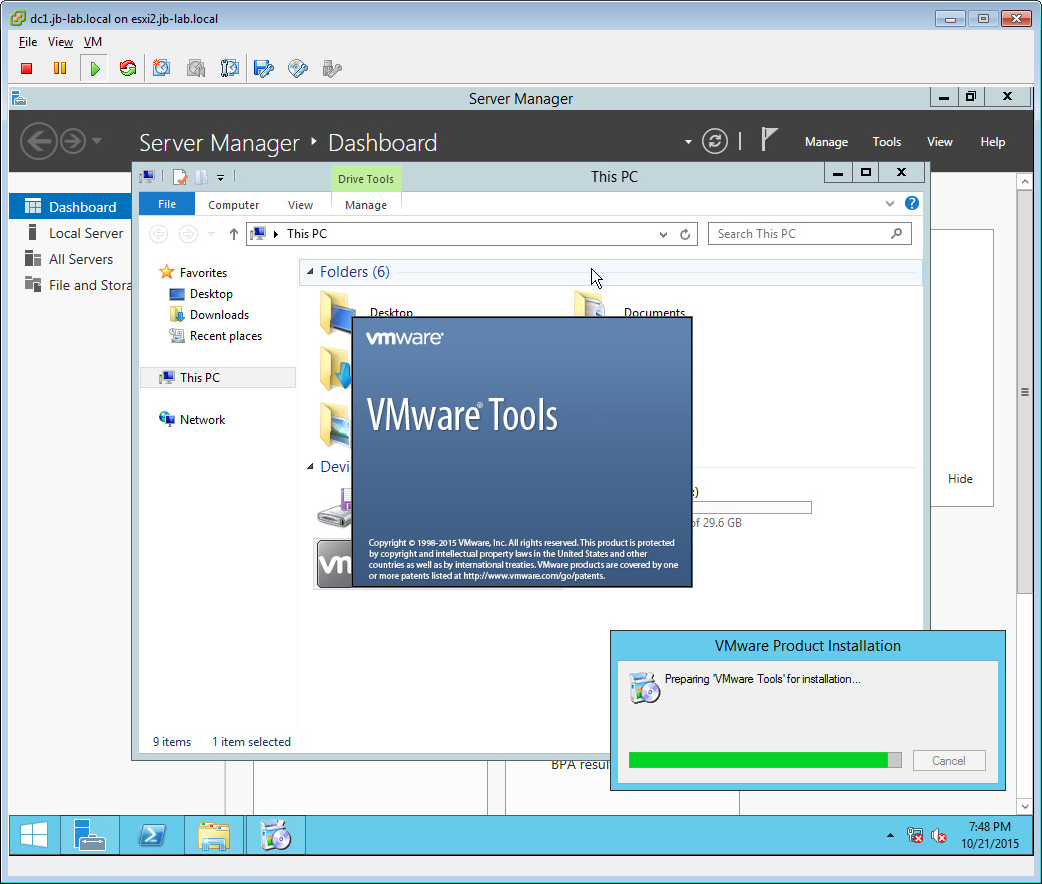
Next

Use a Typical install for VMware vSphere, or a complete install if this VM is to be made into an OVF or OVA
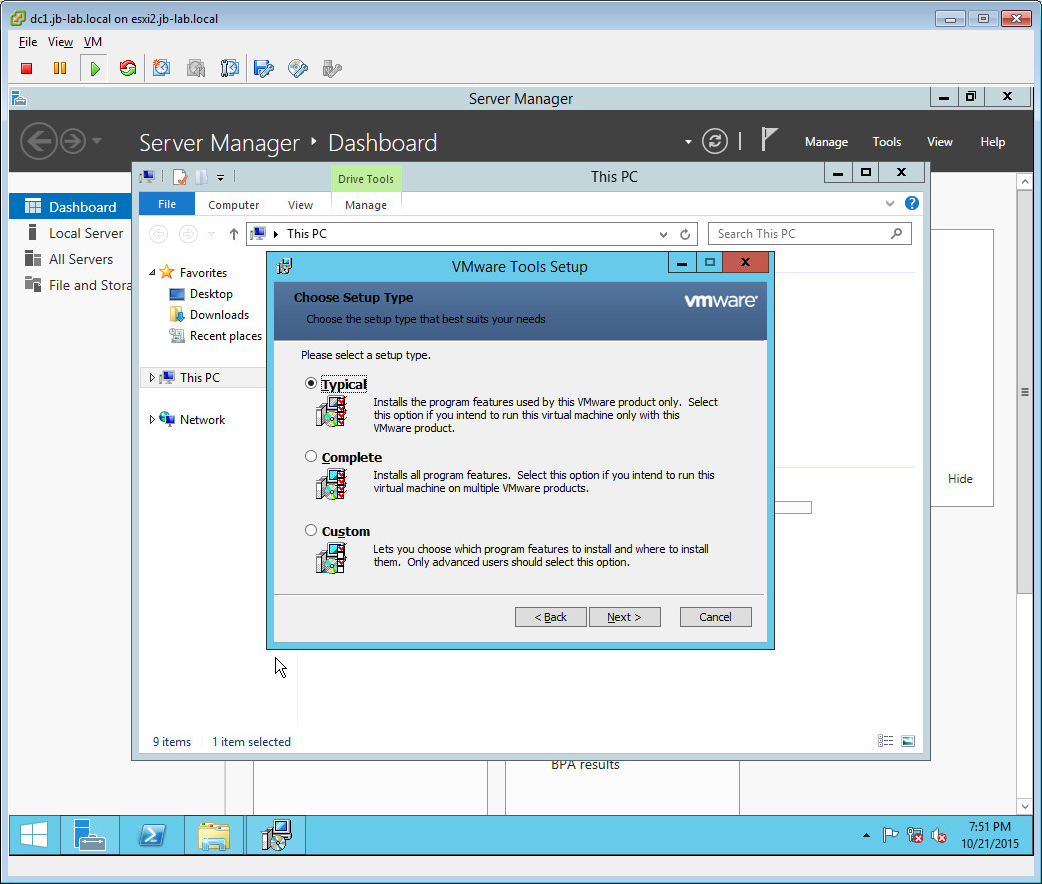
Install

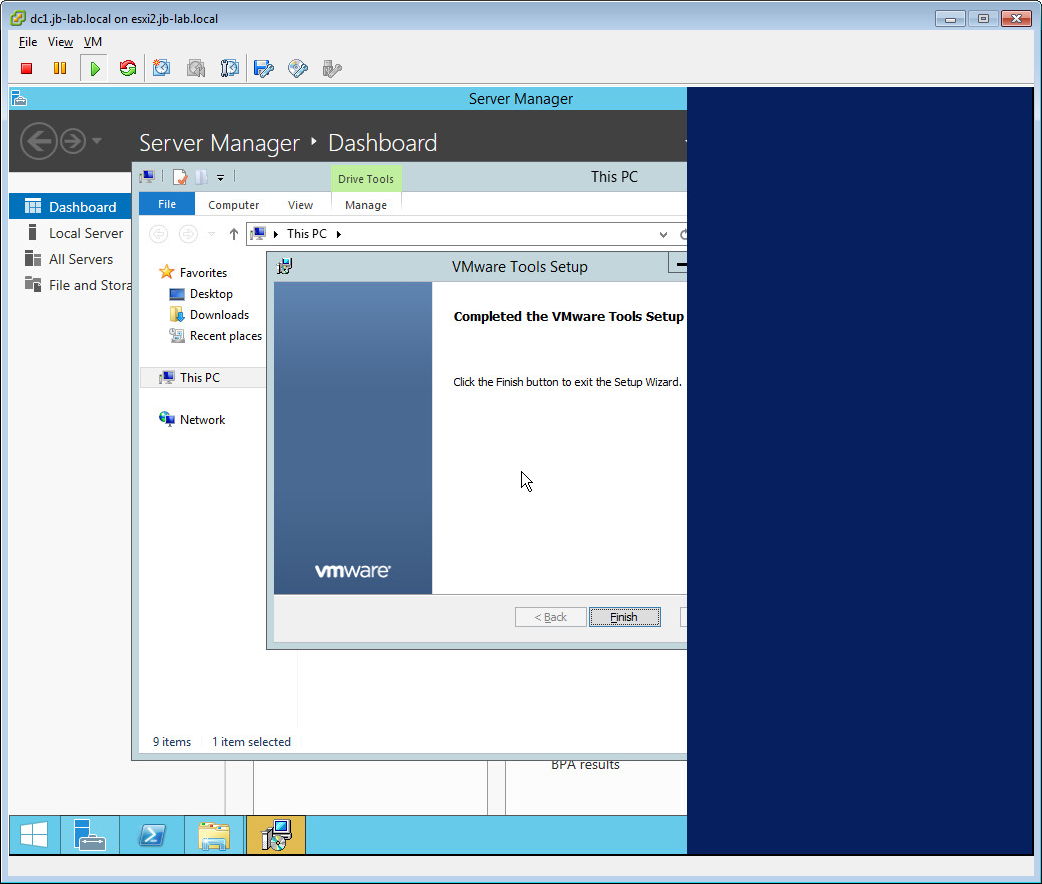
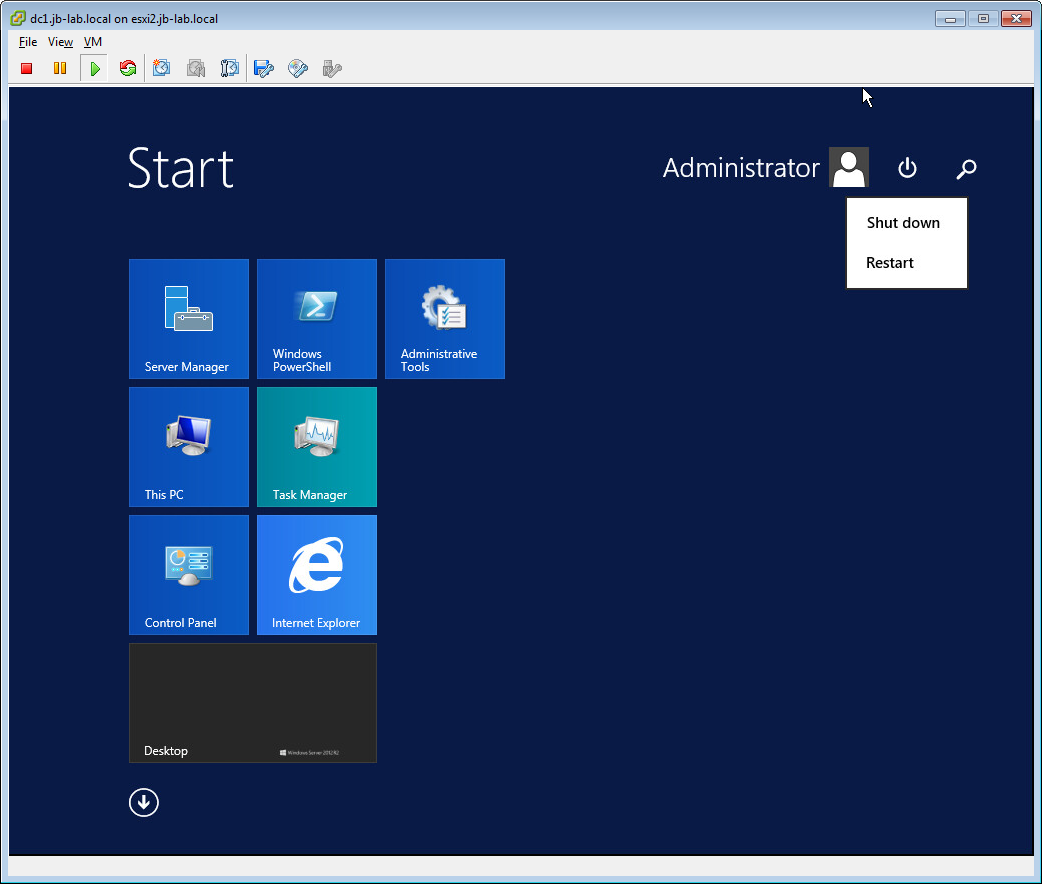
At the end of the VMware Tools install, a reboot will be required (for Windows), before we allow that, simply power the VM off completely
Shut Down
Remove Unneeded and Unused Devices
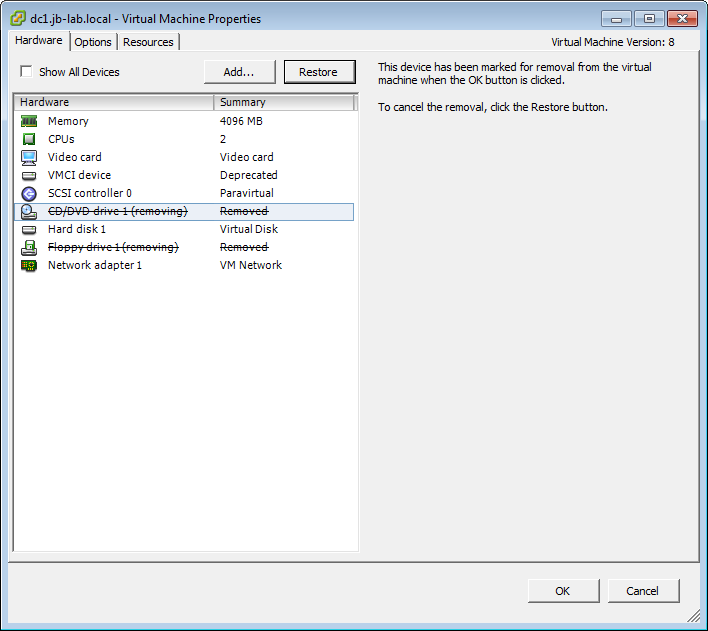
Now we need to go to the VM Settings and remove devices we no longer need like the CDROM and Floppy
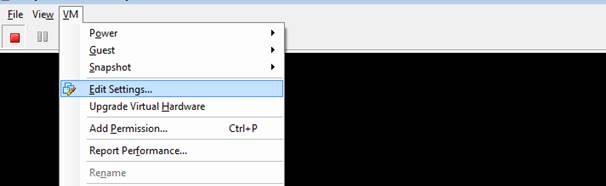
Remove devices we no longer need (you can always add them back later!)
Now, to go to the Options tab of the VM Settings and select: Force BIOS Setup on next Boot.
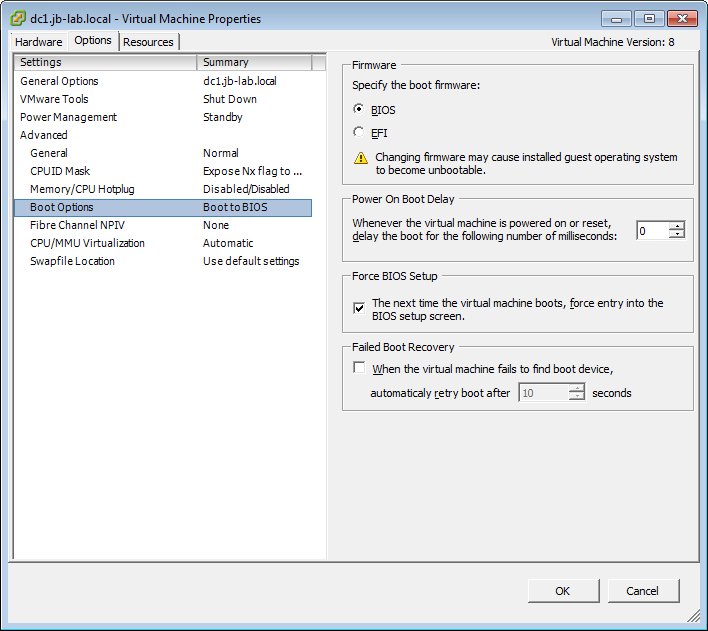
And Power the VM on to BIOS
HINT: In recent years, sometimes it is necessary to close the console and re-open it. If all you see id black, try this before power-cycling the VM again!
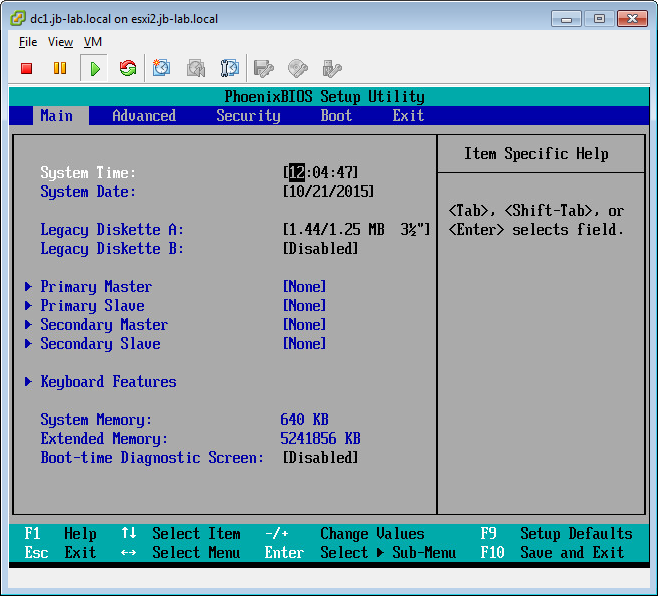
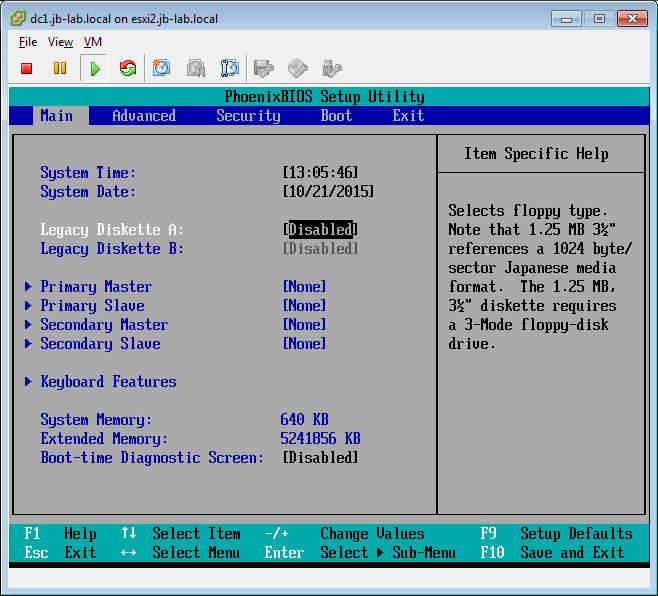
Use the arrow keys to select and disable legacy and unused devices like: Legacy Diskette A
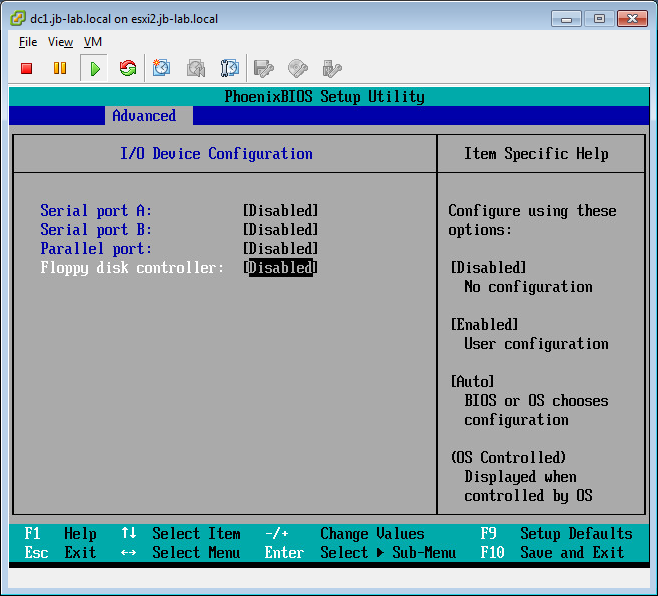
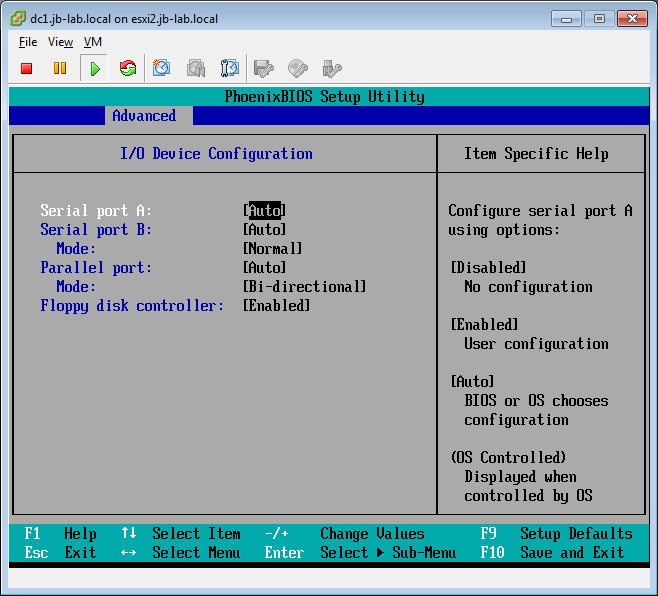
Now use the arrow keys to move to the advanced tab and select I/O Device Configuration

It is unlikely that any of these IRQ consuming devices would be used on a VM, so, using the arrow keys, disable all of them
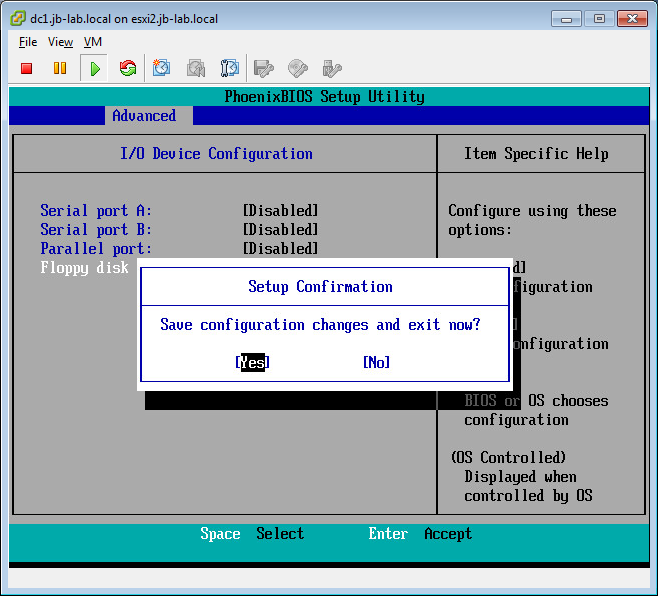
With all unnecessary devices disabled, press F10 to Save and Exit

Yes
Your VM is now complete and ready to begin the installation of a Mission Critical application or service!
