OVF and OVA formatted Virtual Appliances
The Open Virtual machine Format (OVF) originally came about in 2007 as the result of a proposal by vendors (VMware, HP, Dell and others) to the Distributed Management Task Force (DTMF), the goal being to create an open standard for interchangeability (portability) of Virtual Machines between hypervisors.
VMware was an early and enthusiastic adopter of the OVF standard, with support for import and export of OVF packaged VMs included in its hypervisors by 2008. Other vendors have shown varying degrees of support for the OVF standard, possibly as a reaction to VMware’s early adoption of the OVF standard. Most vendors and Cloud architectures have supported the OVF standard since the DTMF announced OVF 2.0[1] in January 2013.
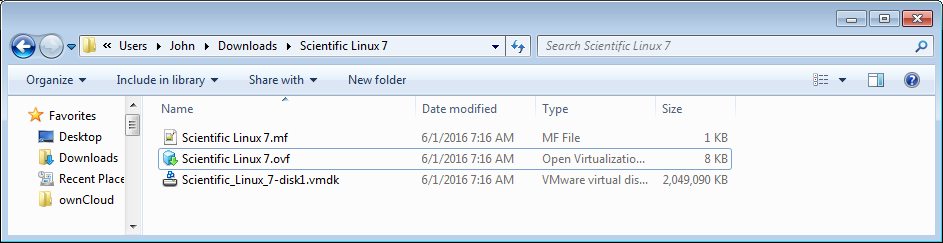
AN OVF is comprised of several files in a folder unique to that package[2]. The files have the following purposes:
- Exactly one OVF descriptor (*.ovf) which is an XML file that contains all of the metadata describing the resulting VM including: CPU, RAM, Network, and references to all of the Virtual Machine Disk files, as well as other virtual devices which were part of the source VM when the package was created.
- One or more Virtual Machine Disk files. While the OVF standard does not specify any one Virtual Disk Format, it is generally advisable to use thin and/or sparse disks to maximize compatibility.
- A manifest file (*.mf) which contains the SHA1 digests (thumbprints) of all files except the manifest itself and any certificates.
- An optional certificate file (*.cert) which contains an X.509 certificate as well as a signed digest of the manifest file.
OVA Virtual Appliances are single-file tar archives (tarball) of the OVF package. VMware allows for the creation of OVA formatted Virtual Appliances directly, however it is possible to use tar or Windows utilities like 7-ZIP to archive and extract OVF packages directly

NOTE: You can download the OVA that I created while making this post here: http://www.johnborhek.com/download/scientific-linux-7-desktop/
Creating OVF and OVA formatted Virtual Appliances with VMware vSphere
- Stick to lowest common denominators
- It is tempting to inflict our own personal standards on others when building Virtual Appliances, but not every potential consumer has access to the same resources. In order to make the appliance usable on a wide variety of hosts, keep the provisioning as lightweight as possible.
- Don’t use drivers which are proprietary to a specific hypervisor (like VMXNET3 or VMware PVSCSI)
- VMXNET3 and PVSCSI may be superior choices for deployment to VMware ESXi, but they aren’t necessarily compatible with all hypervisors
- Use thin/sparse formatting
- Remove the OS installation ISO before exporting to OVF/OVA
- This is a biggie, failure to remove the OS installation ISO will cause any deployment from the OVF/OVA to fail.
- Remove all devices which are not immediately in-use by the OS, like Floppy and CD/DVD
Creating the source Virtual Machine on vSphere
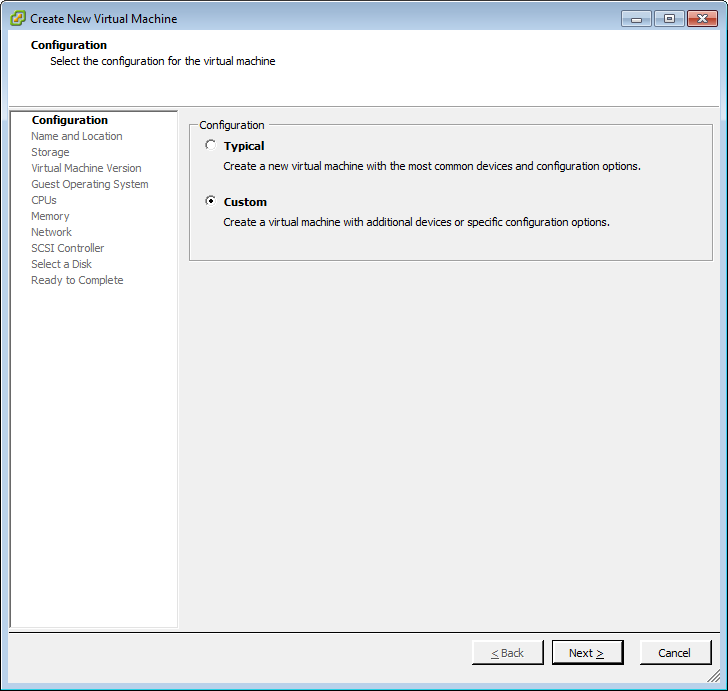
In vSphere, always choose a “Custom” installation of the VM.
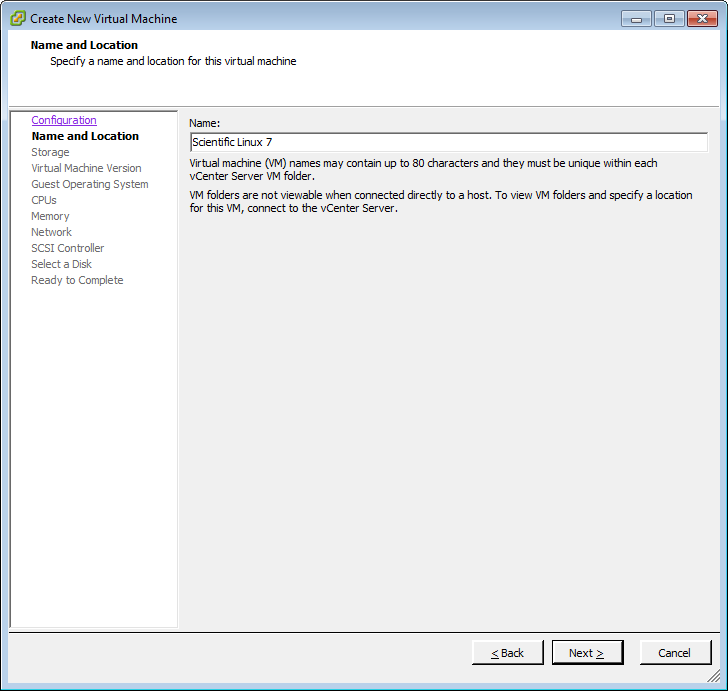
Name your VM with a useful, descriptive name. Generally, I recommend VM names with all lowercase characters and no spaces, but in the case of source VM for a Virtual Appliance, the ultimate VM name will be the choice of the person that deploys Virtual Appliance.
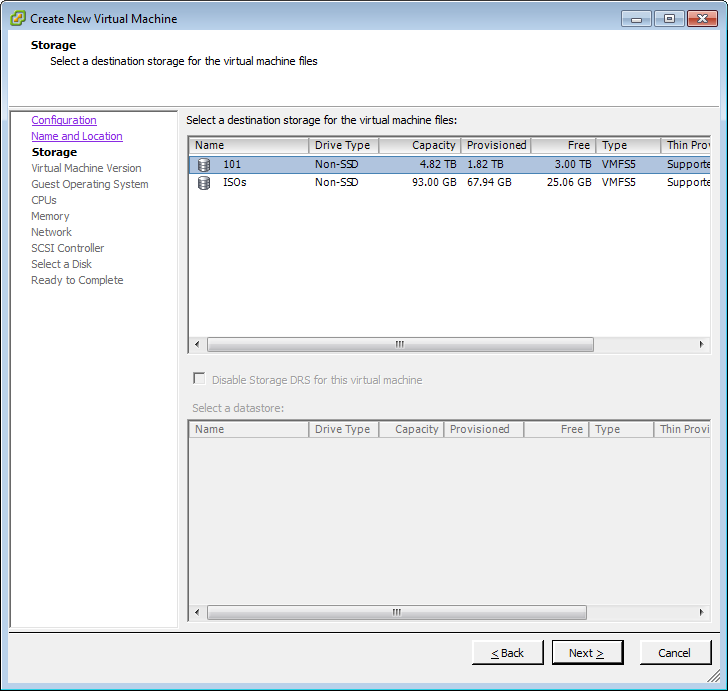
Select any viable datastore
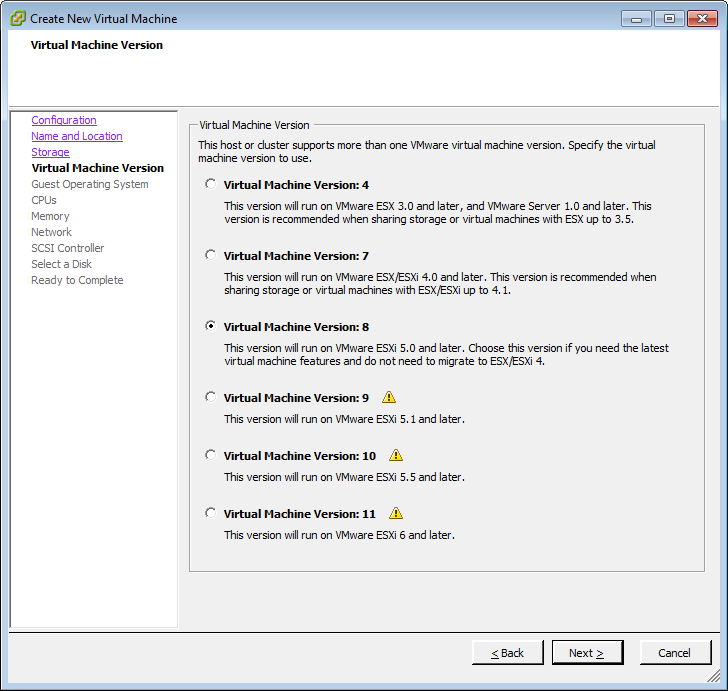
In the case of VMware, choose a Virtual Machine Version to maximize compatibility without limiting options.
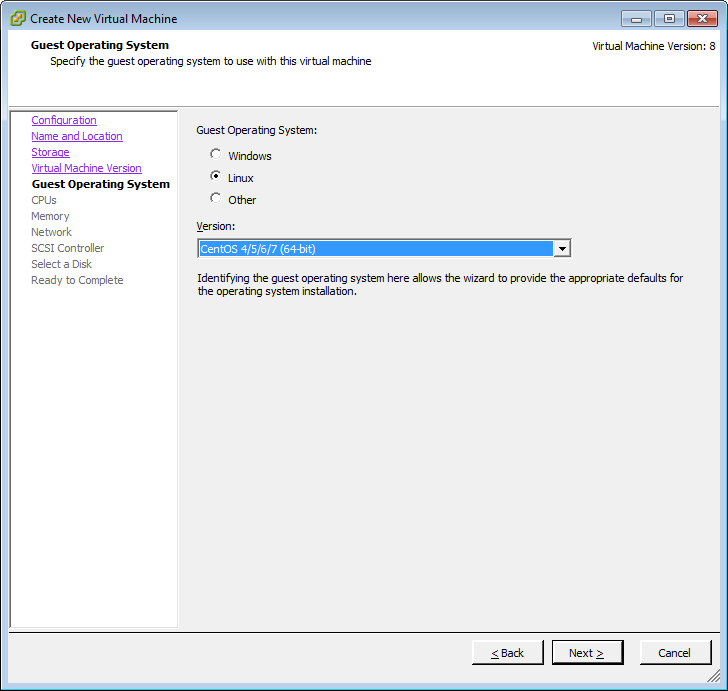
Select a compatible Guest Operating System Version. In this case, Scientific Linux 7 and CentOS 7 are both equivalent Operating Systems which are derivatives of Fedora.
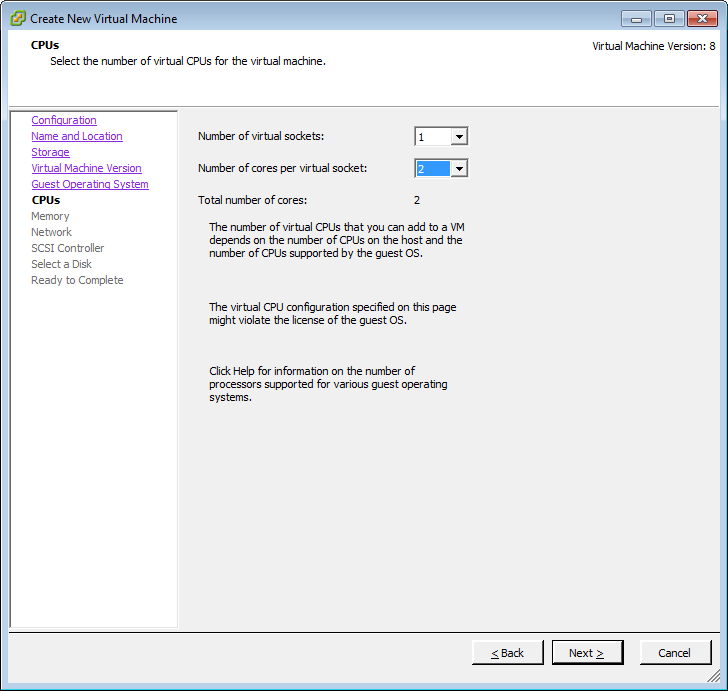
Select a minimum number of CPUs to support your VM.
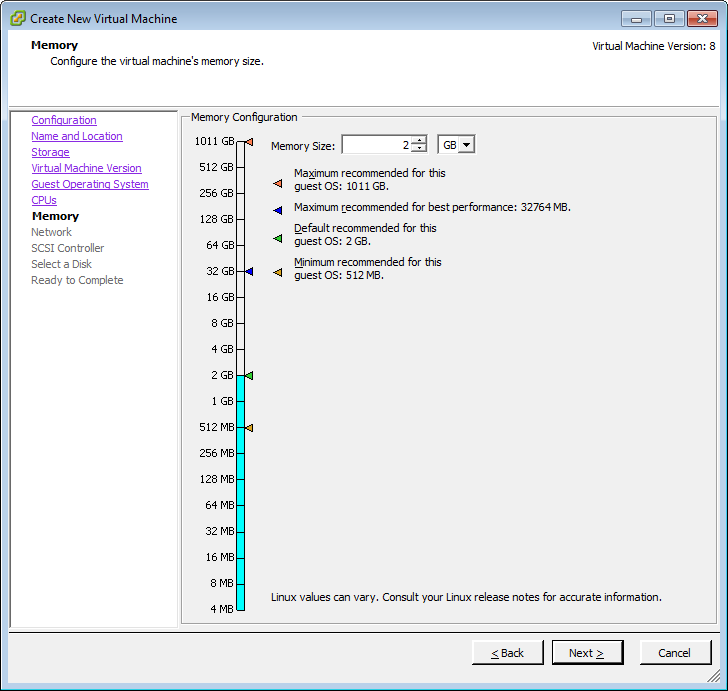
Choose a minimum amount of RAM.
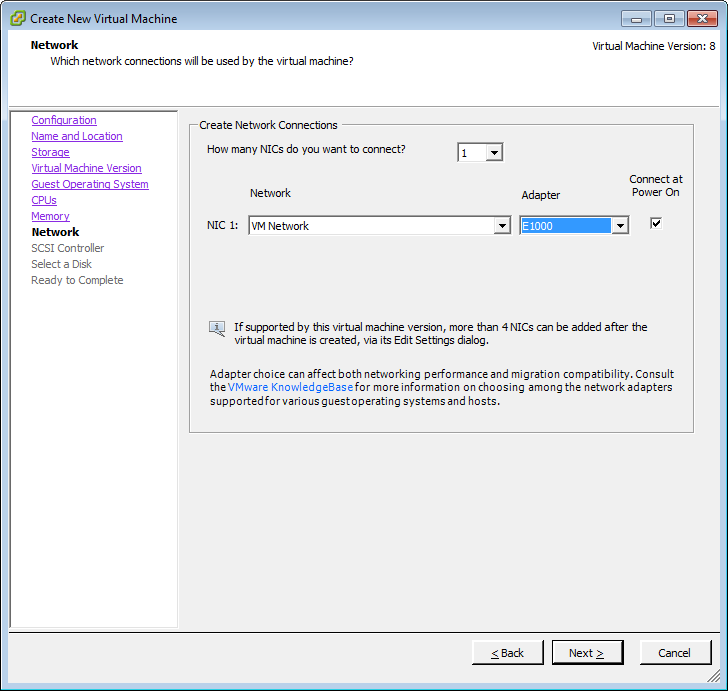
Select a network adapter for compatibility. E1000 is widely supported. VMXNET3 is preferable, but less widely supported.
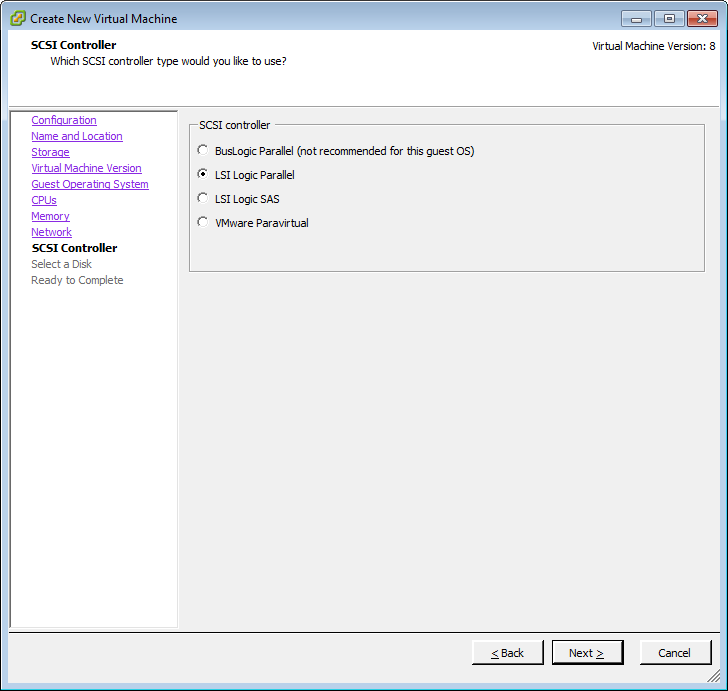
Select a SCSI adapter for compatibility. LSI Logic is widely supported. VMware pvscsi is preferable, but less widely supported.
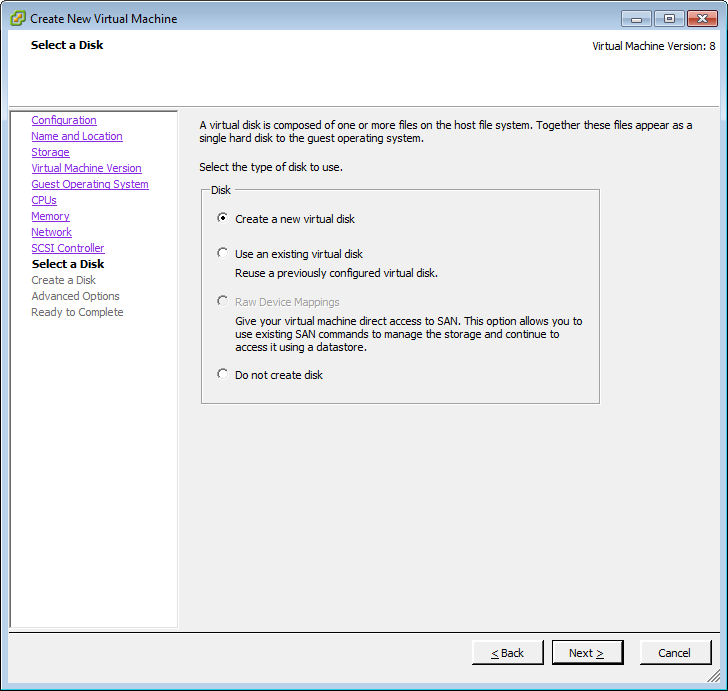
Create a new disk
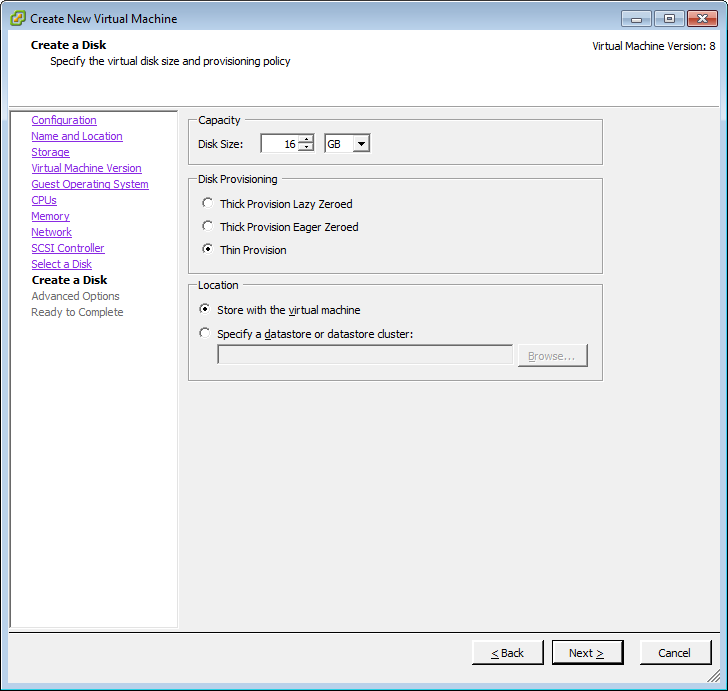
Select a small size and thin provisioning. The end-user can always extend the disk or specify different provisioning.
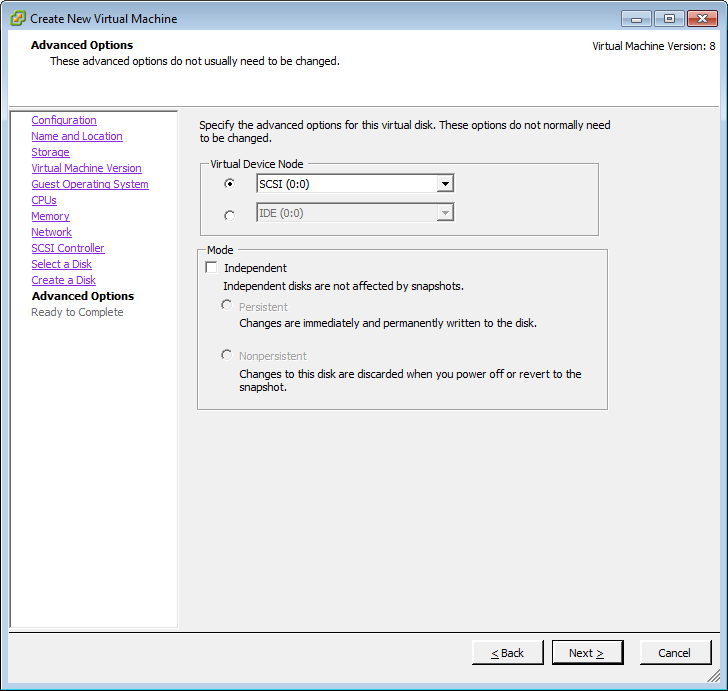
The first disk should go on SCSI 0:0. Additional disks should follow on SCSI 1:0, SCSI 2:0 and so forth.
Finish the VM container.

Now you will install the guest OS.
Remove unnecessary hardware from VM
One of the biggest mistakes people make when creating OVF packages is failing to disconnect or remove the ISO file that was used to install the OS in the first place. If you leave the original ISO in place when you create the OVF package, the hypervisor where the Virtual Appliance is deployed will expect to have, not only the same ISO, but also the same type of device connection, and the deployment will fail!
We will simply remove all hardware that the VM does not depend on, prior to creating the OVF package.
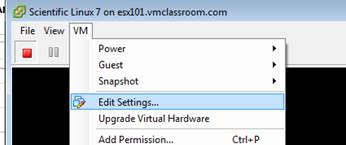
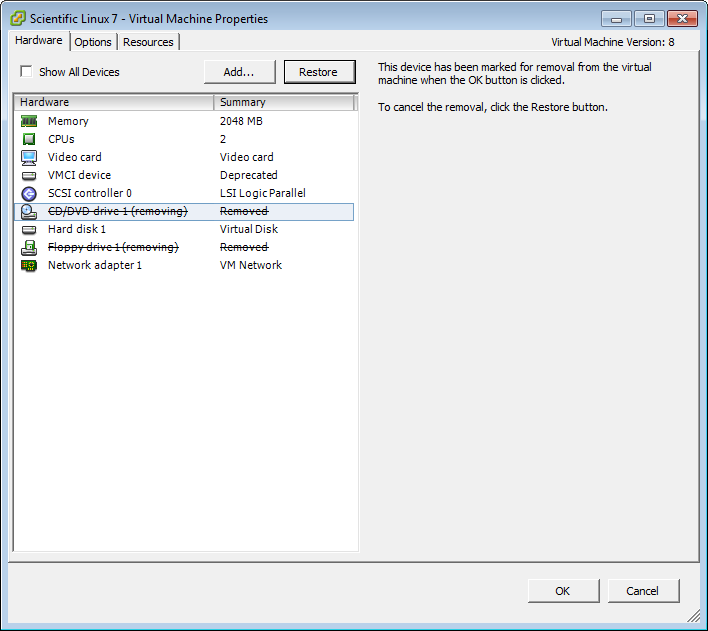
Power off your VM and go to: Edit Settings
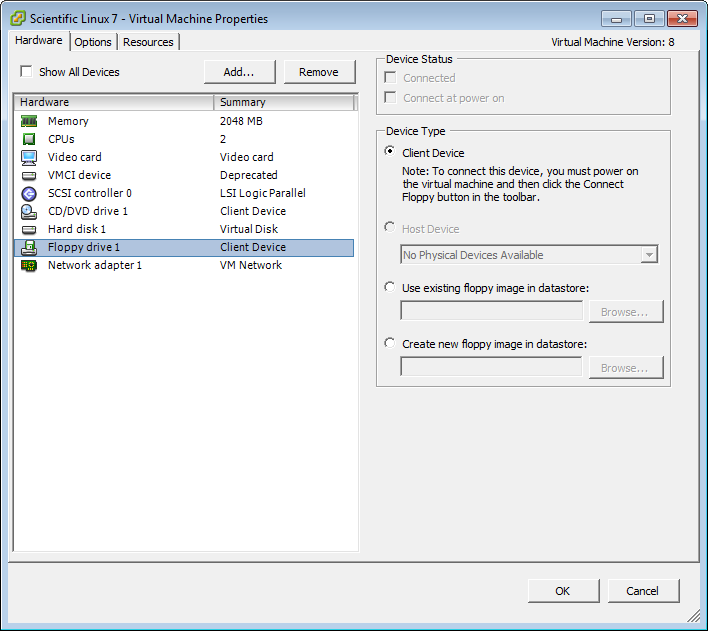
Choose the Floppy and click: Remove
Choose the CD/DVD and click: Remove
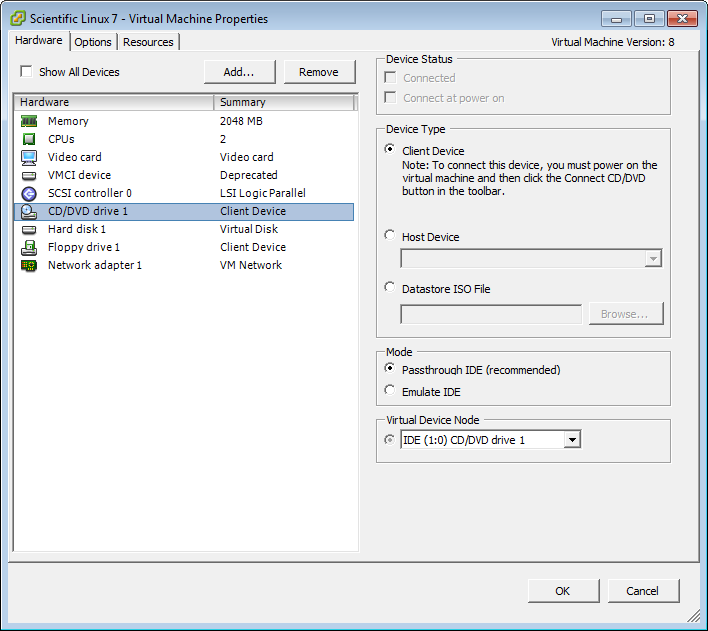
Click: OK
NOTE: At the time of writing the HTML5 Host Client support OVF and OVA functionality was broken in out testing, so we used the traditional Windows (C#) vSphere Client, which is supported through vSphere 6 U2.
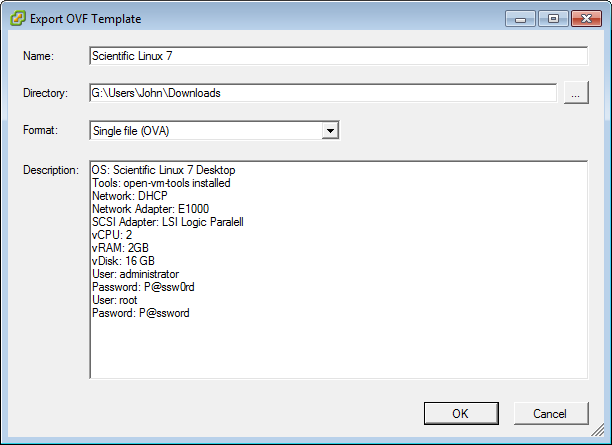
Now, with your new VM highlighted, go to: File >Export > Export OVF Template
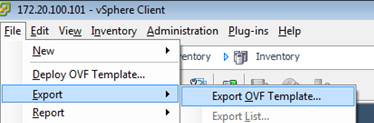
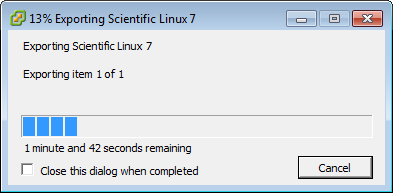
Give your Virtual Appliance a name, select a path so store it on your local workstation, and choose OVF package or OVA file. I prefer OVA files, especially for online distribution.